All,
It's 0700 on 29 June 1990 and Battlegroup Aguilera is re-forming and preparing to make another push into the town of Kacak, where they just received a bloody nose at the hands of the Cronistrian Communist forces. Casualties were substantial, but the Cubans are ready to get back in the fight and take Kacak.
Overview, north is up. The town of Kacak, with its bridge, is at center, and Hill 121 is at left. You can see the Cuban HMMWV still burning at center bottom. The Cubans will again begin in the southwest (bottom left).
The opposing forces, with Cubans on the right and Communists on the left.
The Cuban force consists of its CO (Lt Aguilera), who rides in an LAV (but can dismount as necessary), seven rifle squads (1st Platoon, 3rd Platoon, and a single squad representing the remnants of 2nd Platoon), the AMX from last fight, another HMMWV with TOW ATGM, and a machine gun team.
The Communists have their commander, a T-62 main battle tank, and four rifle squads.
The troops are placed, with Cubans at bottom left and bottom center, and Communists spread across the rest of the map.
The Cuban start positions: the CO, HMMWV, and MG team are at bottom left, with 1st Platoon above them. To the right of 1st Platoon is the squad from 2nd Platoon and one squad from 3rd Platoon, while at bottom right is the AMX and the other two 3rd Platoon squads.
The northwest (top left) corner of the map. The enemy knows he's outnumbered, so he's fighting a delaying action. Hill 121 (bottom left) is unoccupied, but there are rifle squads at top left and center right.
Here's the northeast (top right) corner of the board, showing one of the rifle squads from the last pic (center left, in the woods), as well as another (bottom center), next to the CO, and their T-62 at center right.
And the southeast (bottom right) corner of the board, where you see an enemy rifle squad at bottom center right. That's the Cuban 3rd Platoon at left. All enemy units begin the game hidden.
Let's get it on!
On the left, the HMMWV and 1st Platoon recklessly advance up Hill 121, looking to get to cover, with bad memories of getting cut to pieces in the open fields below.
1st Squad, 2nd Platoon (1/2) and 3/1 move up to near the river (right).
Where 2/2 and 3/2 join them near the burning HMMWV from last fight.
The MG team stays on overwatch (bottom left), while the CO and the AMX move up (center and center right, respectively).
No sign of the enemy...
On the Cuban left, the HMMWV and 1st Platoon consolidate on Hill 121, sending a squad down towards the river (center right, with 1/2 at bottom right). The bad guys at top left are not yet spotted, and neither are the bad guys at top right (in the woods, just left of the river, above the Cuban squad).
1/2 moves into the building at left, while 1/3 moves up on the bridge...
"Contact!!!"
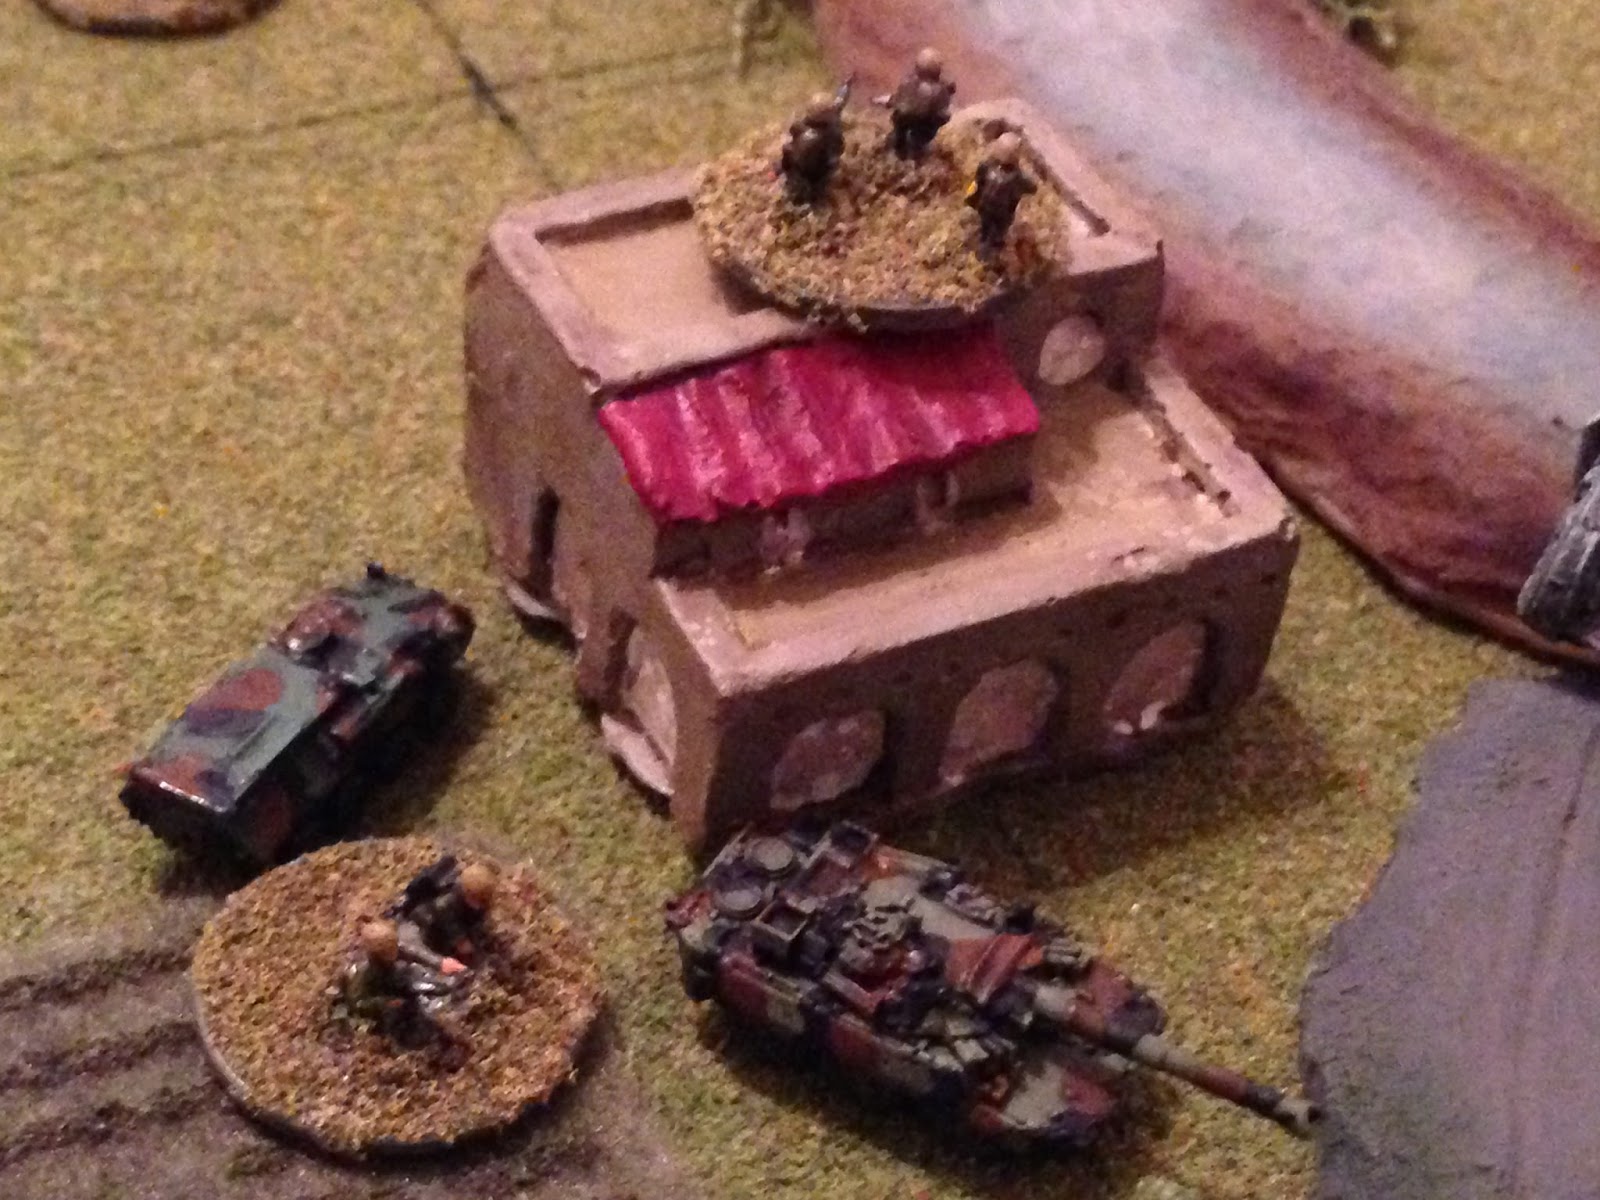
1/3 darts off the bridge (bottom left), into a building (bottom right). Enemy infantry and their CO are at center right, while their T-62 is at top left.
The CO and the AMX, looking for cover and a better view, move up to the building housing 1/2.
On the far left, a Communist rifle squad sprints from cover to cover (top center to far left).
While back in the town, a rifle squad moves into a building (center) opposite 3/1 (bottom left), and the T-62 moves into the town (top center, just above the enemy CO).
In the south, the enemy rifle squad there dashes ahead (center, from bottom right), getting close on 3rd Platoon's right flank (top left).
The enemy units are now all spotted, but they are now uncomfortably close and in flanking positions.
That same enemy squad begins the fight, firing on 3rd Platoon's flank...
3/2 is forced to fall back (red bead, from explosion at bottom left).
The enemy squad dashes forward, drawing fire from 2/3...
But the Communists press home their attack, charging through the gunfire and into close combat with 2nd Squad, 3rd Platoon!
2/3 is put out of action (near the trees at right), and the bad guys charge 3/3 (red bead at left), with the CO and AMX beyond them at top left.
3/3 is put out of the fight, and the enemy riflemen charge the AMX, which reacts with its machine guns.
But the bad guys again close the distance! Lt Aguilera is watching his right flank crumble, the attack on Kacak is again faltering! He dismounts his command vehicle and leads his HQ section into the fray!
Adding the CO to the mess puts the Cubans at +1 in the upcoming close combat.
For goodness sake, talk about close!
The enemy counterthrust, by a single rifle squad, is finally ended. Lt Aguilera climbs back aboard his command vehicle.
Just as a tank shell (from top right) hits the building (bottom left), pinning 2/1.
The T-62 moves to the other side of the building, laying its gun on the bridge.
On the Cuban left, the single enemy rifle squad there launches an RPG at Hill 121, targeting the HMMWV there.
The vehicle is damaged and the crew gets out, but they and 1/1 are pinned (yellow beads). 2/1 (bottom right) returns fire, missing.
The AMX (bottom left) fires an HE round at an enemy rifle squad in the building at top right, as 1/3, in the building just below them, look on.
The enemy (center) suffers casualties, so 1/3 leaves its building (bottom left) and charges across the street into close combat. Now it is the turn of the enemy CO to dismount and assist his men in close combat, hoping to stop the Cubans' penetration into Kacak...
But 1/3 overwhelms the beat up enemy rifle squad and their CO, then moves up to the empty MTLB (center), hoping to get an RPG into the enemy tank (top center).
The CO successfully rallies 1/2 (bottom right), while 3/1 (center left) spots the enemy riflemen in the trees (top left) and open fire, pinning the enemy troops.
Back on the left, 2/1 (bottom right) opens up on nearby bad guys (top left) from atop Hill 121.
The Cubans (right) totally miss, but when the enemy (left) returns fire...
And also miss, the Cubans charge into close combat!
2/1 finishes off the enemy squad (explosion at far left), then move up (top center), looping around the north side of Hill 121.
Back on the right, the enemy tank in Kacak is getting nervous. He's not sure what's going on, but he knows there's a Cuban AMX out there, and possibly Cuban infantry nearby, as he's lost comms with his CO. The T-62 cautiously moves right, but not cautious enough! 1/3 spots him and fires an RPG...
KA-BOOM!!!
In the center, the last enemy unit, a rifle squad, finds itself on the wrong side of the river. They open fire on 3/1, knocking them out of the fight.
2/1, just a minute too late, is able to complete their loop to the north (top center), coming up behind the enemy squad that just knocked out 3/1 (at the explosion at bottom center). 2/1 moves into close combat and finishes off the Communists. All bad guy units eliminated!
Battlegroup Aguilera rallies on the objective!
Lt Aguilera reports back to the Command Post, Kacak secured! With that, Battlegroup Caballero moves up, passing through Battlegroup Aguilera on its way to TF Galban's second objective, the town of Premja.
What a fight! Man, that lone enemy squad in the south scared the hell out of me! They easily took out two squads from 3rd Platoon, and if my little gambit had failed they would have taken out the AMX and Aguilera's HQ section, leaving only four rifle squads left, thus defeating the second attempt to take Kacak. Once that went down I was fairly certain of victory, though that T-62 could have caused me some serious problems if he'd have been able to keep some distance between himself and my infantry.
Here are the casualties:
Cuban
20 casualties
Communists
35 casualties
1 T-62 knocked out
1 MTLB captured
And finally we get to do my favorite part, awards:
-For conspicuous gallantry, Lt Aguilera, commander of Battlegroup Aguilera, was awarded the Cruz Servicio Distinguido for personally halting the enemy counterattack that destroyed the right flank and threatened the entire assault by Battlegroup Aguilera.
-For valor, Lt Colvines, commander of 1st Platoon, Battlegroup Aguilera, was awarded the Estrella de Plata for leading a close assault to save the Battlegroup's left flank, and then leading another to eliminate the last enemy unit at Kacak.
-For valor, Lt Molines, commander of 3rd Platoon, Battlegroup Aguilera, was awarded the Estrella de Bronce for leading a close assault on the enemy's central position and destroying an enemy tank.
Well, that's fight two of four from this weekend, and two of probably a dozen for the entirety of Operation Chokehold. Hope you liked it, and more to follow.
V/R,
Jack


Clever use of pipe cleaners. I always wondered what type of paint to use to change their color. What are you using for the board? 6" cork tiles drybrushed olive green?
ReplyDeleteThanks Dale! Unfortunately, I don't know what kind of paint was used, I bought them online from "Fight's On!" The table is simply 1' x 2' sections of pressboard, taped together in the middle to allow them to be folded, and flocked. You might be able to see I penned squares onto it as well, which now wish I hadn't done.
DeleteV/R,
Jack