All,
It's 0530 on 29 June 1990 and members of the Cuban Liberation Expeditionary Force are on the move in the Balkan state of Cronistria, where the Fall of the Wall has led to the disintegration of Yugoslavia and democrats are fighting communists to determine the future of Cronistria. Cuba sent a small detachment of Special Operations forces to assist the Cronistrian Democratic Movement (CDM) back in April, and since that time the Cuban-backed CDM has made steady progress. Most recently, the CDM pushed into the village of Brezno, several kilometers southwest of the capital of Miran. While the assault ultimately devolved into a stalemate, the fighting proved the CDM had matured into a bona fide force capable of succeeding, and so Cuban leadership decided reinforce the CDM with conventional armored forces. A battalion-sized element consisting of two mechanized infantry companies and a tank company was dispatched to Cronistria, arriving on 20 June 1990.
Nine days later the force, now combined with the Cuban SOF and identified, by the name of its commander, as Task Force Galban, is ready to move. TF Galban is broken down into the SOF element and three mixed battlegroups, each named after its commander. Each battlegroup has a platoon of tanks (actually, wheeled armored vehicles packing a 105mm cannon), two platoons of mechanized infantry (in wheeled armored vehicles), attached heavy weapons (mortars, machine guns, and ATGMs), and reconnaissance elements (in HMMWVs and Scimitars). TF Galban is set to begin Operation Chokehold, wherein the Cubans will skirt Brezno to the northwest, semi-isolating it and Miran, allowing Brezno to be reduced by CDM troops and opening the road to taking the capital.
TF Galban plan:
North is up, the village of Brezno is at bottom right, the capital of Miran is off map to the right, directly east of #5 on the map. Each number is a village/town; you can see buildings (black boxes), roads (tan lines), rivers (blue lines), lakes (blue circles), hills (green humps), bridges (gray pairs of lines), and forests (green shaded areas). TF Galban will enter the tactical area of operations in the southwest (bottom left) corner.
1: Brezno
2: Kacak
3: Premja
4: Abrvo
5: Dubrovna
6: Pisa
7: Stanje
In this, the opening fight of the operation, Battlegroup Aguilera is attacking the town of Kacak, in the southwest (bottom left) corner of the map. The yellow arrows on the map show TF Galban's axis of attack.
Overview of map, north is up, the town of Kacak, with its key bridge, at center, and Hill 121 at left.
The opposing forces, with Communists on the left and Cubans on the right. I just realized I don't have the command stands for either force present...
The Cuban force, which consists of the company commander, Lt Aguilera (not pictured), six rifle stands (each is a squad, so two platoons), a Milan ATGM, a HUMMWV with TOW ATGM, and an AMX-10RC.
The Communists have six rifle stands (each is a squad, so two platoons' worth), a T-62, and a command stand (not pictured). The Communists are on the defensive and will begin the game hidden.
Ahh, the Cuban commander, Lt Aguilera. He will primarily be represented by the LAV command vehicle, but if he needs to dismount I will use this infantry stand.
And the Cuban commander, represented by the MTLB unless he needs to dismount.
The map, with all forces deployed. The Cubans are in the southwest (bottom left), while the Communists are spread across the northwest, northeast, and southeast. I placed blinds (with dummies) on the table, then flipped them and placed the enemy troops. Again, the enemy starts hidden.
The Cuban start positions, with 1st Platoon at left, the Milan at bottom left, the AMX on the road at bottom center, the CO just to his right, 2nd Platoon just to his right, and the HMMWV leading the way, on the road, just above 2nd Platoon.
Looking at the northwest portion of the table: the bad guys have rifle squads atop Hill 121 (bottom left), in the woods just east of it (center), and in a building on the east side of the river (right). The T-62 is at top right. One more rifle squad at bottom center.
The northeast (top right) corner of the board: T-62 is at top center, rifle squads from last photo at center and in the woods at left, as well as in the building at bottom left.. New rifle squad in the building at center right, with the enemy CO's vehicle just below them.
Looking at the southeast (bottom right) corner of the table, with one more enemy rifle squad, in the building to the right of the bridge.
A look at the enemy defenses in the town of Kacak.
Time to fight!
The Cuban HMMWV moves up the road towards the town, miraculously spotting (a 33% chance) an enemy squad in a nearby building. The HMMWV opens fire with its machine gun (it's carrying a TOW and a MAG-58).
The rounds ricochet harmlessly off the stone walls, and the enemy infantry return fire, forcing the HMMWV to fall back and shelter in behind a stand of trees (red bead, from explosion).
The AMX (bottom left) moves up in support, firing its 105mm main gun at the building.
But again the stout walls safely harbor the Communists, who return fire on the AMX, to no effect. 2nd Platoon is visible at bottom right.
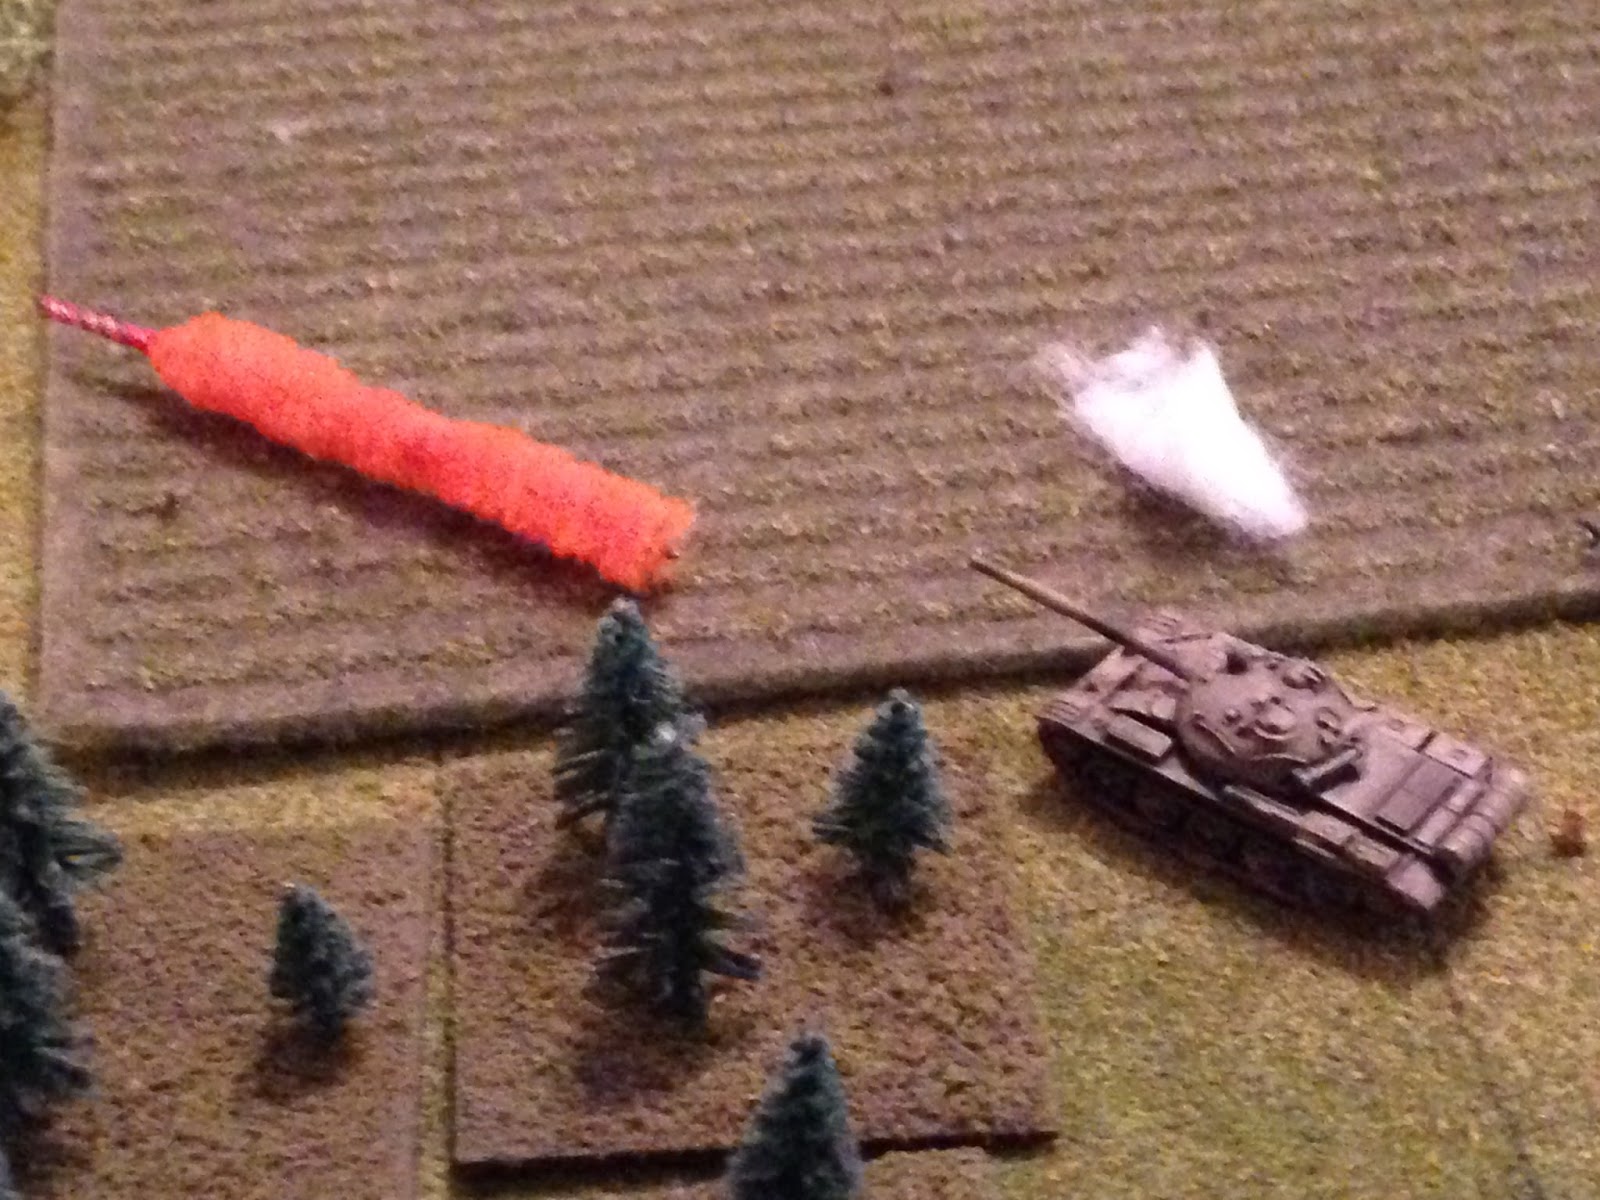
Then the Milan team (bottom left) spots the T-62 (top right) and fires a missile...
But the T-62 is unfazed as the missile slams into the ground harmlessly; the tank's main gun roars.
And the Milan team is forced to fall back (red bead, from explosion, with 1st Platoon at top).
1st Platoon's grunts (top) move up as Lt Aguilera maneuvers his command vehicle over to the Milan team (bottom left) to rally them. But they've seen too much, and run off the battlefield!
And enemy infantry (top right) spot 1st Platoon (left) during its movement towards Hill 121 and opens fire. Please note the enemy squad atop Hill 121 is sitting quiet, still unspotted.
3rd Squad, 1st Platoon (3/1) is forced to hit the deck, suppressed.
1st and 2nd Squads continue to push up Hill 121, but as they move up they are engaged at point blank range by a previously unspotted enemy squad.
And 1/1 is forced to fall back down the hill (red bead at left, from explosion at center).
Lt Aguilera begins to panic; his attack is faltering, hasn't even really gotten off the start line!
And just to confirm Aguilera's feeling, the enemy squad on Hill 121 opens up again, this time on 2nd Squad, and they are out of the fight.
Back near the town, an enemy squad fires an RPG the AMX...
The rocket slams into the earth next to the Cuban armored vehicle, which immediately slams another HEAT round into the building, but this time they knock the enemy squad out.
But the Commies are quite fond of RPGs, and a little further east they launch another rocket at the hunkering HMMWV.
Which promptly explodes (bottom left).
The enemy rifle team in the woods between Hill 121 and the river (top left) fires on 2nd Platoon (bottom right), catching them in the open and knocking out 1st Squad, 2nd Platoon.
2nd Platoon (bottom left) is caught in a crossfire; they were just hit from the woods at top center, and now another enemy squad opens up, this time from the a building at far right.
2nd Squad takes casualties (white bead), and 3rd Squad is forced to fall back (red bead).
The AMX, which is the only Cuban team still eligible to fire (top left; the smoke is from near miss by an RPG) fires on the enemy squad (top right) that just tore up 2nd Platoon (bottom left), but all he manages to do is pin the bad guys.
The CO drives over to help out 2nd Platoon. He checks on 2nd Squad (white bead), but they've had, they're out of the fight. 3rd Squad manages to rally (red bead).
The AMX (bottom center) rotates left and fires on enemy infantry on Hill 121 (top left), trying to help out 1st Platoon (off camera to left, with 2nd Platoon's one squad off camera to bottom).
The targeted troops are hard-pressed (white bead at left), and the AMX (bottom left) moves up. But he draws the attention of the enemy tank (top right), who launches a HEAT round the AMX's way...
The enemy tank's round misses, and the AMX returns fire, but he misses too.
With the AMX at far left, 3rd Squad, 2nd Platoon (bottom left, next to the CO's vehicle) takes a shot at enemy troops in a building across the river (top center right).
The Cubans miss, but the enemy return fire doesn't, and 3/2 is taking casualties.
Back in the north, the enemy rifle squad sitting in the woods decides to move up on Hill 121 to assist the squad there to get back in the fight, and get into RPG range on the AMX (bottom left). But the AMX spots them and opens fire with its coax MG, knocking them out.
Back in town, the enemy CO moves up and rallies a pinned rifle squad.
The enemy squad then dashes across the bridge (left, in lee of building, with enemy CO at right).
A second enemy rifle squad moves up to the bridge (bottom center, from top right), looking to finish off the Cubans.
The AMX moves further left, to assist 1/1, who is back in the fight. 3/1 (bottom center) self-rallies and is back in the fight.
1st Squad, 1st Platoon leaves the AMX, charging up the hill and into close combat with an enemy rifle squad (top right).
1/1 wins its fight (at far left), then pushes ahead, down the hill and into the woods (center), flanking the two enemy squads at the bridge (bottom right).
Which is enough to convince those two enemy squads to fall back into cover in the town (bottom right and top right, respectively, with 1/1 off camera to left).
In the south, Lt Aguilera moves his command vehicle up to 3/2 and rallies them back into the fight.
The enemy tank pushes west (top left) to counter the AMX, should it round the west side of Hill 121 (off camera to left), and an enemy rifle squad moves up (bottom left).
The enemy T-62 (top center) decides to sit tight and wait on the AMX (far left), rather than charge ahead and take him on. An enemy rifle squad (far right) opens fire on 3/1 (bottom left), knocking them out! The CO and 3/2 are at bottom center.
And then another enemy squad (top left) fires on 3/2 and the CO (bottom center), putting heavy casualties on the Cuban riflemen. Lt Aguilera has seen enough.
He calls in smoke, and the remaining combat effectives rally (bottom left) and police up casualties and gear, then fall back off the table.
Well, that's a helluva way to start an operation! The enemy defenses proved a much tougher nut to crack than anyone expected, causing heavy casualties and pushing Battlegroup Aguilera out of Kacak. Lt Aguilera and his men fell back; he ordered the XO to re-form and reorganize the men, the Company Gunny got busy distributing ammo and refueling vehicles, and the 1st Sgt got the casualties triaged and evac'ed. Lt Aguilera went straight to the Task Force CP and reported in to Colonel Galban, who told him exactly what he expected to hear: "Lieutenant, you get your @#$% together and get back in there. You take that town, and I mean NOW, LOOTENUT!!! You are putting me behind schedule you dumb sonuva@#$%, and every second we delay is a second the enemy uses to strengthen their defenses and marshal forces for a counterattack. Now move!"
"Aye-aye, Sir."
Wow, that kinda sucked. My shootin' dice continue to be cold, while the enemy was having a pretty good time. Here are the casualties:
Cuban
HMMWV w/TOW ATGM, total loss
25 casualties
Communist
20 casualties
Oh, and Lt Aguilera went and found the Sergeant in charge of the Milan ATGM team, performed a summary court marshal, and administered the sentence for cowardice in the face of the enemy.
I played a total of four fights this weekend for Operation Chokehold. I figured the entire Op would be about six or eight fights, but it's looking like it will be even more than that, as I hadn't really planned on getting kicked off a map. But I don't care, I'm having a blast, feels like the old Cube Libre "War of Liberation," in which I went for 32 total fights. I figure this Op will last me another two weekends. So stand by for the next three batreps from this weekend.
V/R,
Jack


No comments:
Post a Comment