All,
It's 1230 on 29 June 1990 and Battlegroup Elias is on the move, crossing the line of departure on its way into the Cronistrian town of Abrvo. The plan of attack is take take the urban area west of the river, consolidate, then infiltrate across the river and attack what is believed to be strong defensive positions atop a nearby hill. After some setbacks early on in the offensive, TF Galban seems to be rolling, and the Colonel is depending on Captain Elias to keep the initiative.
North is up, the village of Brezno is at bottom right, the capital of Miran is off map to the right, directly east of #5 on the map. Each number is a village/town; you can see buildings (black boxes), roads (tan lines), rivers (blue lines), lakes (blue circles), hills (green humps), bridges (gray pairs of lines), and forests (green shaded areas). TF Galban will enter the tactical area of operations in the southwest (bottom left) corner.
1: Brezno
2: Kacak
3: Premja
4: Abrvo
5: Dubrovna
6: Pisa
7: Stanje
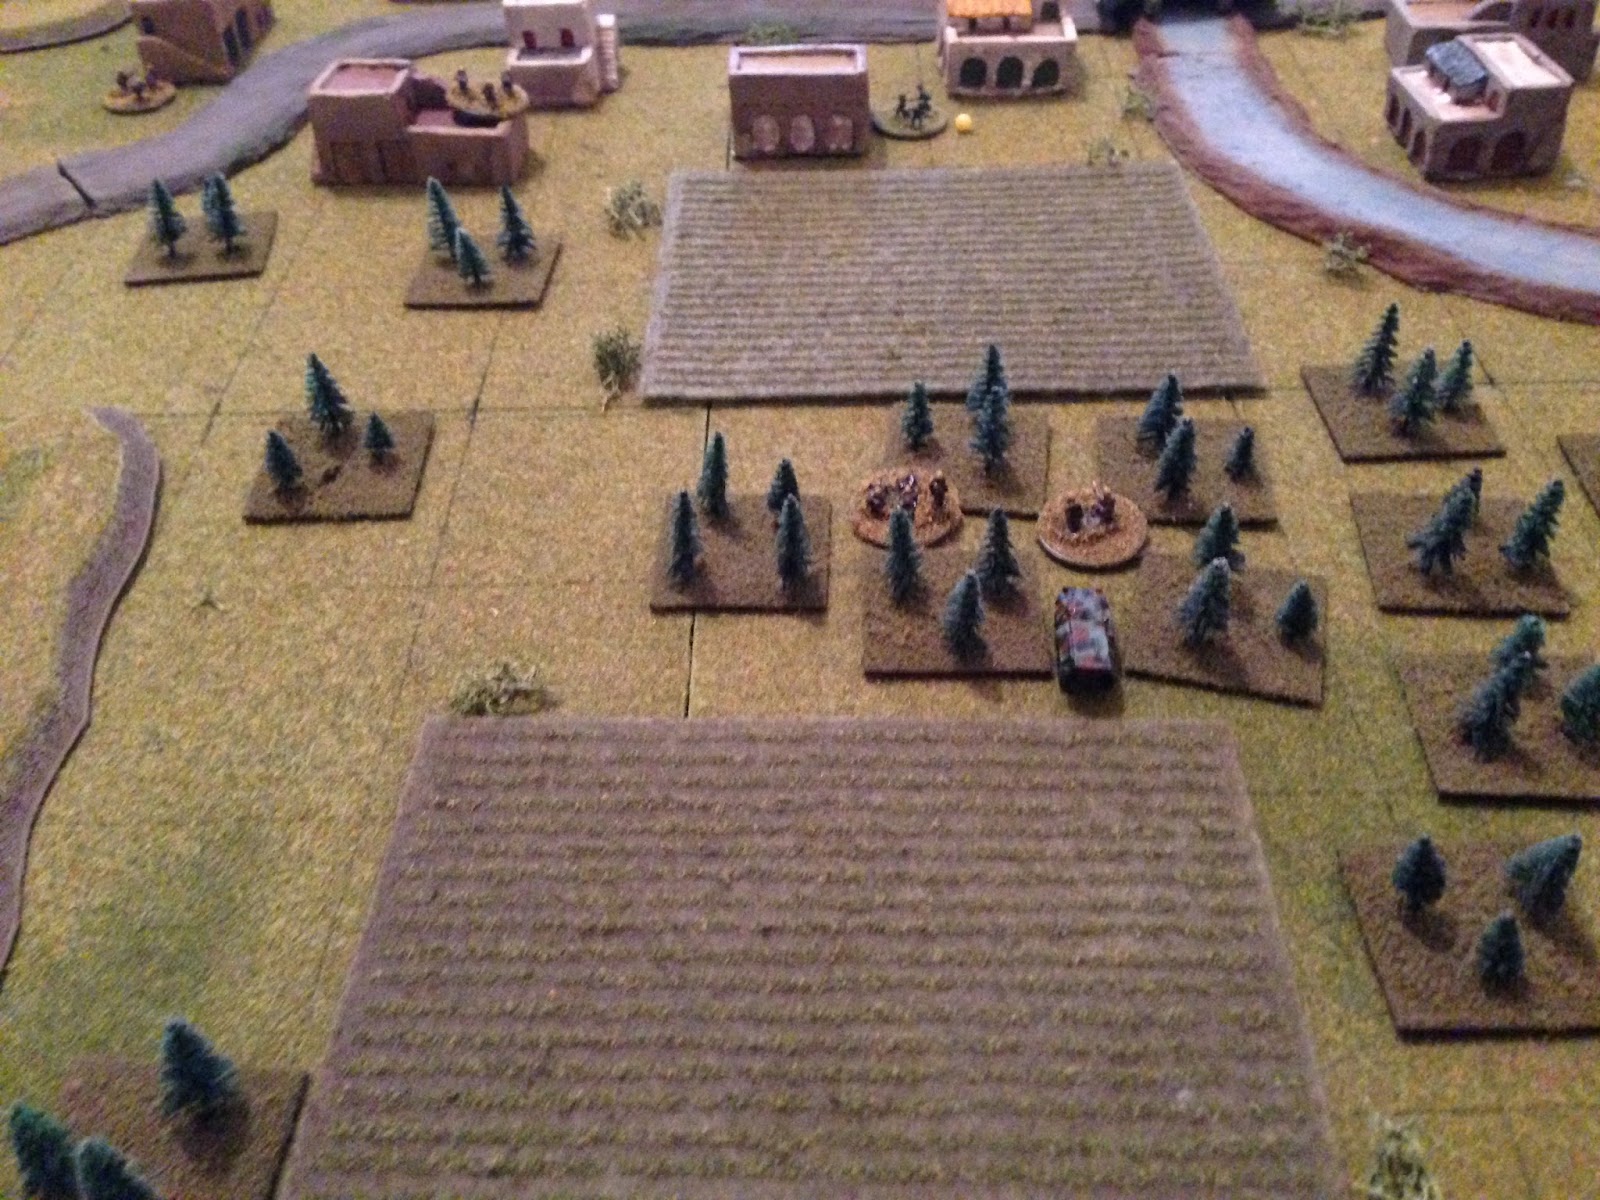
Overview, north is up, Abrvo is at top center/top right. The Cubans will enter from the bottom left (southwest) corner, the Communists may deploy anywhere else on the table.
The opposing forces, with Cubans on the right and Communists on the left.
Captain Elias will ride into battle in his LAV command vehicle (top), though he can dismount his HQ section if necessary. He's leading a lightly armed force forward, consisting of five rifle squads, a machine gun team, and a HMMWV with TOW Anti-tank Guided Missile (ATGM) system.
The Communist commander will ride into battle in his MTLB. He also has five rifle squads, and they are buttressed by a BRDM mounting a 14.5mm heavy machine gun.
Here's the board with the troops placed. As usual, I placed the Cubans (bottom left), then I placed one marker and one dummy marker for every enemy rifle squad, and one marker and two dummy markers for the enemy vehicle, then flipped them over and placed the bad guys.
The Cuban start positions: the HMMWV is leading 1st Platoon's three rifle squads up the road, while 2nd Platoon is atop the knoll at left. The CO is at bottom left, and the MG team is in the trees at bottom center.
The northwest (top left) corner of the map, showing the only enemy troops there to be a rifle squad atop the knoll at top left and the BRDM next to them. The Cubans are off camera at bottom center left.
The northeast (top right) corner of the map, showing two enemy rifle squads in buildings on the east side of the river (top right), and their CO at bottom center.
The southeast (bottom right) corner of the map, showing an enemy rifle squad atop a knoll at bottom left, their CO at top center, and their last rifle squad in the trees just below their CO.
Let's get it on!
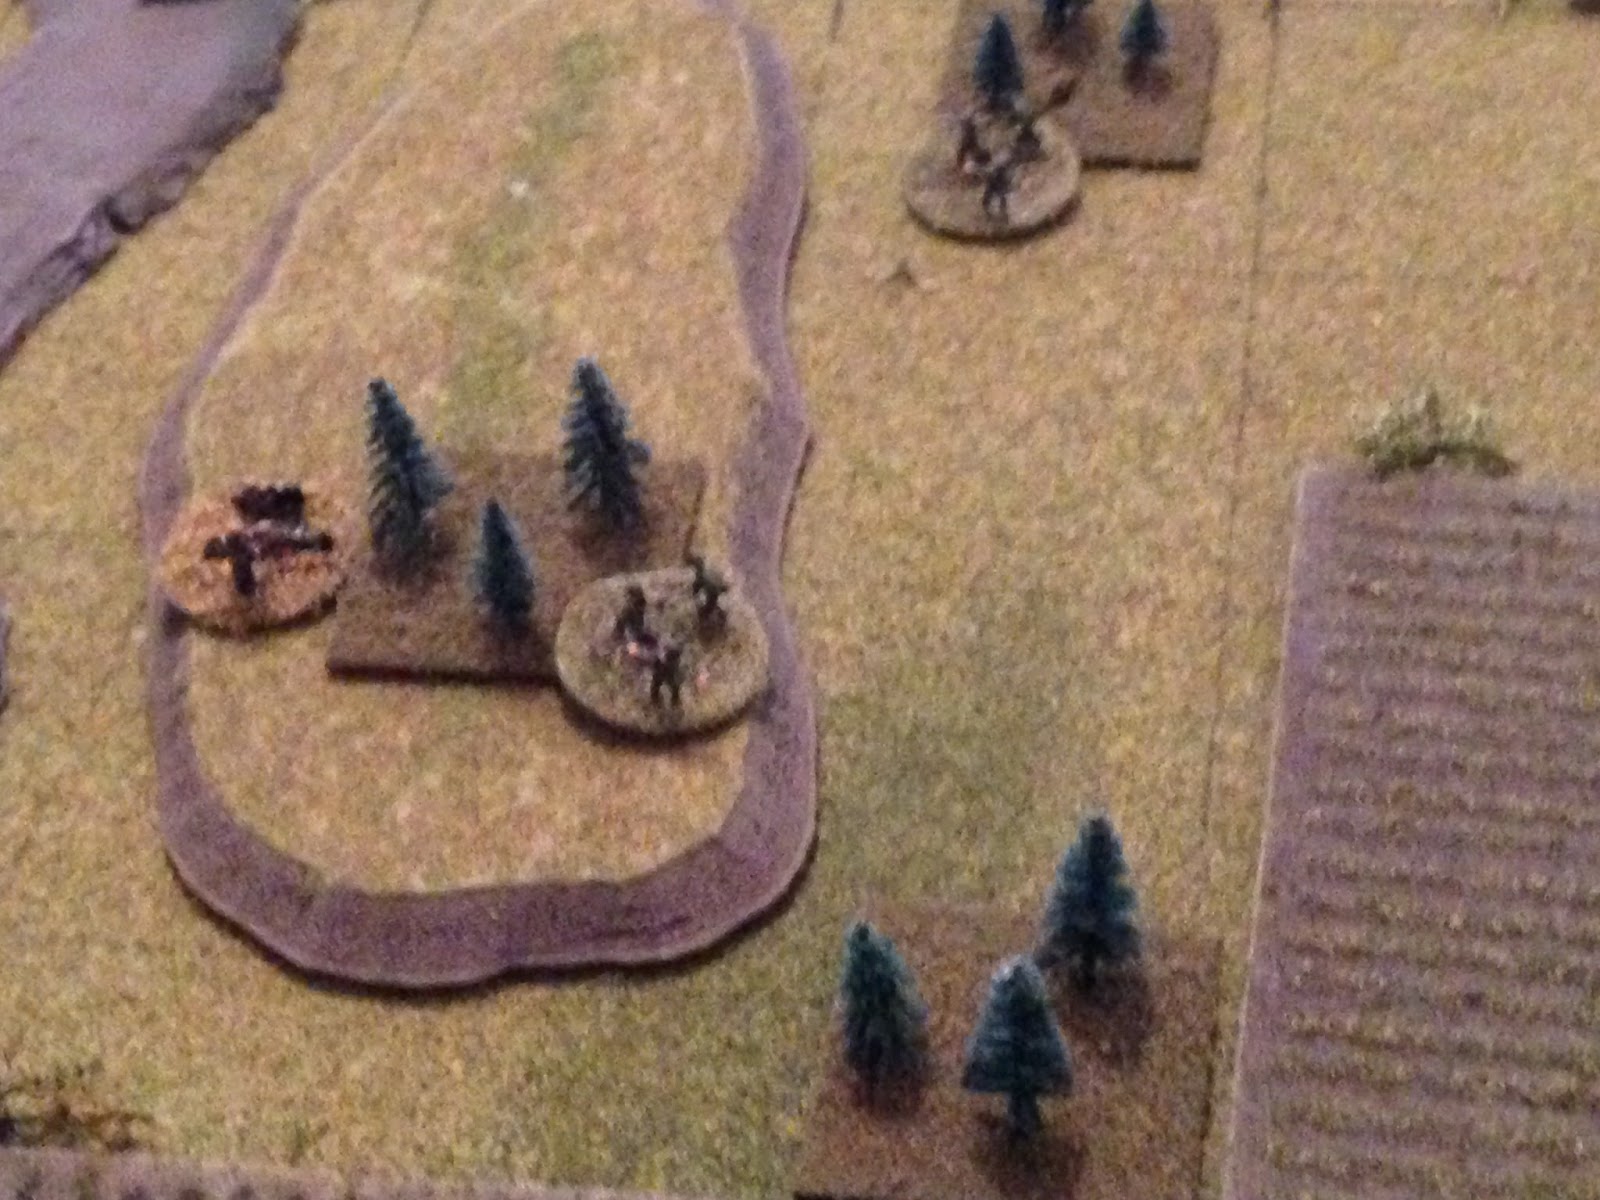
The Cuban HMMWV (bottom center, with 1st Squad, 1st Platoon, or 1/1, visible at bottom right) is creeping forward and spots the enemy armored car. A TOW roars out of the tube...
The BRDM is immobilized, though its crew stays in the vehicle, while a nearby rifle squad (yellow bead, still unspotted) is pinned.
1st Platoon moves up next to the HMMWV at top center, but staying in the lee of the hill. 2nd Platoon (minus one squad) is at left, the CO at bottom center, and the MG team at bottom right.
The CO and 2nd Plt(-) moves up on the far left.
Bad guys in the buildings across the river (top right) spot 2nd Plt(-) (bottom left) and fire, missing.
The enemy CO maneuvers his vehicle into Abrvo (left, from bottom right), looking to get over to his men in the northwest (off camera to left) to rally the BRDM crew back into the fight and support the rifle squad there.
The same bad guys (bottom right) that fired on 2nd Plt(-) earlier open fire on them (top left, with 1st Plt visible behind the hill just below them) again, pinning 1/2. 2/1 returns fire but misses.
The other enemy squad on the east side of the river (bottom right) fires, this time on 1/1 (just peeking out around hill at center left).
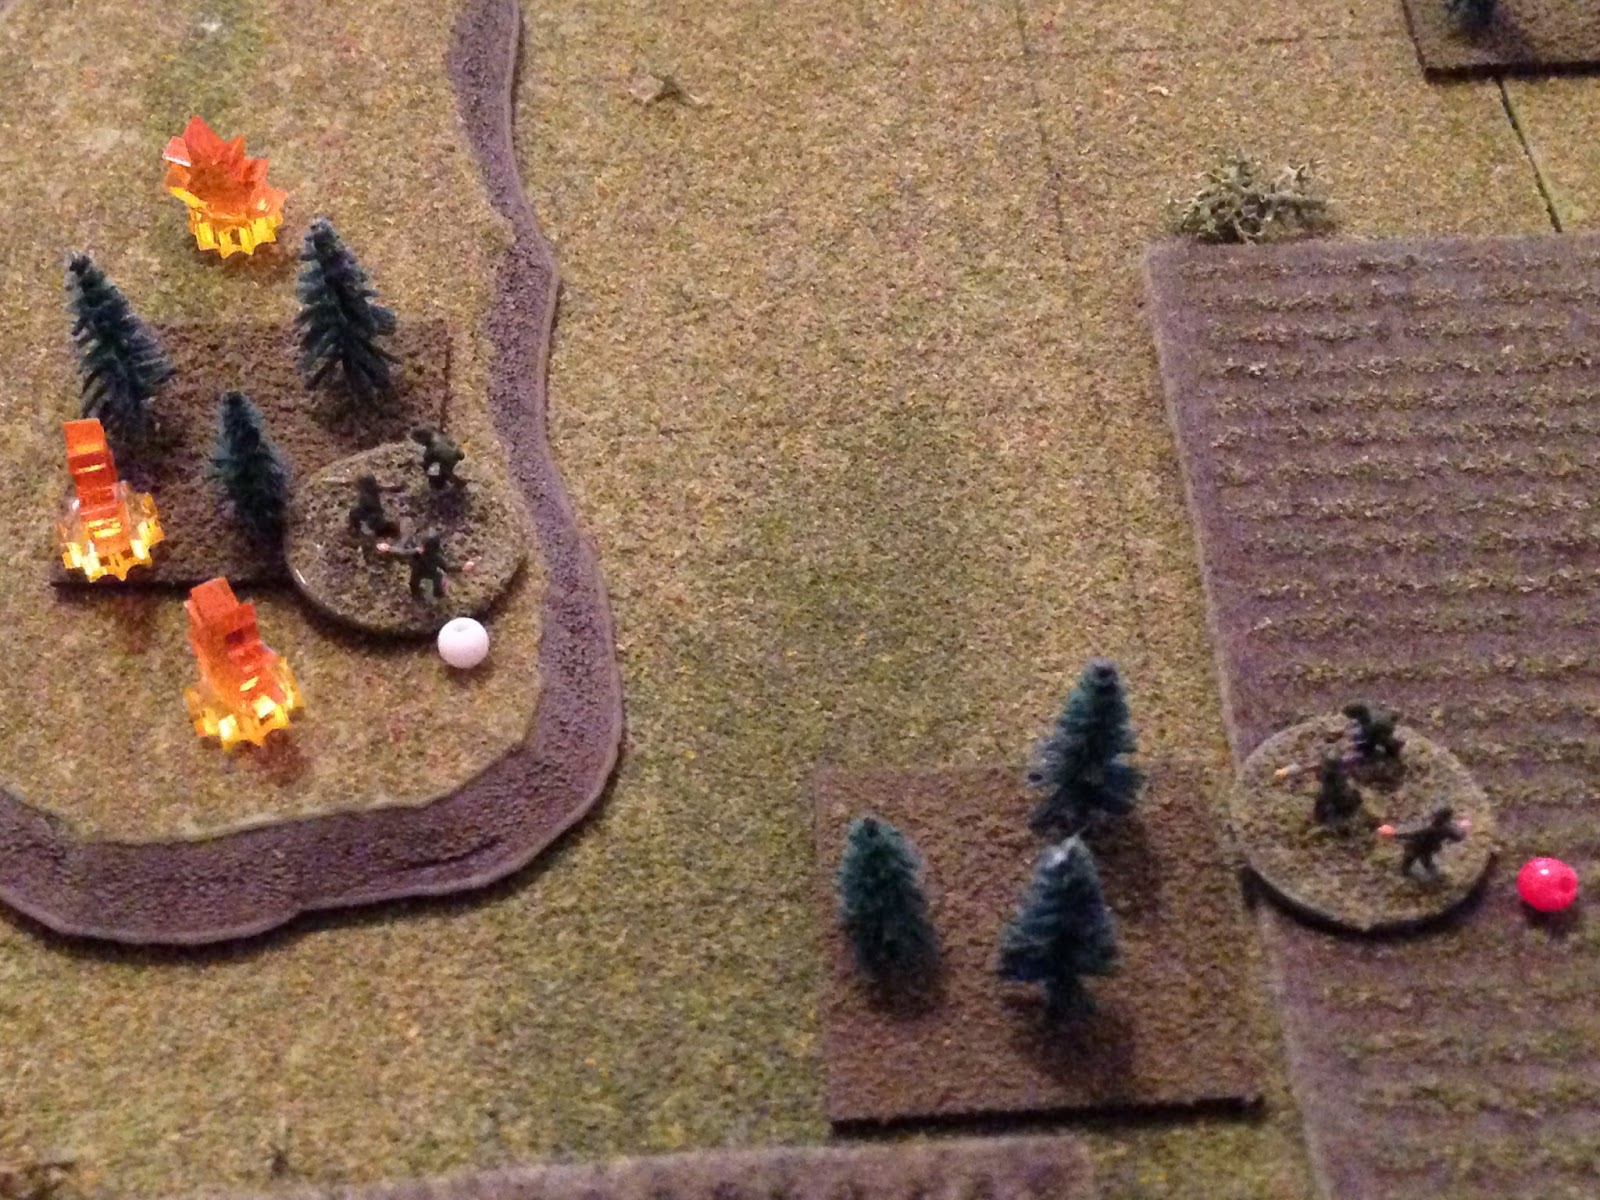
1/1 takes casualties (white bead at top center), while 2/1 is forced to fall back (red bead at bottom right).
And then the bad guys atop the knoll at top left fire down the road, putting casualties on 3/1 (bottom right). 1st Platoon is in shambles at this point.
In the south, two enemy rifle squads (top right and far right, with 1st Platoon at top left) fire on the MG team (bottom left), suppressing them.
Captain Elias looks around: pure chaos, his force is in disarray. Only 2/1 and the HMMWV are still in fighting shape, everyone else is suppressed or dealing with casualties. He shouts orders into the R/T.
Despite 1/2 still suffering a bit from the ill effects of enemy fire, they and 2/2 push forward (left).
The enemy squad in the northwest dashes down the hill to help out the BRDM crew...
But they've had it and bail out!
The HMMWV rolls up to 1/1 (center) and rallies them back into the fight.
And then 1/1 dashes forward into the outskirts of Abrvo (center right, with 2nd Plt(-) at left and enemy squad at top center).
Capt Elias' LAV moves back to 2/1 and rallies them (bottom left).
But when 2/1 moves up and checks 3/1 (white bead), Capt Elias determines they've suffered too many casualties and so he has them carry their wounded out (they're out of the fight).
Back at the start positions, the MG team (red bead at bottom left) self rallies.
But the enemy commander had decided to pursue a rather aggressive defense; perhaps he is unaware the Cubans were able to get most of their troops back in fighting shape? In any case, the two enemy squads in the south push forward (center, just on the other side of the hill from 2/1, and in the treeline at top right, opposite the Cuban HMMWV).
The enemy CO falls back near the bridge, as the two squads he had on the east side of the river move up.
Like I said, very aggressive.
The two enemy squads that just crossed the bridge continue to push, with one getting into a building (top center) and one sprinting across the street (center, with 1/1 at far left). The enemy squad at top left self rallies.
And the enemy troops in the south push forward relentlessly, with one enemy squad getting almost to the road (top center) and the other climbing the ridge, coming nose to nose with 2/1 (left)! Close range fire and grenades are exchanged...
And 2/1 wisely falls back (top left), where it is joined by the CO. The MG team is at bottom left, the HMMWV at top center. 2nd Plt(-) and 1/1 are off camera to top; the enemy squads (center and top right) are threatening to cut them off!
But Capt Elias yells orders to his men: "1/1, join 2nd Platoon! 2nd Platoon, push forward, clean out the town! Do not worry about your flanks, we got it!" The HMMWV moves up to 2/1 (left) and rallies them.
And then 2nd Plt (+/-) moves up. 2/2 is at top left (flanked bad guys behind building at top center left), 1/2 is on the other side of the building from the bad guys that just got flanked, and 1/1 is in the building at bottom right, looking at the bad guys that just sprinted across the street (far right).
The HMMWV fires a TOW at an enemy squad in a building.
The enemy squad in the target building (top left) takes casualties, and the enemy CO's vehicle is immobilized, causing him and his HQ section to bail out (yellow bead at top center), and a nearby rifle squad is forced to fall back (red bead at bottom right, from building at bottom left).
Okay, I had a great firepower roll, but boy did I royally screw up. I guess I just got too excited, but now that I'm typing up the batrep it is clear to me I made a big mistake.
-The TOW missile struck a stone building; I should not have allowed it to immobilize (or otherwise hit) the enemy CO's vehicle.
-The bad guy rifle team that fell back from the stone building at bottom left was not a mistake, though it's not correct. As they were in cover they should not have fallen back, but I rolled again and gave them a small opportunity to fall back, which they luckily took. The point there is, if they'd have stayed in the building at bottom left they would have remained very close to Cuban infantry (off camera to left) and would have been ripe for getting close assaulted into oblivion.
With 2/1 (right) patiently standing by, 2/2 (bottom left) cuts loose with everything they've got, and the enemy squad is knocked out!
Back in the south, 2/1 (top left, with CO) and the MG team (bottom left) open up on the ridge, putting heavy casualties on them.
And then 1/1 (top left) fires on the other enemy squad in the south (center, with the squad that just got beat up by 2/1 and the MG team at bottom right)...
But 1/1's fire is ineffective! The bad guys (bottom center) return fire, but they miss too!
The bad guys that 1/1 just traded fire with decide to move up the ridge to help their buddies (just above the bad guys at bottom right with white bead), but 2/1 (far left) spots them and opens up...
Forcing the bad guys to fall back (bottom right, from top left).
Back in town, the bad guys at bottom right try to rally, but only get up to 'pinned.' 1/1 (bottom left) is licking its chops thinking about close combat.
Speaking of close combat...
Back in the south, Captain Elias leads his HQ section and 2/1 forward, towards the ridge.
Where they dismount and charge up the hill!
They easily dispatch the enemy on the ridge, so they ride their momentum down the hill and into another close combat.
They put another enemy squad out of action, then turn north and charge across the fields and into the treeline just below Abrvo, where the command LAV rejoins them (center).
1/2 moves up (top center, with 1/1 at bottom center) and into close combat, as the enemy CO looks on (just right of the burning vehicle).
The Communist leader joins the fray!
And 2/1 is thrown back (bottom left) in disarray!
But the HMMWV (bottom left) is there to stem the tide. 2/1 falls back (red bead at left) and the HMMWV opens fire with its machine gun, catching the enemy squad in the open and putting them out of the fight!
The enemy CO falls back to his last remaining squad (bottom center, from the vehicle at top left).
But the Cubans close the noose, taking the enemy CO and his few surviving troops prisoner!
Wow, what a turn! After that opening bad guy fusillade left all but the HMMWV and one squad either 'men down' or 'hunkered' I was a bit, let's say anxious, about the fight. But then I got a 'scurry' which allowed me to rally almost everyone back into the fight. Then the enemy CO got all crazy and pushed everyone forward; quite a fight in the town, but I must say my decision to fall back in the south, then catch the bad guys in a crossfire between 2/1 and the MG team, then counterattack with 2/1 and the CO, was masterful ;)
Here's the tally;
Cuban
15 casualties
Communists
1 BRDM knocked out
1 MTLB knocked out
30 casualties
15 EPW
Captain Elias was awarded the Estrella de Bronce for his actions to stabilize the right flank, lead the counterattack which destroyed two enemy rifle squads, and then maneuver his men into position to cut off the escape of the remaining enemy forces and seize the objective.
The fight went so well for the Cubans that they were able to invest all of Abrvo, including the east side of the river. But the enemy hilltop defensive position remains, and so Captain Elias reforms his men to make the follow-on attack.
This is the first of four fights I played this past weekend. Hope you like it, and more to come!
V/R,
Jack


No comments:
Post a Comment