All,
It's 0515 on 1 Feb 1990, and the CLA SOF'S C Squadron has been dispatched to destroy a key regime Communications Center aboard a military base in Santiago de Cuba, at the east end of the island.
The opposing forces, regime forces on the left, CLA on the right.

The CO of CLA SOF C Squadron, Captain Bosanova.
The protagonists: a Command stand, four SOF Teams, 2 Popular Force teams, and an 84mm Carl Gustav rocket team.
The target is the Communications Center for the entire Cuban Army, located deep in the heart of the Santiago de Cuba Army base. The SOF teams are infiltrating the Cuban Army base with assistance of local Popular Force members of the CLA, who are co-optees that are civilian workers and members of the Cuban Army stationed at Santiago de Cuba. The SOF teams infiltrated Cuba months ago, and are now set to be smuggled aboard the military base in 'borrowed' Cuban Army trucks.
The antagonists: members of the 31st Infantry Company, 9th Cuban Infantry Battalion, responsible for physical security of the Cuban Army Communications Center, which has its own perimeter within the confines of the military installation. They have a Command Stand, five rifle teams, an HMG team, and an MMG team.
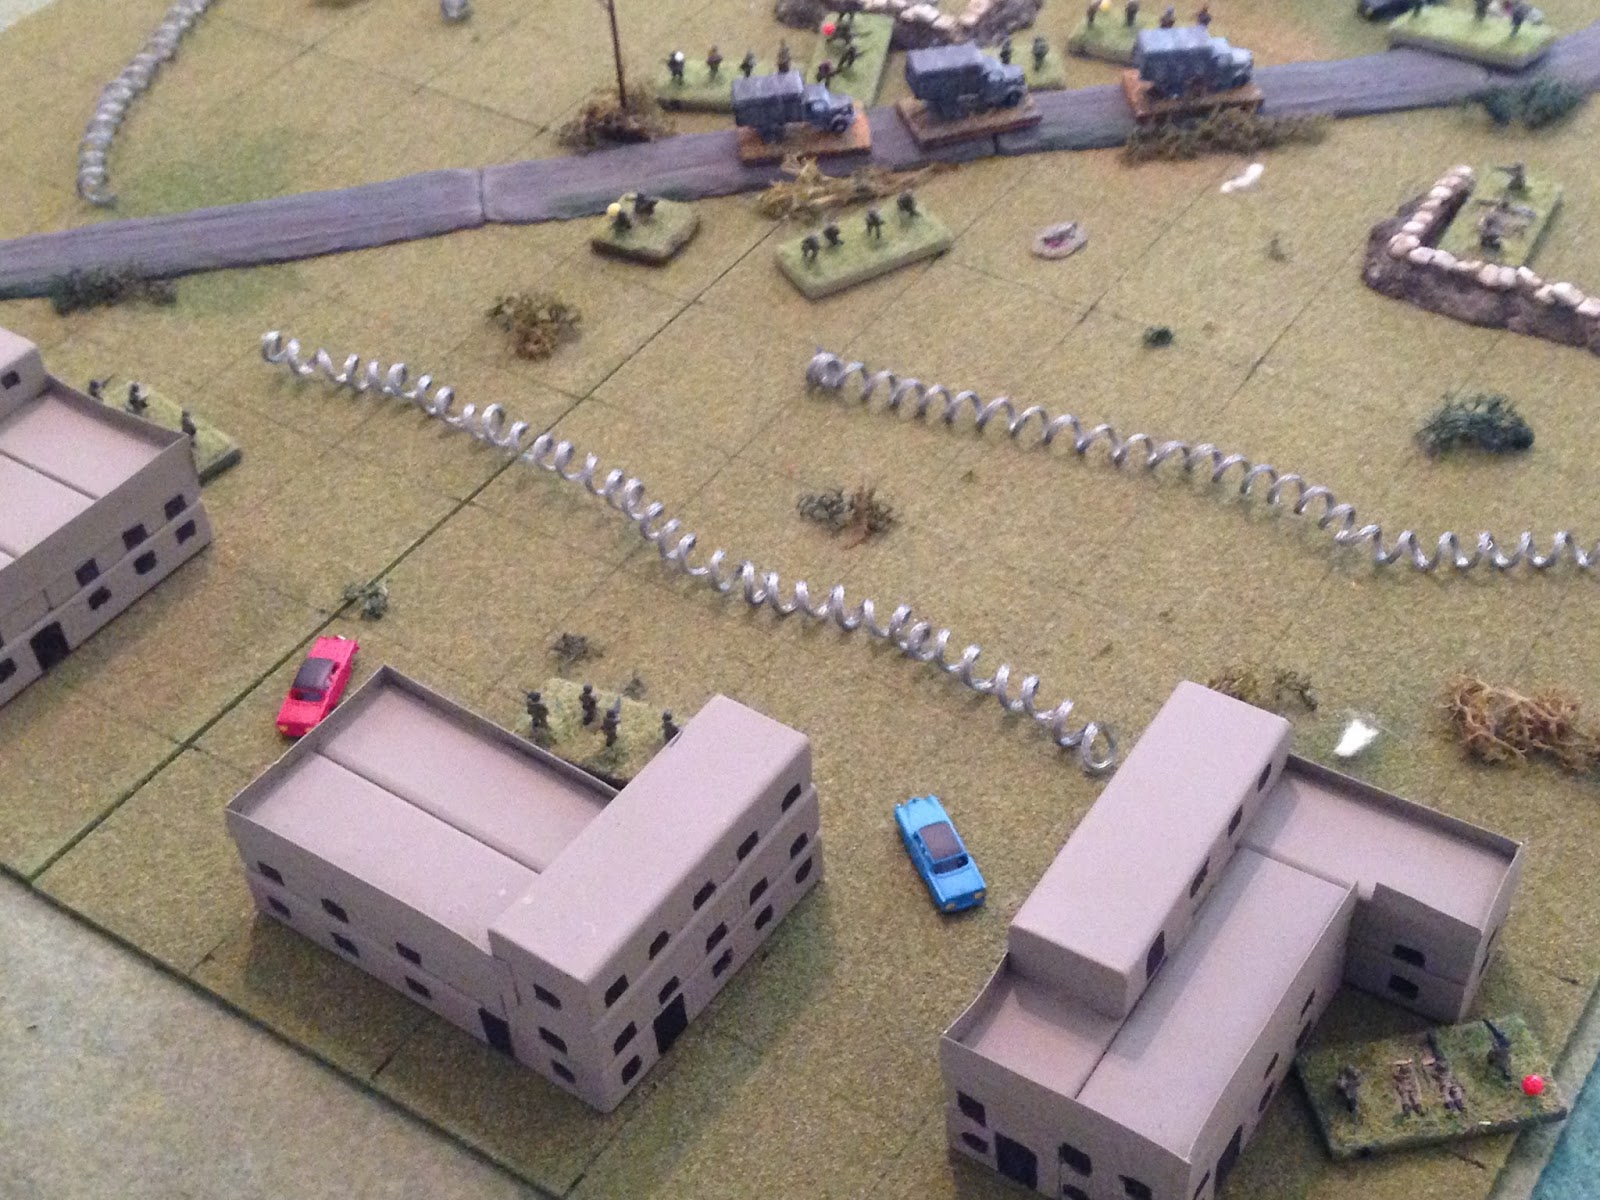
Overview, north is up. The Comm Center is at top center, with the Command Post at top right. At top, the bunkers are, from left to right, Bunkers 1, 2, and 3. At the southern end of the table are three Cuban Army barracks, left to right, Barracks 1, 2, and 3. The CLA SOF are at bottom left, entering in three Cuban Army trucks. The MMG team is in B1, the HMG in B2, with rifle teams in the Comm Center and B3 and the Command Stand next to the Comm Center. The three remaining regime rifle teams will enter the board at random locations once the shooting starts.
CLA starting positions in the southwest.
The Castro-force situation in the north.
CLA SOF on the move, through the wire.
Nearing Bunker 2.
Right up to the Comm Center.
And everyone is out, guns blazing!
And, as luck would have it, the Cuban soldiers, on high alert due to their extraordinarily important task of guarding the Comm Center, pop out, one team each from Barracks 1, 2, and 3.
Let's get it on!
Straight away the regime HMG in Bunker 2 (center) opens up on SOF Tm4, getting 'men down' (bottom right, white bead), and the rifle team in the Comm Ctr hits PF Tm2, pinning them (top center, yellow bead), and then Tm2 (center) returns fire on the HMG, putting it out of the fight.
And then something happened that's never happened before: the two CO's collide.
Captain Bosanova and his HQ team quickly eliminate their counterparts.
Then Bunker 3 opens up on SOF Tm1, forcing them to fall back (far left, red bead, next to PF Tm1).
Then the enemy troops in the barracks open up: Barracks 3 (bottom right) fires on PF Tm1 (top center, body), eliminating them and forcing SOF Tm1 to fall back again. Barracks 2 (bottom center) fires on SOF Tm 3 (center, just above wire), no effect, and Barracks 1 (far left) fires on the Gustav team, pinning them (yellow bead, at left end of truck line). SOF Tm3 returns fire on Barracks 3, forcing them to fall back (bottom right).
SOF Tm3 moves over (center) to try and help the Gustav team, but they fail and fall back (cluster at top left). SOF Tm3 fires on Barracks 1 (bottom right).
Barracks 1 suffers 'men down (bottom left), while Barracks 2 is forced to fall back (far right). All three enemy teams in the south are ripe to be rolled up, IF we can simply take advantage of it. Don't hold your breath...
SOF Tm2 was just above the middle truck; they decided to move forward, but the enemy rifle team in the Comm Ctr (top right) Guard fired, and forced them to fall back (far left, from white puff at center)...
Captain Bosanova is starting to get pissed; he moves over (top right) to try to rally his floundering force: SOF Tm1 fails and falls back again, the Gustav team rallies, SOF Tm2 rallies 'up' to pinned, and SOF Tm4 fails and remains 'men down.' Pathetic...
The Gustav team moves up and fires on the Comm Center...
Putting the enemy rifle team out of the fight.
The enemy MG in Bunker 3 (top left), originally caught out facing the wrong direction, displaces to target the CLA troops in his perimeter, and the rifle team in Bunker 3 (bottom right) fires on SOF Tm3 (bottom left)...
Forcing them to fall back (top left center, from white puff at far left). After the initial exchange of gunfire this looked like it was going to be a piece of cake, but now I can't get anything done...
SOF Tm4 rallies, SOF Tm3 rallies 'up' to pinned, and SOF Tm2 rallies. Maybe getting somewhere now?
SOF Tm2 charges the enemy team at Barracks 1 (in the southwest), who are 'men down.'
SOF Tm2 easily puts them out of the fight (bottom left), then moves towards Barracks 2 (center, enemy team hunkering at top right).
The Gustav team hops into Bunker 2 and takes a shot at Bunker 1, but misses...
Since that didn't work, SOF Tm4 moves towards Bunker 1, but guard fire from the MG there pins them...
The enemy rifle team in Bunker 3 (far right) fires on SOF Tm2 (far left), missing, while the enemy rifle team at Barracks 2 (bottom left) rallies.
The Gustav team takes another shot at Bunker 1, and this time the rocket hits the target.
SOF Tm4 (center, with yellow bead) tries to rally but fails and stays pinned. SOF Tm3 (center, next to last truck) rallies, but SOF Tm1 tries to rally and fails, falling back again (bottom left)...
At top right, Captain Bosanova moves to PF Tm2 and rallies them.
And then the CO leads them into the Comm Center. PF Tm2 begins rigging the building for destruction while the HQ team scours the area for documents and electronic media.
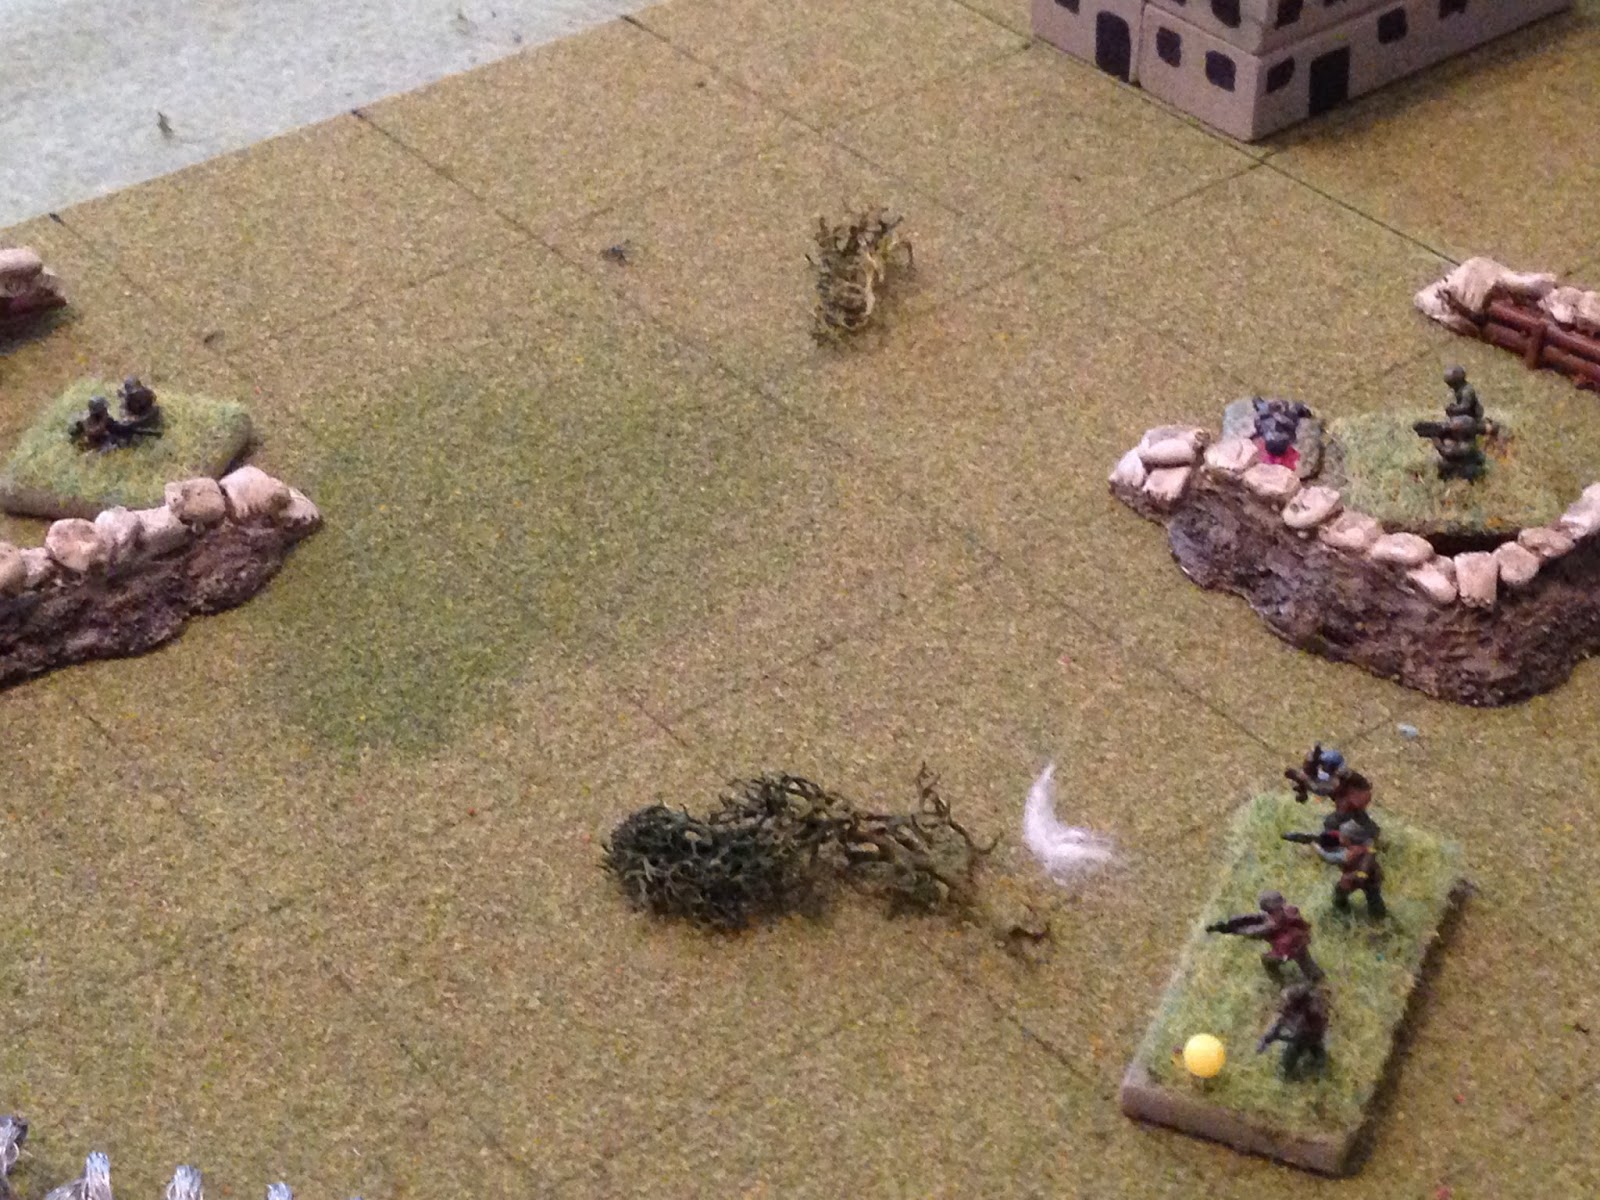
SOF Tm2 (far left) is moving on the enemy team at Barracks 2 (far left, near blue car), but the enemy team in Bunker 3 (far right) guard fires...
And forces SOF Tm2 to fall back (top left, from white puffs at center). @#$%ing unbelievable.
Please note that every time you see the term "Guard Fire" or "Snap Fire," a unit is firing with 1D6; ONE SIX-SIDED DICE, and when they cause a fall back it's because they rolled a 6. It's already happened three times in this fight.
Uh-oh; off camera to right, the enemy team at Barracks 3 rallies, and now the enemy team from Barracks 2 (top right) is moving towards my pretty much defenseless (until they rally) SOF Tm2. SOF Tm2 was cowering behind the red car at center when the enemy team opened fire, forcing them to fall back again (bottom left).
SOF Tm2 the tried to rally itself, but failed, falling back from the edge of the center building to bottom left. One more and they're gone...
Off camera to top left, SOF Tm4 rallies, but SOF Tm1 fails again, though does manage to get 'up' to pinned.
SOF Teams 3 and 4 (bottom left) move up, as does the Gustav team (top center, just left of the Comm Ctr).
The enemy team at Barracks 2 (far right) turns to face the new threat of SOF Teams 3 and 4 (top left).
Man, that rifle team in Bunker 3 has been a pain in my ass... They open fire on the Gustav team and force them to fall back...
The enemy team at Barracks 2 fires on SOF Tm3, but misses.
The Gustav team (top left) rallies, and, with the explosives set, PF Tm2 fires down on Bunker 3, finally eliminating the enemy rifle team there. With that, the two remaining enemy rifle teams in the barracks area melt to the rear, deciding to wait for reinforcements.
Captain Bosanova gets his men to the trucks...
And the trucks drive off as the explosives in the Comm Center detonate, the CLA troops escaping in the confusion sown by their sudden attack. Mission Success for Captain Bosanova's C Squadron!
Casualties:
Friendly: ~10 KIA/WIA
Enemy: ~35 KIA/WIA
Another fun one, got more on the way.
V/R,
Jack


Captain Bosanova. Priceless :-)
ReplyDeleteGreat job on the board set up. Looks like a perfect little miniature compound.
So did you actually play out the force retreating to the trucks or just narrate that as the end?
Thanks man, glad you liked it. I didn't play out the egress, just narrated the portion after the Comm Center blew. Sorry, I was in a hurry to start the next game! Three more to go.
ReplyDeleteV/R,
Jack
Another exciting batrep! So how does this one relate to the attack on the radar station? Were both this one and the previous one simulataneous?
ReplyDeleteChris
Dammit, someone is actually paying attention? I wasn't expecting that ;)
DeleteThe two raids were roughly simultaneous, designed to take down early warning and comm infrastructure in advance of the invasion, which is two para drops followed by two amphibious landings.
The first fight was on the west end of the island, to take out the seaward facing radar, while the 2nd was at the eastern end of the island aboard a major army base.
I'll try to put more context into the future reports, maybe even a map to show where it's occurring.
Thanks for looking.
Jack
Another hard fight. Great bat rep.
ReplyDeleteCheers, Andy
Hey, thanks Andy.
DeleteV/R,
Jack
All infantry (trucks don't count!) for another great battle between the good guys and the bad guys. It really seems the small table is well suited to these engagements.
ReplyDeleteYeah man: short, sharp fights are what I'm looking for, and what I'm getting so far, and having a great time.
ReplyDeleteV/R,
Jack