Sunday, August 16, 2020

Operation Chunky Bandit #47 (Ground)

All,

1430 on 5 Aug 1990
Mini-Campaign Fight #21
TF Bowie vs FLA 3rd Company


Captain Madre-Animral
Commander, TF Bowie
Navy Cross, Bronze Star w/V, War of Liberation and South Leon campaigns


2nd Lt Peria
Executive Officer, TF Bowie
Medal of Honor, Silver Star x 2, battlefield commission to 2nd Lieutenant


Captain Madre-Animral leads his TF Bowie against the FLA's 3rd Company.  The FLA 3rd Company was in a reserve position at H-Hour yesterday, but decided to give chase to TF Razor as they attempted to break out of the Communist encirclement.  TF Razor fought a successful rear-guard action, giving the FLA 3rd Company a bloody nose and forcing it to fall back, where it sat overnight, resting and reorganizing,  And now TF Bowie has located them and intends on destroying them!

This is a simple attack-defend scenario: the Cubans are seeking to eliminate the FLA's 3rd Company as an effective fighting force, while the Communists are simply hoping to survive the onslaught of these crazy Cuban Marines!

Overview, north is up.  There are hardball roads running north/south and east west, intersecting in the southwest (bottom left), with villages present at top left and bottom right, as well as several knolls/hillocks, to include the prominent Hill 200 at right and the lesser Hill 110 at left.  Other than that we've got several cultivated fields and scattered jungle.

The opposing forces, allies on left and Communists on right.

The figures are all 10mm from Pendraken, Minifigs UK, and Butler's Printed Models.  I'm using Ivan's "5Core Company Command," playing on a 3' x 2' surface with simple terrain to speed up the process.  The hootches are from Jimmi at Flashpoint Minis, the roads are from Fat Frank, the hills are from Warzone, the fences are from Sarissa, the fields are from Hotzmats, the trees are cake toppers, and when you see the rivers, they're from Wargamers Terrain.  I'm playing solo and will randomize enemy deployment using a system of blinds borrowed from Joe Legan's "Platoon Forward."

In terms of caliber of forces, the SLA, FSNL, and FLA troops will all be treated equally, except for the fact the FLA troops will be treated as fanatics, in terms of their willingness to advance into close combat.  The Cubans are more tactically and technically proficient, and so they will receive extra firing dice, better rallying capability, bonus in close combat, and sometimes will have a second command stand on the table.

Captain Madre-Animral's force consists of: a command stand, four rifle teams, an LAV-25, a machine gun team, and an 81mm mortar team.   These troops are Minifigs' Modern US with a BPM LAV. 

*There is also now a separate command figure for Lt Peria, who was the Bowie 03 Team Leader but has now been promoted to Executive Officer.

TF Bowie also has some heroes amongst its ranks:
-CO Captain Madre-Animral was awarded the Navy Cross and a Bronze Star w/V
-XO Lt Peria was awarded the Medal of Honor and the Silver Star, and was provided a battlefield commission to 2nd Lieutenant
-Bowie 01 Team Leader was awarded the Bronze Star w/V


The Task Force Bowie Executive Officer, hero extraordinaire, and now living legend, 1st Lieutenant Ray Peria.

The Communist force consists of: a command stand, five rifle teams, and a 107mm Recoiless Rifle team.  The figures and BMP are Minifigs' Modern Urban Insurgents.

Just for kicks, here's what the table looks like with blinds.  First I place the Cuban attackers (along the far left side of the board), then I place the blinds.  The white blinds are rifle teams (would be Joe Legan's "A-type blinds"), the red are heavy weapons ("B-type blinds;" there are no vehicles in this fight for the bad guys, so no "C-type blinds"), and then the black is for positioning of the enemy commander team.  The rifle team blinds are 50% real and 50% dummy, while the weapons and command blinds are 33% real and 66% dummy.

Overview, this time with troops.  The Cubans are attacking from the west (far left table edge), while the Communists are defending the rest of the table, from the north/south running road at left all the way back to the right table edge.

The Cuban starting positions: Captain Madre-Animral has the mortar team, MG team, and Bowie 01, and 02 at top left, while the LAV, which is carrying Lt Peria and Bowie 04 and 04, is at bottom right.

The Communists have rifle teams at left bottom, at far left (atop Hill 110), atop the knoll at top center left, in the trees at top center right, and atop Hill 200 (center right bottom), with their CO and Recoiless Rifle team (center).

Let's get it on!  There is very poor visibility on the battlefield this afternoon; previous fighting, as well as airstrikes and artillery fire have conspired to cause several fires in the area, with dense smoke hanging close to the ground and obscuring lines of sight/fields of fire.  The Communists spot Task Force Bowie's arrival (top right and just behind the trees at top left) and decide to seize the initiative.  Taking advantage of the smoke, they push forward, leaving a token force on their right (far right) as they concentrate on and around Hill 110 (top center left).

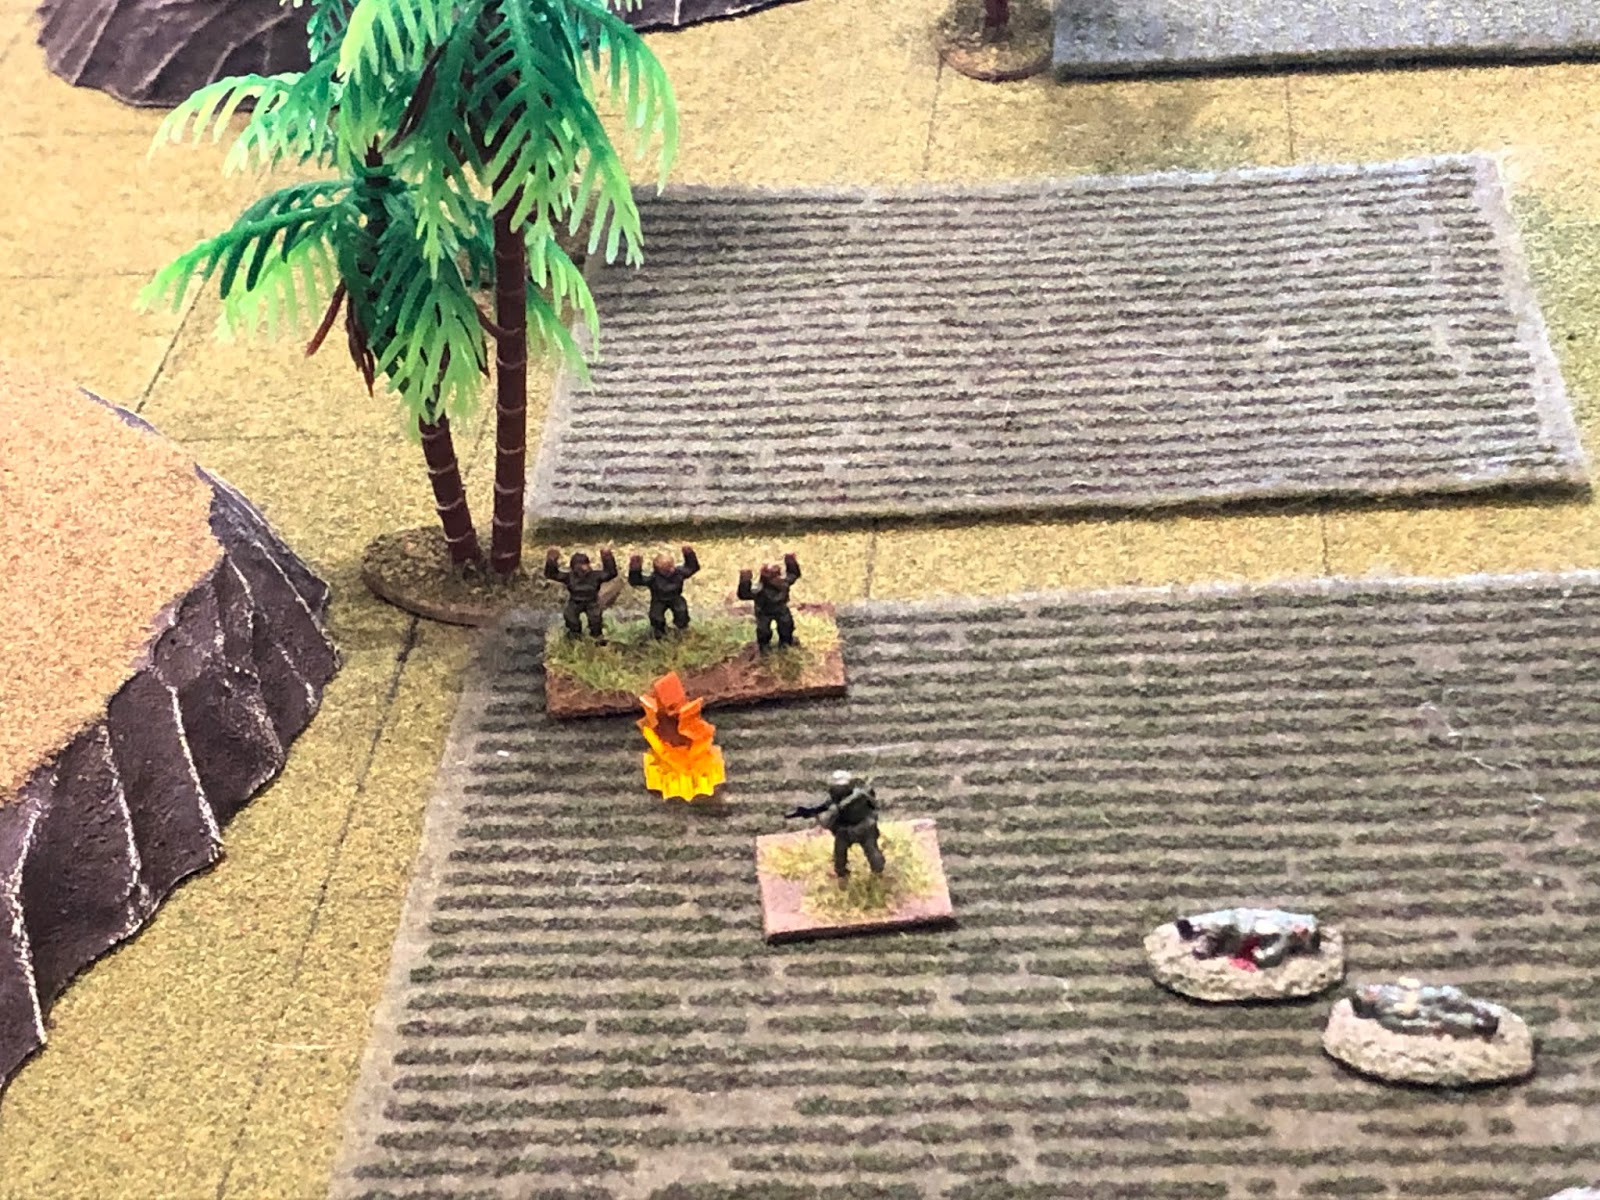
But the bad guys aren't as sneaky as they think; the Cuban Marines have spotted the enemy advance, and though they don't have clear fields of fire, they maneuver aggressively to counter the enemy.

On the left, Captain Madre-Animral push forward (top left, in the village at left), while the MG team displaces forward, onto Hill 110 (center).

While on the right, Lt Peria spots the enemy build-up opposite him (far right), so rather than become separated from the rest of the force (center/top) he pulls in the flank, ordering the LAV vehicle commander to push left and up, onto Hill 110 (center, from bottom left).

Where he, Bowie 03, and Bowie 04 promptly dismount.

*I just made all that up about lack of visibility due to smoke from local fires; the Commies got the first activation and rolled up a 'scurry;' I rolled to see how they would react and it was super aggressive, so I pushed them forward, so the 'limited visibility' thing seemed to work.

Lt Peria, atop Hill 110 (center right) spots enemy movement (top center) and calls on the mortar team (bottom center), which promptly begins thumping out 81mm HE rounds...

But fire direction/adjustment is difficult because of the smoke and the rounds only mange to suppress one enemy rifle team (red bead at center right).

The MG team (far left) fares better, opening fire at close range, suppressing a rifle team and the enemy Commander (top right and just off camera to top right)!  And you know what that means; all Lt Peria (just off camera to bottom center) needs is a crack...

With the MG team laying down cover fire, Lt Peria grabs Bowie 03 and pushes forward (far left)...

But the nearest enemy rifle team is not suppressed and opens fire at point-blank range!

Bowie 03 takes casualties and goes 'men down,' but Lt Peria charges the enemy troops all by his lonesome!!!

And he goes on a rampage, knocking out his first victims (top center) before descending on the enemy rifle team suppressed by the Marine mortars...

He puts them out (far left) and charges the enemy CO and Recoiless Rifle team, which fires on him...

But they cannot stop him...

And he puts them out of the fight (far right) before rushing the enemy command group...

Eliminating them (bottom right) and then turning on the other suppressed enemy rifle team, which promptly throws down its weapons and surrenders, rather than face the wrath of this Cuban devil!

An enemy rifle team shifts center (center) from the left flank (bottom right), but while they're pondering whether to fire on Lt Peria (top left) or not (how do you shoot the Devil?  What if you miss?)…

Bowie 04 (bottom left) spots them (top right, with Lt Peria at center) and opens fire...

Suppressing them (red bead at far left)!  The last remaining enemy rifle team pushes into the center from the right flank (right, from bottom right)…

Bowie 02 (bottom left) spots them (top right) and fires...

But the fire is ineffective and the Communists (bottom right) engage Lt Peria (top left), putting him 'man down'!

But the Cuban MG team (bottom left) returns fire and puts the bad guys (top right) men down!!!

Bowie 04 (bottom left, atop Hill 110) continues firing on the suppressed enemy team in the opposite treeline (top right)...

Then pushes downslope to rally Bowie 03.

They successfully rally and push up, into the clearing, to check on Lt Peria, as they pour fire into the nearby treeline.

Lt Peria (top left) is okay, and Bowie 03's fire guns down the bad guys in the treeline!

Bowie 04 advances and captures the last remaining enemy unit on the battlefield, ending all resistance in and around Hill 200.

TF Bowie's aggressive action sees the FLA's 3rd Company decisively defeated, and eliminated from the campaign as they no longer constitute an effective fighting unit.  TF Bowie is permitted to advance in order to exploit their victory, pushing east to D6 from E5.

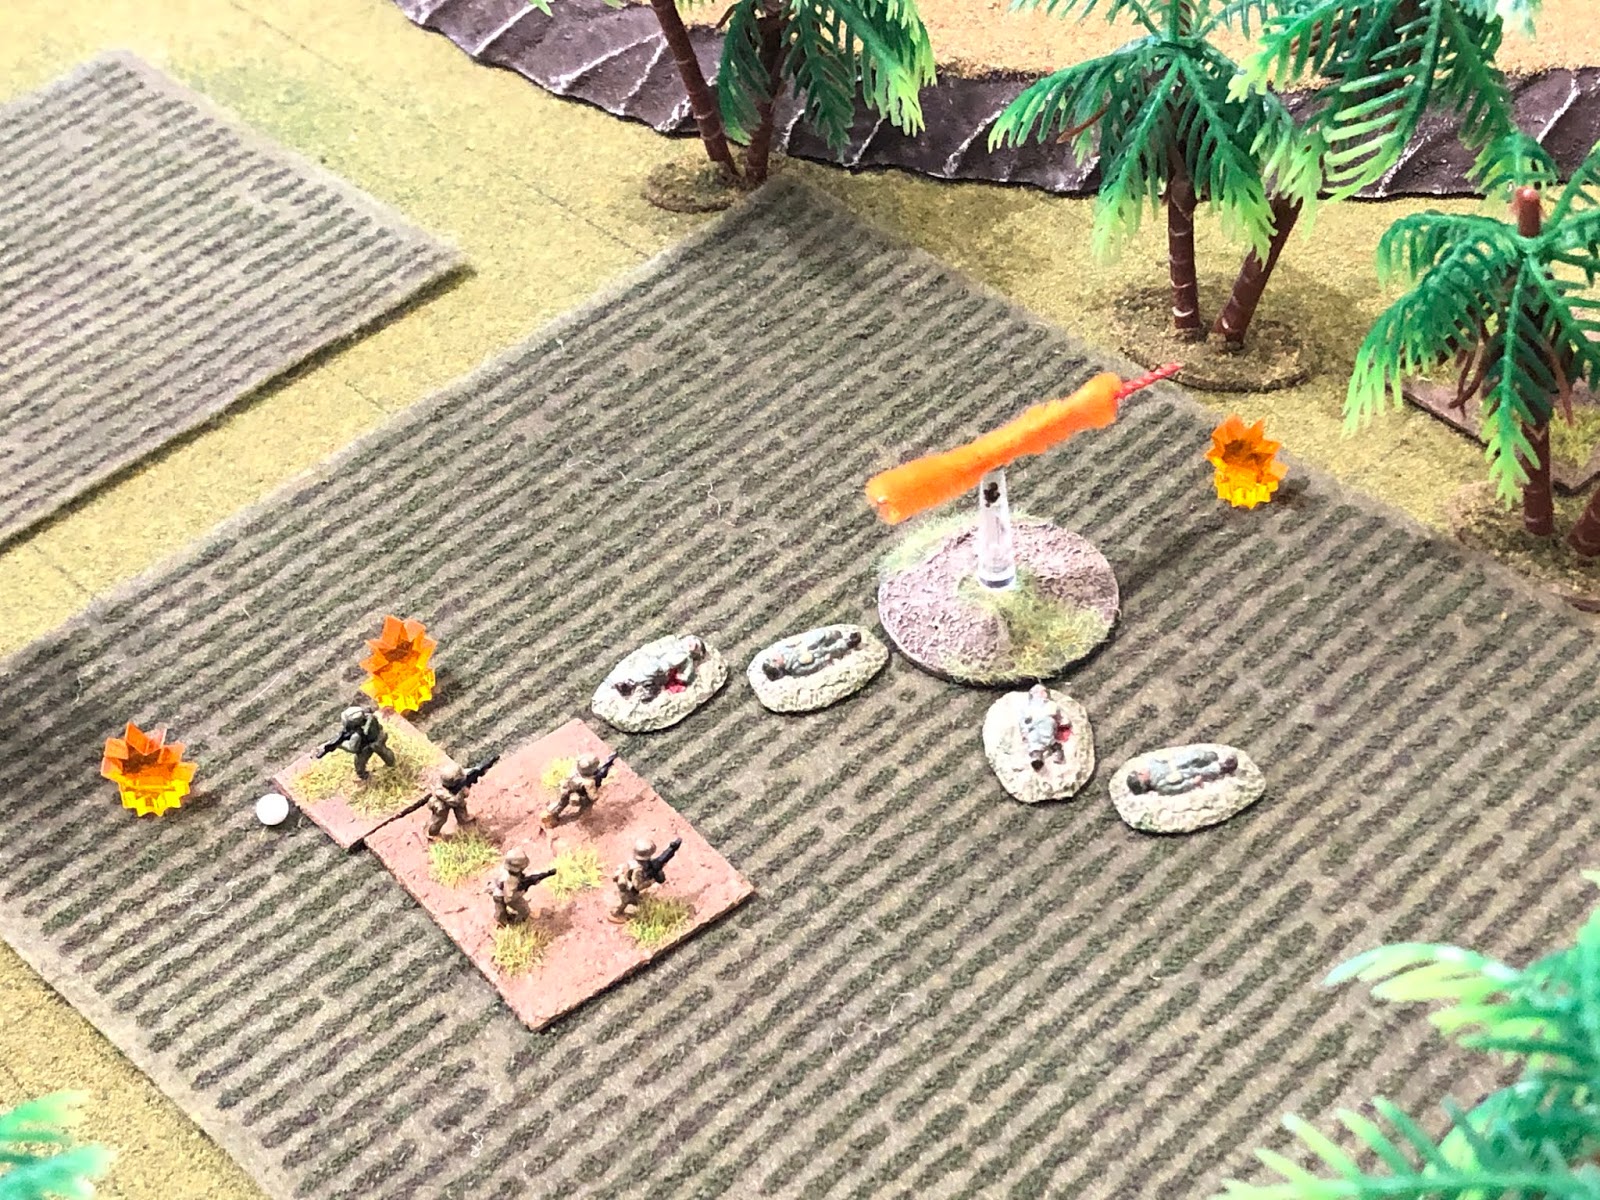
My goodness, what can I say at this point?  Lt Peria is truly indestructible; and trust me when I say that, as I'm actively trying to kill him!  As he was fighting single-handedly against enemy teams in close combat, sometimes without the enemy teams even being suppressed, he was not getting any positive dice roll modifiers, usually fighting at even odds (against suppressed bad guys) or -1 (against unsuppressed bad guys), but he still came out on top!  I even charged two enemy rifle teams out to take shots at him, but one of them got suppressed by react fire (on 1S dice!!!), and the other fired and missed, with 3K dice!!!  Well, not missed, but only put him 'man down,' didn't kill him.  And then the bad guys couldn't get up there to finish him off because Bowie 03 and 04 came up to save him.  that dude is crazy!  This was the first time I've played a game and my guys didn't take any casualties...

Casualties:
Cuban: None(!)
Communist: ~25 men with ~10 men and captured

Decorations:
Lt Beria, TF Bowie's XO, was awarded the Navy Cross for immediately grasping the enemy's counterattack strategy, taking immediate action to refuse the Task Force's flank, and then leading his own counterattack that saw him singlehandedly eliminate the enemy commander, recoiless rifle team, two rifle teams, and capture another enemy rifle team, effectively eliminating the enemy force defending Hill 200.  For these actions, 2nd Lt Peria was also meritoriously promoted to 1st Lieutenant.
*He really should have received another Medal of Honor, but I can't have guys walking around here with TWO Medals of Honor...  With a Medal of Honor, Navy Cross, and two Silver Stars, he may well already be the Cuban Expeditionary Force's most decorated man.

Next up we have the Turn 6 map moves, which lead to Major Chavez' Task Force Hammer attacking the FLA's 6th Company on the road to Pendrakenville!

V/R,
Jack

No comments:

Post a Comment