SLA A Company vs FSNL 8th Company
The South Leon Army's A Company is defending against the FSNL's 8th Company, which is attacking from the northeast in an attempt to crack the SLA line and reinforce/resupply their comrades in and around Pendrakenville. This is a simple attack/defend scenario; the SLA goal is to hold the ground, while the Communist goal is to crush their enemies on the way to the capital. The SLA defenders ARE NOT bolstered by a team of commandos from the Cuban Task-Force 23 because the team was knocked out in their last fight, with Captain Stelosavo wounded badly enough that he was evacuated to Cuba! One member of the TF23 team, "Marshall," is still with A Company, but he is now simply a part of the Company Command team.
The SLA force was initially manning defensive positions oriented north, but they've fought a couple battles already that have forced them to adjust on the fly to varying tactical circumstances, so their 'defense' is more evocative of a meeting engagement owing to the fact they have been forced to shuffle forces back and forth several times in the past 24 hours.

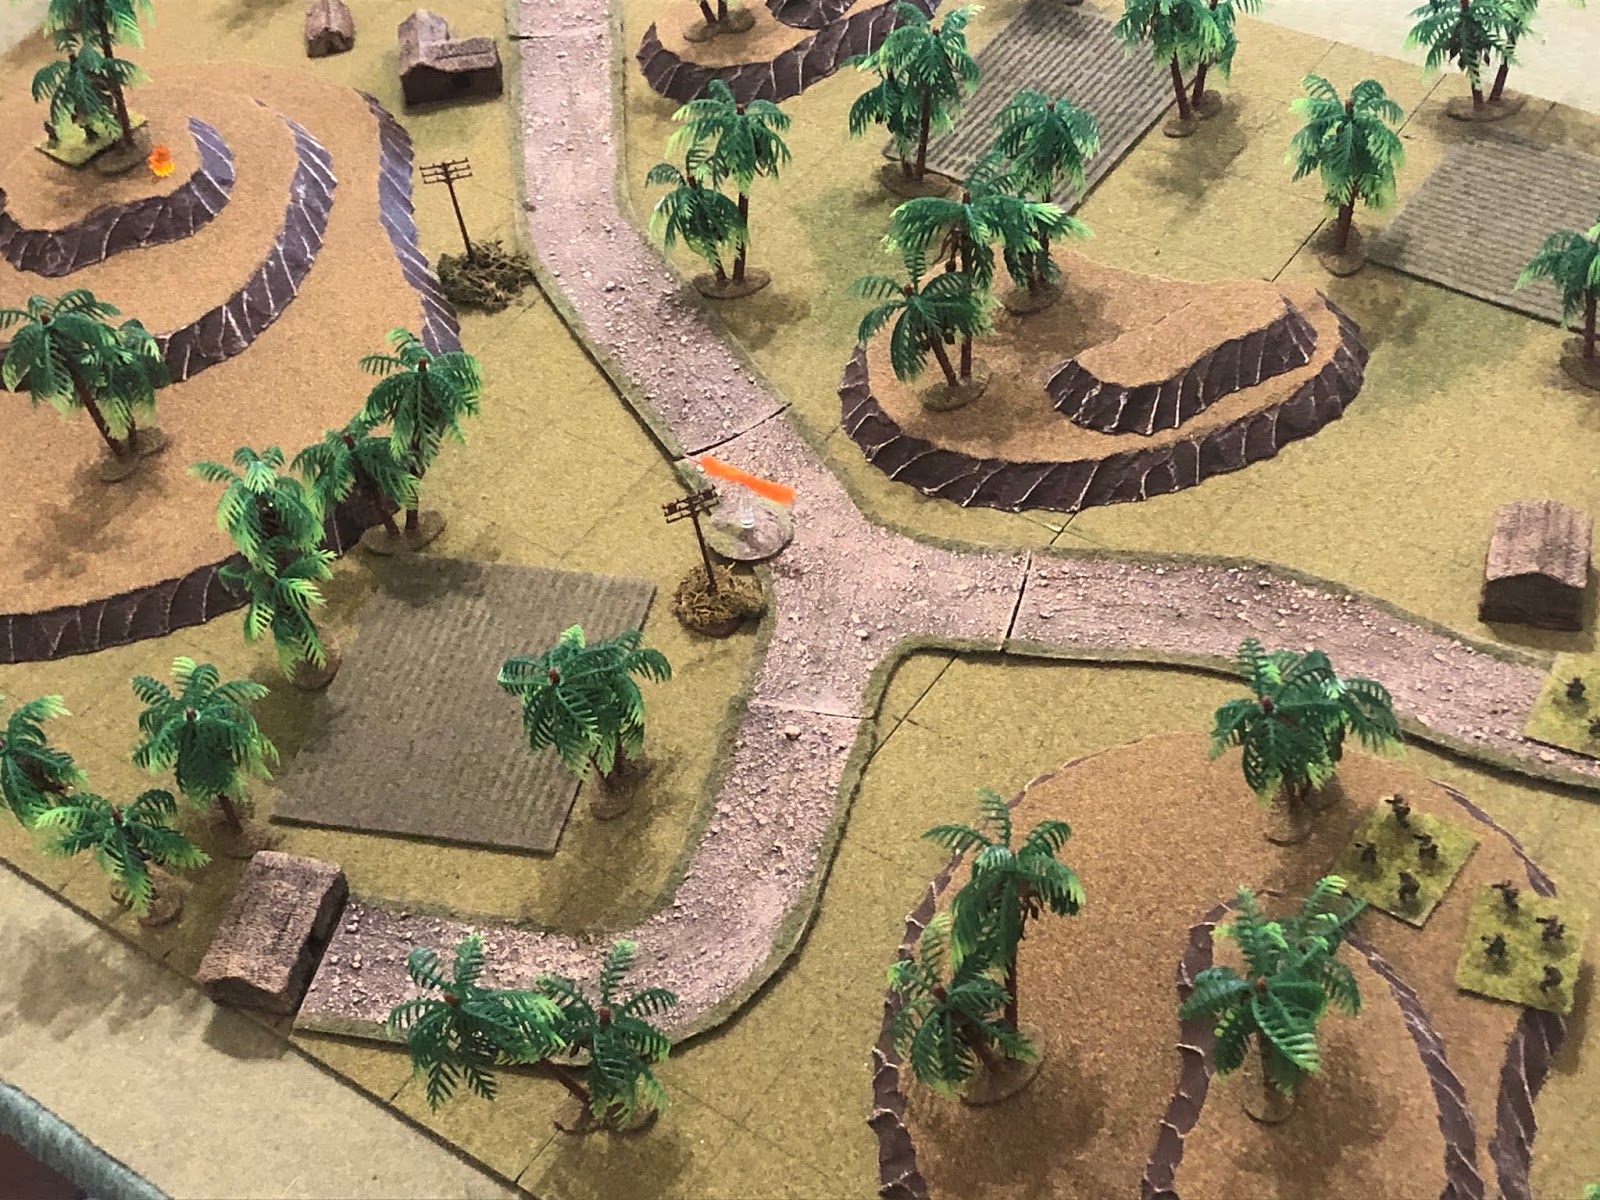
Overview, north is left (sorry, not sure why I did that, north will typically be up or right, depending on the tactical situation). There is a hardball road running roughly north to south, with a branch that heads east, with villages at either end (top left and far right) and one lone building in the east (bottom center), as well as several knolls/hillocks, including Hill 70 (left bottom) and Hill 45 (bottom right). Other than that we've got several cultivated fields and scattered jungle.
The opposing forces, allies on left and Communists on right.
The figures are all 10mm from Pendraken, Minifigs UK, and Butler's Printed Models. I'm using Ivan's "5Core Company Command," playing on a 3' x 2' surface with simple terrain to speed up the process. The hootches are from Jimmi at Flashpoint Minis, the roads are from Fat Frank, the hills are from Warzone, the fences are from Sarissa, the fields are from Hotzmats, the trees are cake toppers, and when you see the rivers, they're from Wargamers Terrain. I'm playing solo and will randomize enemy deployment using a system of blinds borrowed from Joe Legan's "Platoon Forward."
In terms of caliber of forces, the SLA, FSNL, and FLA troops will all be treated equally, except for the fact the FLA troops will be treated as fanatics, in terms of their willingness to advance into close combat. The Cubans are more tactically and technically proficient, and so they will receive extra firing dice, better rallying capability, bonus in close combat, and sometimes will have a second command stand on the table.
The SLA's A Company consists of: a command stand, six rifle teams, and an 81mm mortar team. These troops are Pendraken US from their Vietnam range.
SLA's A Company also has some heroes amongst its ranks:
An M-113's vehicle commander (known as Scar 1-1) was awarded the Bronze Star w/V (though he is not present in this fight)
*Interesting, two exactly matching opposing forces.
Overview, this time with troops. You can see the defending SLA forces stacked across the southern (right) side of the board while the Communist attackers are spread across the northern (left) side, with lots of room for maneuver between the two.
The SLA defenders: at top left we have Alpha 01, 02, and 03, the SLA CO is at center left, then we have Alpha 04, 05, and 06, with the SLA mortar team at far right.
The enemy force has two rifle teams at far left and four at right, with their CO at center right and their mortar team at center left bottom.
The fight is afoot! I have an opposed roll-off to see who goes first and the bad guys win, so they push a rifle team to the top of Hill 70 (top center).
Alpha 04 (bottom right) spots them (top left) and opens fire.
But the SLA fire (top right) is ineffective and the Communists (bottom left) on Hill 70 return fire...
They miss, too, but they send the info to their 82mm mortar team and those fellas get to work.
The mortars land right in their shorts, putting Alpha 05 'men down' and suppressing Alpha 06!
Alpha 04 (bottom right) continues targeting the enemy rifle team atop Hill 70 (top left), pinning them this time.
And then the SLA 81mm mortar team goes to work...
And they manage to suppress that same enemy rifle team (red bead, with the enemy CO at bottom center).
The Communists push a rifle team out to the far right (bottom center, from left bottom) as their mortar team (far left) again fires on the SLA units on Hill 45 (top right).
And it's ugly! Alpha 04 is now suppressed (red bead), and then Alpha 06 (top right) and the 81mm mortar team (bottom right) join Alpha 05 (center) in going 'men down'!!!
With Alpha 04, 05, and 06 getting pounded (bottom right), Alpha 01, 02, and 03 get moving on the right (top left, from right), as the SLA Company Commander moves over to rally his troops (right).
But to his (right) shock and dismay, both Alpha 05 and 06 are out of the fight!!! Alpha 04 (top center) manages to self rally. The mortar team remains 'men down' (bottom left).
*WTF!!!??? I roll to recover two 'men down' rifle teams and I roll boxcars, killing both of them!!!???
Back with the Commies, their CO rallies the suppressed team atop Hill 70 (center right bottom) as the two rifle teams on their left flank move up (top center, from left top). And then, of course, the Communist mortar team (bottom left) continues pumping out 82mm HE rounds.
But the SLA troops are given a hint of relief when the rounds land off target, not harming anyone!
On the SLA right, Alpha 01, 02, and 03 keep pushing north.
An enemy rifle team (bottom left) spots them (top center/right) and opens fire, but misses.
Alpha 04 (bottom center) continues firing on the enemy riflemen atop Hill 70 (top center), and then they push ahead.
But their fire was ineffective, so when they (top right) push ahead they immediately draw fire from the enemy team atop Hill 70 (bottom left).
Luckily the bad guys miss and Alpha 04 is okay (bottom left), as the SLA Company Commander moves over and rallies the mortar team (top right).
Back in action, the SLA mortar team (far right) begins firing in support of Alpha 01, 02, and 03's advance (top center), targeting the enemy troops opposite them (top left).
And it's right on the money, eliminating one Communist rifle team and suppressing the other!
Undeterred by the pounding his left flank is taking (just visible at top center), the Communist CO (atop Hill 70 with a rifle team a top) orders three rifle teams to push ahead on his right flank (bottom center).
Alpha 02 (bottom right, with the enemy teams getting pounded by the SLA mortars at top right and the enemy atop Hill 70 at top center left) spots the movement (far left) and opens fire, pinning an enemy rifle team.
But now the Communist mortar team (bottom left) engages Alpha 01, 02, and 03 (top right), as their CO begins moving downslope to rally his suppressed rifle team there (center left).
And the 82mm HE rounds pound Alpha 01 into submission!
Alpha 03 pushes through the mortar barrage (top center left, from right).
And with Alpha 03 on the move (just visible at top center), the SLA Company Commander moves up (center right, from bottom right, where the mortar team is located) to join Alpha 04 (center bottom) as the mortar team continues firing, targeting the enemy rifle team atop Hill 70 again (far left top).
Looks like the enemy CO (left, with a suppressed rifle team just above him) got away just in time as the 81mm HE rounds crash down on the military crest of Hill 70, knocking out the Communist rifle team!
On the far right, Alpha 03 moves up (top right) and fires on the suppressed team on the enemy's left flank (center, with the enemy CO at bottom left).
Alpha 03 guns down the enemy rifle team as their CO looks on!
With Alpha 03 busy kicking a little ass (far right), Alpha 02 decides to get in the game. They push ahead (center left) and open fire on an enemy rifle team (top left, with the enemy CO and mortar team at top center), suppressing them and pinning a team behind them!
But the Communist CO (center) orders his mortar team (bottom left) to shift fire, and they engage Alpha 03 (top right), trying to keep their left flank from collapsing!
But the rounds are a little short and only manage to pin the SLA infantrymen.
While on the enemy far right, a rifle team (bottom left) sights in on Alpha 04 (top right, with the CO behind them) and fires
The enemy (far left) misses and Alpha 04 (bottom right) returns fire, but they miss, too!
And some good news for the South Leon Army! As things have quieted down in their rear area, the survivors of Alpha 05 and 06 have gotten up, dusted themselves off, and banded together, forming the newly reconstituted Alpha 05!
*This was a random event rolled up by the good guys called "Just a Scratch!" where a team that was knocked out is able to come back, though they cannot act in the turn they came back.
The SLA mortar team (far right) continues firing, now targeting the enemy's right flank (bottom left).
But the rounds fall short...
And as the friendly mortar rounds are falling (bottom center right), Alpha 02 decides to push up onto Hill 70 (center top, from top right), firing as they go, suppressing their target, an enemy rifle team (red bead at center).
The Communist CO (left top) is freaking out!!! He's got SLA riflemen crawling around all over the place (Alpha 03 is off camera to top left, Alpha 02 is at top center right, and Alpha 04 is off camera to top right), with nobody between he and them! Having already halted Alpha 02 by pinning them with mortar fire, he orders the mortar team (bottom left) to engage Alpha 02...
But again they only manage to pin the SLA target!
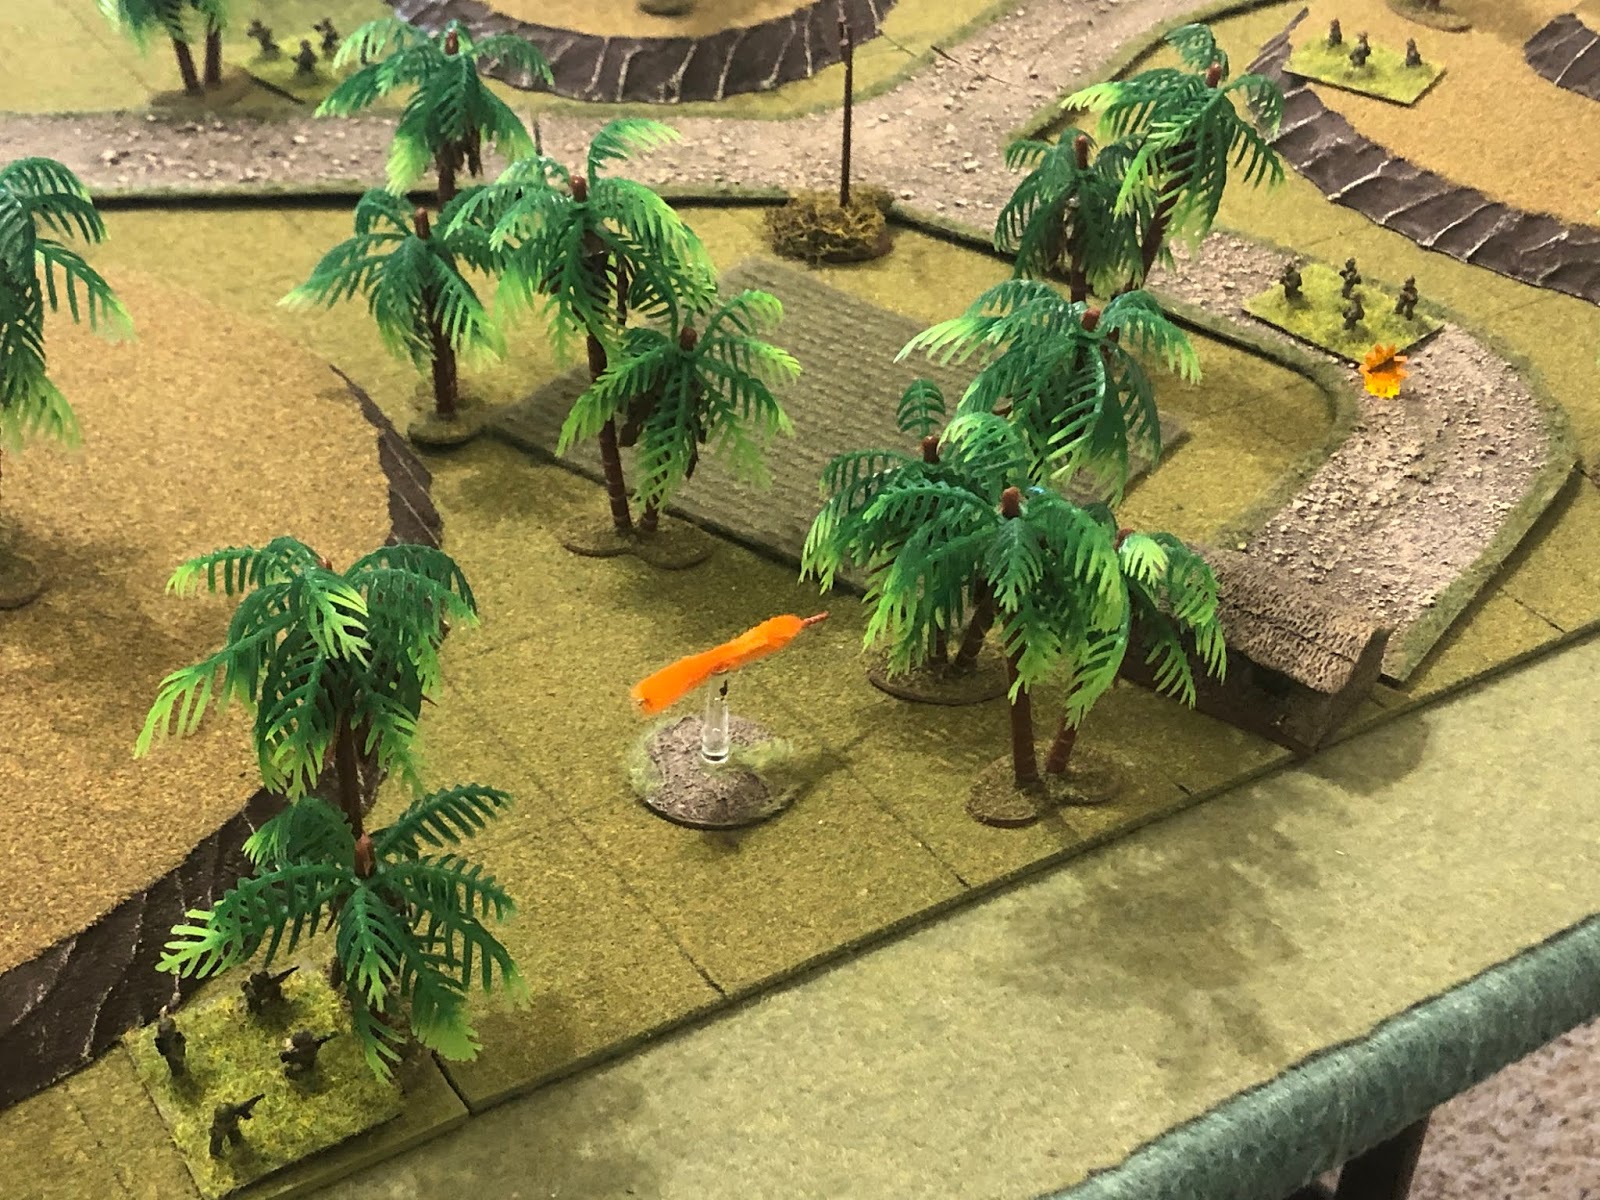
And as Alpha 02 is pinned (far left), the two enemy rifle teams on their far right (pinned team with yellow bead at bottom center and team at bottom right) engage Alpha 04 (hidden in the trees at top right), putting them 'men down'!
The SLA mortar team (far right, with the reconstituted Alpha 05 above them) fires on the enemy right flank (bottom left, with the 'men down' Alpha 04 at bottom center left and the SLA CO behind them).
The 81mm HE rounds hit the spot, putting one rifle team 'men down' (white bead at left) and suppressing the other (red bead at right)!!!
The SLA Company Commander dashes forward under fire to rally Alpha 04!
But they're out of the fight!!!
*Nooooooooooo!!!! That's three #$%^ing times in one game that I tried to rally a 'men down' team and they died! And now the SLA CO is isolated and exposed, with no troops left on the left flank. Man, I can't take it, this fight has been super intense!
With the SLA Company Commander busy mourning the loss of Alpha 04 (bottom right), Alpha 02 decides to take matters into his own hands, so he gives a hearty "up and at'em, boys!" and leads his men into close combat (left, from top center)...
Where the suppressed Communist rifle team miraculously manages to defeat the stolid SLA troopers!!!
And this is immediately followed by the enemy CO (center)signaling to his mortar team (bottom left) to finish off the SLA rifle team, Alpha 03, pinned in the open on the left flank (top right)...
Which they promptly do!
The Communist commander grabs his three remaining rifle teams and pushes ahead, where they capture the SLA command team, mortar team, and reconstituted Alpha 05 (weren't they helpful?)! Marshall, the last remaining TF23 member with A Company, was about to open fire, but the SLA Company Commander signaled him end his resistance lest the Communists massacre his remaining men. Marshall had no choice but to acquiesce to the Company Commander's request, and so he was captured, too.

Well ladies and gentlemen, we have a first: the SLA's A Company was defeated, with the majority of its men killed or captured, so it is no longer an effective fighting force and is removed from the campaign pool and map! The FSNL's 8th Company will hold its ground (B6), but next turn it is most likely to attack the SLA C Company from the east, is likely to push between the SLA C Company and TF Bowie, and is less likely to hold in place.
Well, after the last fight I said, "Oh my goodness, that's the kind of fight I live for!" And this was definitely that, except for that last part, the part where I lost the damn game! Man, so many ups and downs in that game, real swings in momentum, really #@$%ing with my emotions ;) And for the first time in a long time, hell, maybe ever, mortars really played a significant role in the combat in a game of 5Core Company Command. I mean, those two were simply dominant, ripping people to shreds. I think a lot of that was down to the 'meeting engagement' aspect of this game, where there was a lot of ground to cover between the two opposing forces. Didn't hurt that there was a lot of terrain to block line of sight and thus keep small arms fire to a minimum, either. So, men running to and fro, commanders dashing hither and yon to rally their men, mortars raining down on both sides, and then some close combat to cap it all off!
Looking back, I wouldn't have done anything different as the SLA force, just got killed by those three teams that were 'men down' failing their rolls and getting knocked out, especially the last one, Alpha 04, which was about to rally then charge into close combat. And Alpha 02 charging the suppressed enemy rifle team and not just getting pushed back, but getting whacked!!?? That broke my heart... And now Marshall has been captured! Yeah, nobody cares about the SLA Company Commander and his men, but we've got a Cuban operator in enemy hands, so you can rest assured we'll have a series of fights to get him back.
Cuban: ~35 men, ~15 more captured, including the Company Commander and Marshall, the TF23 Operator(!)
Next up we have the South Leon Army's D Company attacking the Free Leon Army's 1st Company in an urban environment.


I wanted to shed a tear...but no :-) At least I tired for you! Three man down rally fails was particularly bad. I think mortars have played a major part before...but believe you are right - it was not with 5Core.
ReplyDeleteIt had to happen sometime. Losing Marshall and the Commander- you must be gutted!
Shaun,
DeleteYeah, it's the thought that counts ;)
And indeed, casualties are certainly beginning to mount, taking some of my favorite pieces off the board. It does make it less enjoyable, but it's bound to happen. It's funny, it's the same thing with my Israeli Independence campaign, I got so attached to the characters that when most of them got whacked I kind of lost interest. I need to get back to these fights, and the Israeli ones as well!
V/R,
Jack