It's 1030 on 3 Feb 1990, and the CLA's F Company, 9th Popular Battalion, has been tasked with the encirclement of the regime garrison at Matanzas. But the enemy is wily, and, concerned for the wavering forces in the west, the regime orders its 7th Infantry Battalion, led by its 41st Infantry Company, to break out to the west to reinforce Havana. The 41st Infantry Company's orders are to blast a hole in the CLA's encirclement and lead the 7th Infantry Battalion's three companies to Havana. Failing that, the 41st Infantry Company is to pin down CLA forces long enough for the 7th Infantry Battalion's other two companies (43rd Infantry Company and 48th Provincial Militia Company) to break out and reinforce Havana.
...
15) 4th Infantry Battalion's 1st Air Assault Company conducts an air assault southeast of Sandino to counter enemy mechanized forces of 3rd Infantry Battalion (forcing 1st Airborne Battalion's right flank).
16) 9th Popular Force Battalion conducts a spoiling attack on the regime's 7th Infantry Battalion in the Matanzas garrison.
17) 2nd Air Assault Company, 7th Infantry Battalion, inserts east of El Rincon to block the escape of the regime's 6th Armored Battalion.
18) C Company of the UWG fought a running battle in the Escambray Mountains to delay/halt the regime's 12th Mechanized Battalion moving west.
19) A Squadron SOF holds off the regime's 2nd Airborne Company, 1st Airborne Battalion at the Radio Station in downtown Havana, while B Squadron SOF and 8th Popular Force Battalion move to reinforce.
20) 2nd Airborne Battalion, attacks north of Sandino to eliminate the regime's 4th Infantry Battalion.
21) 7th Infantry Battalion, attacks north of Sandino to eliminate the regime's 5th Territorial Infantry Battalion.
22) Colonel Huistrella's Unconventional Warfare Group fight another desperate holding action in the Escambray Mountains, this time against the regime's 10th Territorial Infantry Battalion.
23) The 5th Tank Battalion squares off against the regime's 2nd Armored Battalion just west of Artemisa.
24) 9th Popular Force Battalion holds the line at Matanzas as the enemy's 7th Infantry Battalion attempts to break out to reinforce Havana.
The opposing forces, with CLA on the right and regime on the left. The CLA force is made up of Pendraken Brit and Argentinian SF from their Falklands Range, with crew served weapons being VC/NVA/Vietminh from the Vietnam/Indochina ranges. The regime forces are Pendraken Argentinians, to include the Panhard armored car.
 Commander, F CO, 9th PF Bn: Captain Ballesteros
The CLA force has a Command Stand, five rifle stands, an HMG team, and a single leader figure representing their (acting) Battalion Commander.
 Acting Commander, 9th Popular Force Battalion: Captain Afflexio
The regime force has a Command Stand, seven rifle stands, an MG team, and a Panhard armored car.
Overview, north is up. In the center is the Old Spanish Monastery atop Hill 75. The CLA has established an outpost in the monastery, but it is occupied only by an HMG team as everyone else was out on patrol. However, upon sighting the enemy (top right, armored force, and bottom right, infantry force), the HMG team put a call for help out on the net. Captain Ballesteros led several rifle teams forward (top left), while the acting Battalion Commander, Captain Afflexio, led two more rifle teams (bottom left) towards the monastery.
The Old Spanish Monastery, with a 12.7mm HMG inside.
Acting BC Captain Afflexio and two rifle teams in the southwest.
The Company Commander, Captain Ballesteros, and three rifle teams in the northwest.
Enemy forces in the northeast: the armored car and three rifle teams.
And in the southeast: their CO, four rifle teams, and the MG team.
The enemy's plan is to use its rifle teams in the north to deal with Captain Ballesteros' men, and the armored car to pound the monastery, while the infantry in the south maneuver to take Hill 75.
The regime force wins first move, let's go!
In the northeast, the three rifle teams take up covered positions to interdict north-south movement by the CLA, while the armored car moves into position to shell the monastery.
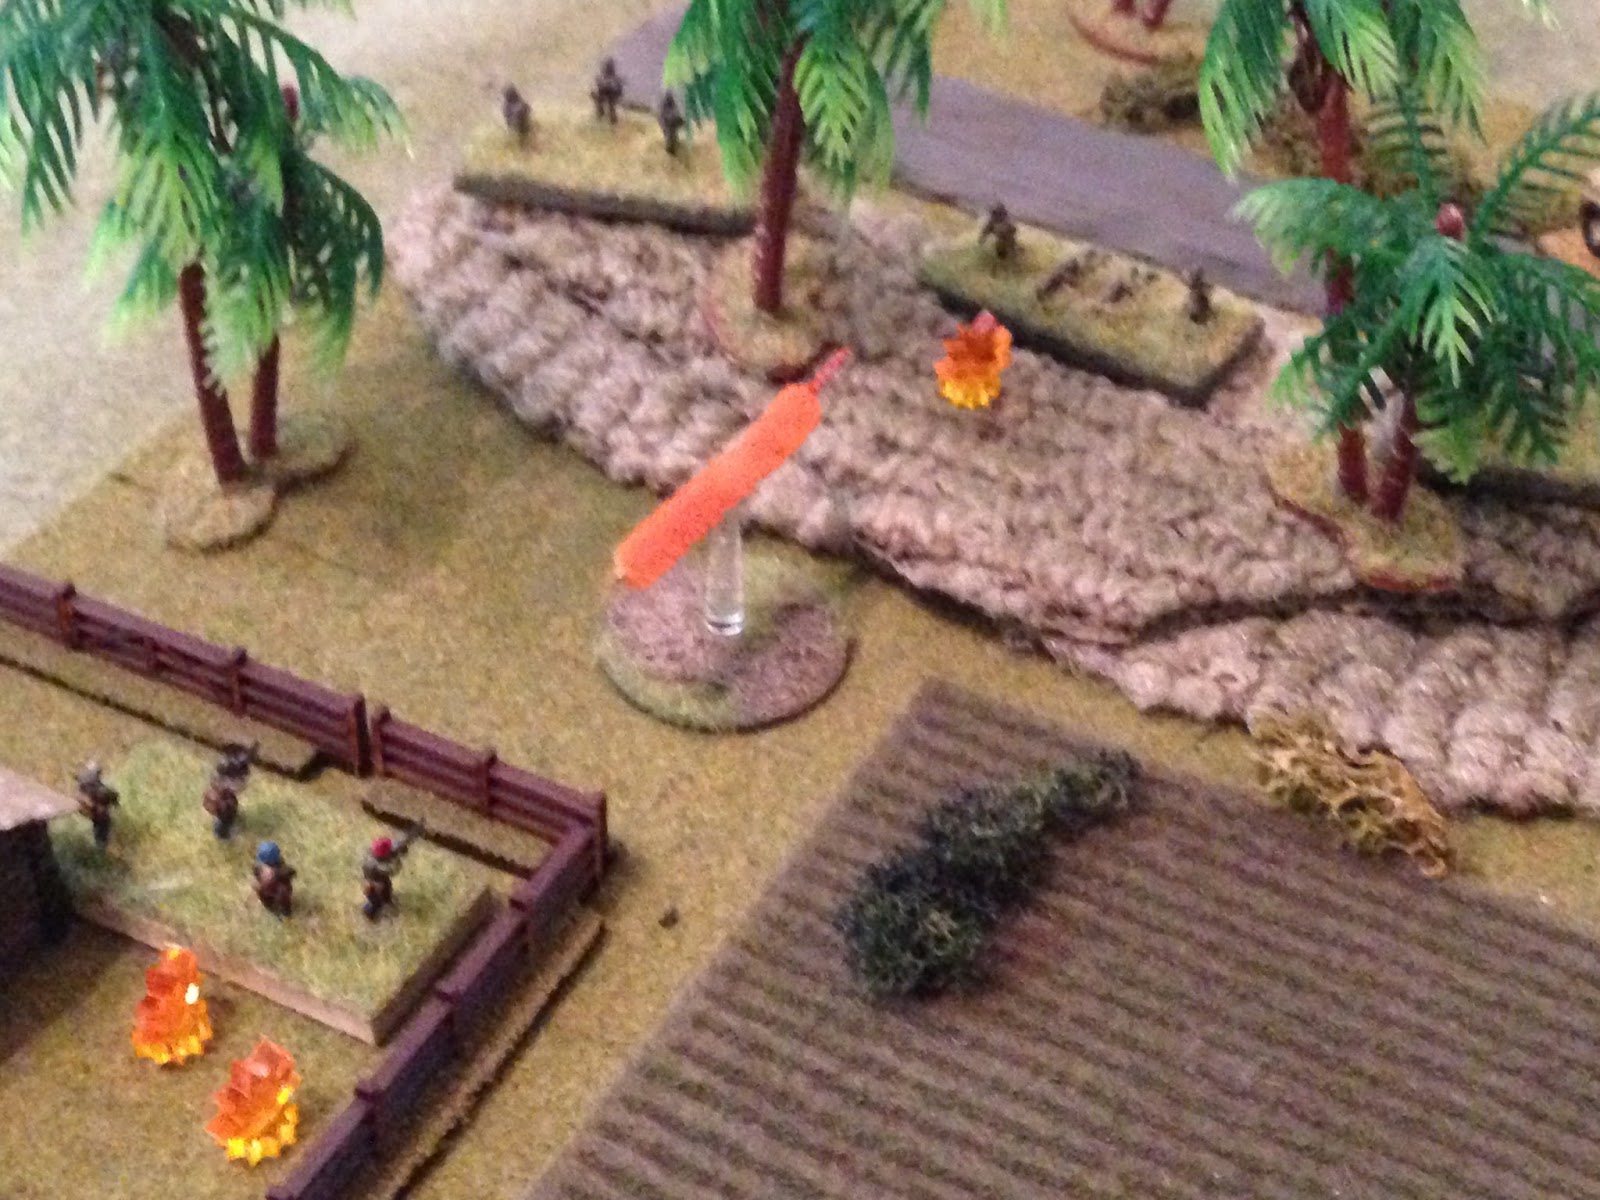
In the south (pic is looking from east -bottom- to west -top-), the enemy commander and his men begin scaling Hill 75, while the MG team (bottom right) takes up an offset position in order to put fire on the monastery and interdict north-south movement.
On the left, Captain Afflexio leads two teams towards the monastery, with enemy troops closing in (right).
In the north, apparently smoke rolled in which made photography difficult: Captain Ballesteros can't make up his mind whether he wants to move on the enemy's northern force (off camera to right), or reinforce the monastery (bottom right), so he does both, with one team moving very aggressively towards the enemy troops in the north, one taking up firing positions in cover (on knoll at top left), and one moving towards Hill 75 (bottom left).
The CLA is able to keep its men moving rapidly (they roll as 'scurry'), but there is confusion in the leadership; Captain Ballesteros and Captain Afflexio have differing understandings of the immediate tactical situation, and are now arguing about it on the radio and are unable to move (random event).
This doesn't prevent Captain Ballesteros (immobile at far left) from ordering two teams to push forward (Teams 1 and 3; enemy at top right).
While Captain Afflexio (bottom center right) orders two teams forward (Teams 4 and 5), one of which makes it into the monastery. One of Captain Ballesteros' teams moves to Hill 75 as well (Team 2, far left).
The enemy in the south react very aggressively: the enemy CO relentlessly pushes his infantry forward up Hill 75 (MG team at top right). The north holds fast.
Then all hell breaks loose ('firefight!')...
It starts with the 90mm main gun of the armored car firing on the thick stone walls of the monastery; the HMG team suffers no ill effects due to the heavy cover.
In the north, enemy rifle teams trade fire with Team 1, to no effect.
But then Team 3, caught out in the open, suffers casualties (far left, white bead).
Remember the enemy MG team set up to interdict north-south movement? Well, the MG team (top right) spies Team 2 (bottom left) crossing the road, moving north to south, to reinforce CLA forces on Hill 75. The enemy MG team opens up and guns Team 2 down in their tracks.
Atop Hill 75, the enemy riflemen have crept dangerously close to the monastery, and open up at very short range, causing heavy casualties on the HMG team.
The enemy then turns their attention to Team 4, also in the monastery. Team 4 not only withstands the enemy fire, they return fire and put an enemy rifle team out of the fight!
Below Hill 75, on the southern side (far right flank), enemy infantry fire on Team 5 and cause heavy casualties.
In the north, Captain Ballesteros moves to Team 3 and rallies them (bottom left).
While Captain Afflexio rushes to the top of Hill 75, arriving in the monastery just in time. He rallies the HMG team, who open up a deadly fire with their 12.7mm weapon...
(looking east to west) At center, one enemy rifle team suffers heavy casualties, while two other are forced to fall back (bottom left and center left, with red beads), while the enemy MG team is pinned (bottom center, yellow bead). An enemy rifle team in the north returns fire, to no effect.
Seeking to swing momentum by taking advantage of the enemy's weakened forces in the south, Captain Afflexio courageously leads Team 4 forward into close combat. The enemy's armored car react fires, but misses, and bayonets, pistols, e-tools, and grenades are brandished...
Despite the desperate situation (the regime rifle team is severely penalized in close combat due to being 'men down'), the enemy CO realizes he must act and throws his HQ section into the close combat!
And the Acting Battalion Commander and Team 4 quickly subdue the enemy CO and rifle team (top left), then charge downhill into a hunkering rifle team (bottom center)...
The hunkering enemy team is quickly dispatched (bottom left), and Captain Afflexio and Team 4 turn north, crashing into another stricken enemy rifle team (bottom center, with photo looking west to east)...
Another enemy rifle team is put out of the fight! Captain Afflexio and Team 4 close on the pinned enemy MG team, who snap fires...
But the brave CLA infantry close the distance...
And knock out the MG team (bottom left). Captain Afflexio then sets his sights on the enemy's armored car, looking to decisively break the back of the enemy formation. The Panhard snap fires its machine guns...
But again the brave Captain and riflemen push through the hail of bullets! They climb over the armored car, firing into vision slits and prying hatches open. But a nearby regime rifle team throws in to help out their mechanized comrades (top center right)...
And thus the Acting Battalion Commander and Team 4 are defeated.
In support, Team 1 opens fire and pins an enemy rifle team in the north (the enemy's whole southern force has been eliminated).
Captain Ballesteros then leads Team 3 forward, drawing enemy small arms fire, but they make it through (Team 1 at top left).
Team 3 returns fire, causing heavy casualties.
Damn these fuzzy pictures! I humbly apologize. Anyway, the enemy rifle team that just duked it out with Captain Afflexio and Team 4 moves over to rally the 'men down' rifle team, but they dissolve, then they open up on Captain Ballesteros and Team 3...
Getting heavy casualties on Team 3 and pinning Team 1 (top left, yellow bead).
Seeking to turn the tide back, the enemy armored car moves up; the HMG in the monastery react fires, but the enemy vehicle braves through the hail of 12.7mm rounds.
The Panhard rolls into Captain Ballesteros' HQ section and Team 3, all weapons firing...
The CO and Team 3 are knocked out! Team 1 react fires a LAW at the Panhard...
The rocket skips off the light armor, forcing the vehicle to fall back (far right, from center left in the field). With both forces leaderless, lacking the resources and wherewithal to push forward, the fire slackens then halts altogether, both sides settling into their positions in an uneasy stalemate...
Holy crap, what a mess, and what a fight! I absolutely love fights with wild swings in momentum, and this one had it in spades! That was a lot of fun, and it just strikes me as hilarious that it was a literal draw. Man, what a game!
From a win/loss standpoint, I suppose the regime force wins; not a total win as they are pinned in place, but in my estimation they did hold the door open long enough for the two other companies of their battalion to slip out of the CLA encirclement, and they are now bound for Havana.
The Acting Battalion Commander, Captain Afflexio, was decorated for valor with the Cruz Servicio Distinguido, but he was also decorated with the Corazon Purpura as he was wounded and is out for the remainder of the campaign.
Teams 4's Sergeant, Sgt Caballero, was decorated for valor with the Estrella de Plata, but he was also decorated with the Corazon Purpura as he was wounded and is out for the remainder of the campaign.
F Company's Commander, Captain Ballesteros, was killed in action.
9th Popular Force Battalion has had a rough time, but they fought well today! Two more fights to write up and post.


That was a blast! As always, thanks for posting your batreps.
ReplyDeleteThanks Brian, I appreciate it, and hope all is well.
ReplyDeleteI've primed the two Tracks, hopefully get to them this weekend. Please bear with me though; I count myself as 'okay' painting figures, but I'm not all that great with vehicles...
V/R,
Jack
I always love a battle report that has you madly dashing units into close combat to try and save the day for their side! Like me, their always seems to be a point where a unit can pick the safe low risk option, or the "lets gamble on close combat" option, and the latter will always make for an interesting game!
ReplyDeleteAmen brother, and that's exactly why I'm playing this way, it's exactly what I want!
DeleteMr. Robertson keeps scoffing about 'why didn't they just stand off and do x, y, or z?' Why? Because I wanted them in each other's face, where heroes may emerge ;)
V/R,
Jack