All,
This is the first fight of Day 2 (D+1).
It's 0700 on 2 Feb 1990, and the CLA's B Squadron SOF has linked up with C Company of the 8th Popular Force Battalion to push through to the Radio Station in downtown Havana to relieve Colonel Quilveras and the hard-pressed troopers of A Squadron SOF, who are holding out against the regime's 2nd Airborne Company, 1st Airborne Battalion, pushing hard to retake the Radio Station and stop the CLA's transmissions to the local populace.
So far we've had:
D-Day1) B Squadron SOF destroyed a radar site in support of amphibious landings at Playa Colorada (5). B Sqdn then egressed and linked up with CLA rotary wing assets for their follow-on mission in Havana (6).
2) C Squadron SOF destroyed a the Cuban military's communications center.
3) 1st Para Battalion dropped in and seized a bridge to screen the landings at Playa Colorada (5).
4) 2nd Para battalion dropped in and eliminated a Castro-regime garrison to screen the landings at the Bay of Pigs (just west of (4).
5) 1st Marine Company, 3rd Infantry Battalion, made an amphibious assault at Playa Colorada.
6) A Squadron SOF attacked a Castro-regime SAM site near Havana, which failed to clear the way for B Squadron's helo assault into Havana.
7) 2nd Marine Company, 6th Infantry Battalion, landed at the Bay of Pigs then turned east and ran into a strong enemy force, which it handily defeated.
8) B Company of the UWG pursued and destroyed an enemy garrison in the Escambray Mountains.
9) B Squadron SOF conducted an aerial insertion into Havana to seize a radio station and broadcast news of the invasion.
10) 10th Popular Force Battalion seized and destroyed the Pedroso bridge to protect the Bay of Pigs landing site from the Matanzas garrison.
11) 1st Airborne Infantry Battalion successfully fought off a regime counterattack near the bridge at Sandino, protecting the western (Playa Colorada) landing site from the Pinar del Rio garrison.
12) 6th Infantry Battalion fought through an enemy ambush while pushing inland from the Bay of Pigs landing site.
13) 8th Popular Force Battalion ambushed a mechanized column of the enemy 2nd Armored Battalion, just west of Havana.
14) 2nd Airborne Battalion engaged enemy armored forces of the 6th Armored Battalion in the village of El Rincon, en route to the Bay of Pigs landing site.
15) 4th Infantry Battalion's 1st Air Assault Company conducts an air assault southeast of Sandino to counter enemy mechanized forces of 3rd Infantry Battalion (forcing 1st Airborne Battalion's right flank).
16) 9th Popular Force Battalion conducts a spoiling attack on the regime's 7th Infantry Battalion in the Matanzas garrison.
17) 2nd Air Assault Company, 7th Infantry Battalion, inserts east of El Rincon to block the escape of the regime's 6th Armored Battalion.
18) C Company of the UWG fought a running battle in the Escambray Mountains to delay/halt the regime's 12th Mechanized Battalion moving west.
D+119) A Squadron SOF holds off the regime's 2nd Airborne Company, 1st Airborne Battalion at the Radio Station in downtown Havana, while B Squadron SOF and 8th Popular Force Battalion move to reinforce.
The opposing forces, with the regime troops on the left and CLA on the right. The CLA force is made up of Minifigs Special Forces for the the SOF troops, and Pendraken British and Argentinian Special Forces from the Falklands Range. The regime troops are made up of Minifigs Russian Special Forces and a BMP-2, plus a machine gun from the Brits of Pendraken's Falklands Range.
 Commander, C Co, 8th PF Bn: Captain Talamantes
The CLA force has three parts: two SF teams from A Squadron, with a single leader figure representing Colonel Quilveras (at the Radio Station), and the relief force, made up of two SF teams from B Squadron and four rifle teams from C Company, 8th PF Battalion, plus a single leader figure representing C Company's leader, Captain Talamantes.
 CLA Special Operations, Commanding Officer: Colonel Donalo Quilveras, desperately holding on at the Radio Station with the remnants of A Squadron.
The regime force has a Command Stand, six rifle stands, a MG team, and a BMP.
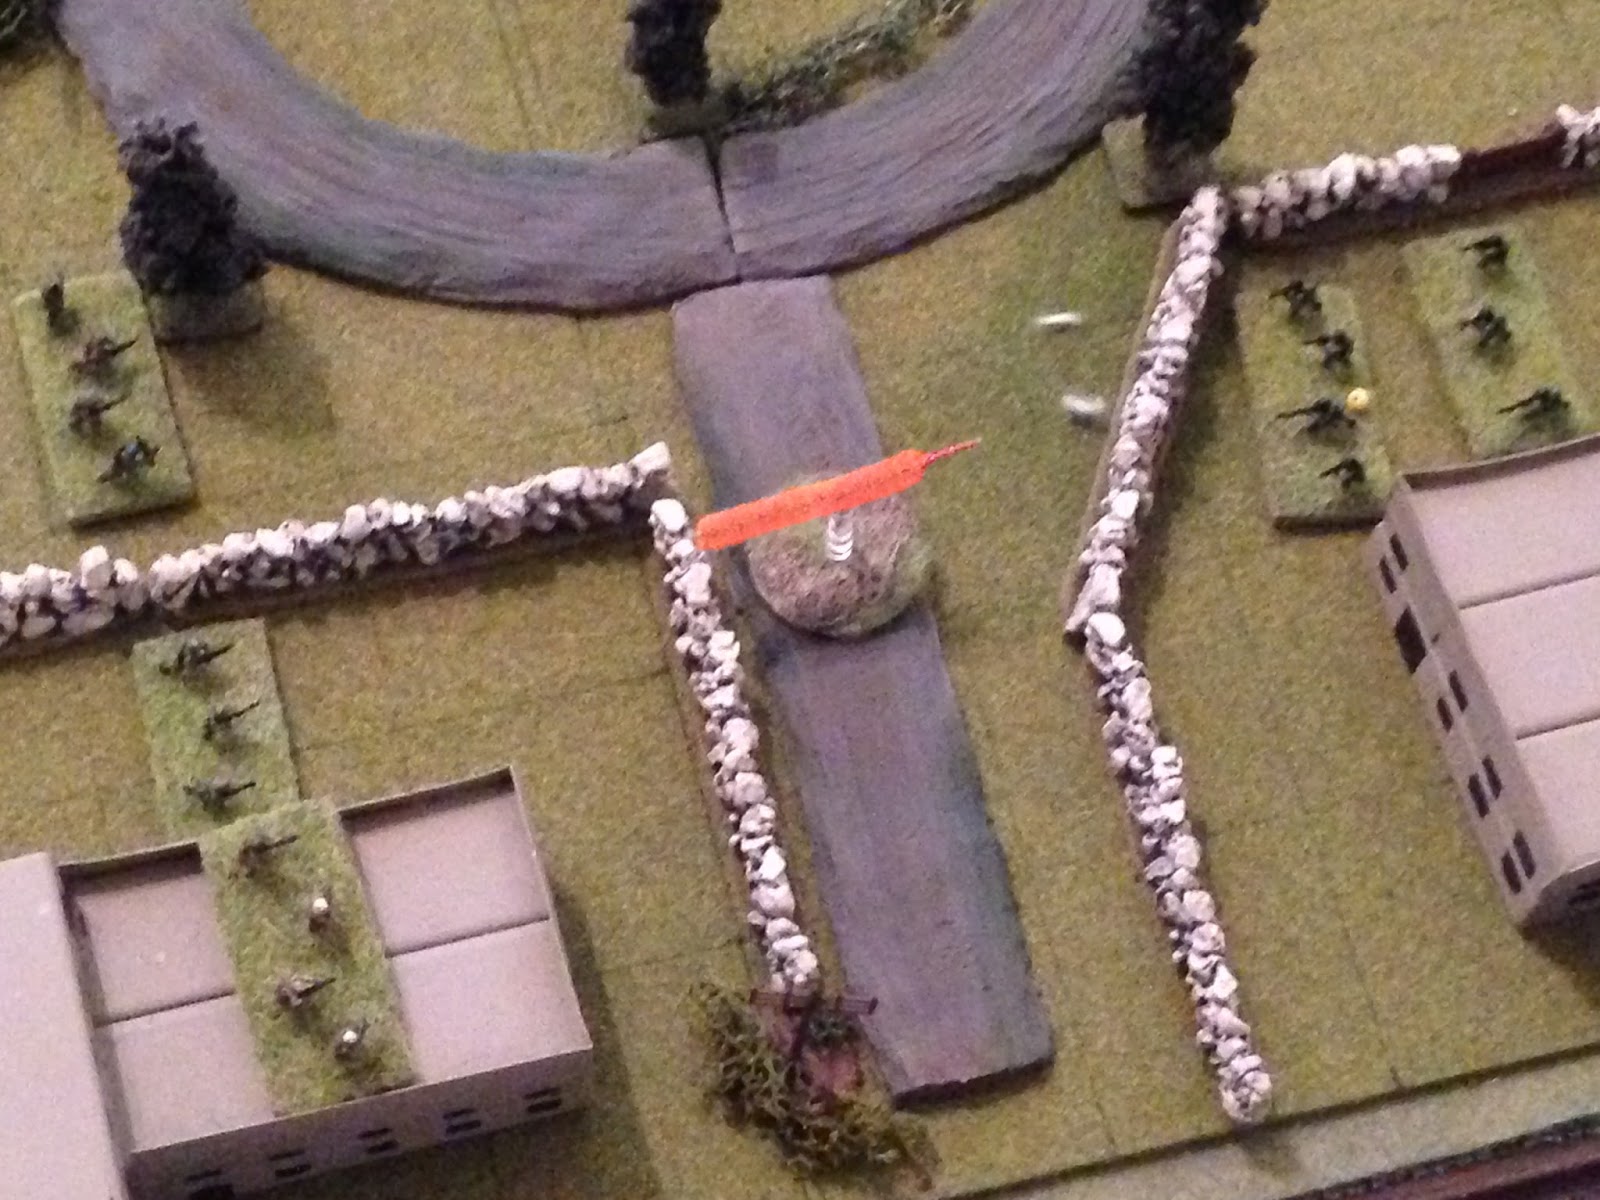
Overview, north is up, with Colonel Quilveras and two teams from A Squadron at top left, the relief force of B Squadron and C Co, 8th PF Bn, at bottom left, and the regime forces spread across the right side.
The southwest corner, showing the relief force.
The northwest corner, showing A Squadron holding the Radio Station.
Regime forces in the northeast.
And regime forces in the southeast.
The regime force wins the roll and goes first, let's get it on!!!
Their MG team moves up and sets up (bottom right, on building), while a rifle team moves up to the wall and fires on Popular Force (PF) Team 1, causing heavy casualties (top left, white bead).
In the north, an enemy rifle team moves up into a building and fires on A Squadron's Team 1, but the walls are good cover and they suffer no ill effects.
The rifle fire was easily shaken off, so the BMP moves up and fires on the Radio Station...
Pinning A Squadron's Tm 1 and forcing Tm 2 to fall back.
In the south, B Squadron's Team 3 moves up and fires on the enemy MG, but again the heavy walls (of the building, in this case) negates the effects of the small arms, while Captain Talamantes moves up and rallies PF Team 1 (top left).
PF Team 4 moves into the building (top left), and again the CLA force fires on the enemy MG to no effect.
B Squadron's Team 4 (far left) moves up and fires on the enemy MG, finally pinning them.
The luck continues as PF Team 1 moves up and fires on the enemy rifle team below their MG, also getting a pin.
At the Radio Station, Colonel Quilveras rallies A Sqdn's Team 1, while Tm 2 self rallies.
But the BMP inches forward and fires on them again...
Forcing A Sqdn's Tm1 to fall back next to Tm 2...
An enemy team dashes forward (top center) towards the Radio Station (top left).
In the south, the enemy MG cuts loose on B Sqdn's Tm 4, but the resilient commandos shake it off...
And PF Tm 4 (bottom left, in building) returns fire...
Forcing the enemy MG team to fall back and hide behind the building!
An enemy rifle team moves up in the traffic circle, and B Sqdn's Tm 4 snap fires...
Putting them out of the fight!
The dice are really working for me.
The enemy CO moves south, hops the wall, and rallies the pinned team there (looking to get to the hunkered MG team next turn, bottom center right with red bead).
But PF Team 4 (bottom left, in building) fires and pins them again!
Then B Sqdn's Tm 3 fires on them...
And forces them to fall back next to the MG team. Their CO goes with them.
PF Team 1 moves up and fires...
Knocking one enemy team out and pinning the other. The enemy attack is wavering, having never really gotten out of the starting blocks.
Colonel Quilveras rallies A Sqdn's Tm 1, but only gets them up to pinned.
In the southeast, the enemy CO gets to work: he rallies his hunkering rifle team, and they're ready to get back in the fight. He turns his attention to his hunkering machine gun team, but they run off the map!
The enemy BMP fires on B Sqdn's Tm 4, but the enemy can't get a bead on them.
An enemy rifle team does manage to pin PF's Tm 1.
But another enemy rifle team fires on PF Tm 4 (bottom left, in building), to no effect.
Having rallied the rifle team at bottom right, the enemy CO sprints to the center and rallies the pinned team there...
Then leads them forward, conscious of getting some of his own infantry in place to keep an eye on the south...
While the BMP and two rifle teams move forward in the north.
In the south, an enemy rifle team occupies the building recently abandoned by the cowardly machine gunners...
Teams 3 and 4 of B Sqdn counter this by moving up to the wall on their side of the street.
While PF Teams 2 and 3 move up (PF Tm 4 and B Sqdn Teams 3 and 4 are at bottom right), while Captain Talamantes again moves to PF Tm 1 and rallies them. Off camera to north, Colonel Quilveras rallies A Sqdn's Tm 1.
Captain Talamantes then leads PF Tm 1 forward; the BMP snap fires, but misses!
Damn! All, and I mean all, the rolls are going my way. Sorry open and closet communists ;)
Talamantes screeches, "Fire!" Team 1 looses a LAW at the enemy BMP...
Ka-BOOOOOM!!! And the Ka-Boom pins both nearby rifle teams!
I can do no wrong; I shouldn't even fire, I should just charge into close combat ;)
Colonel Quilveras leads A Sqdn's Tm 1 forward to the recently roughed up rifle team...
And puts them out of the fight.
PF Team 4 (far left, in building) opens up on a very exposed enemy team at the water fountain...
KO!
The B Sqdn Teams fire on the enemy rifle team in the building in the southeast, but the heavy stone walls save them. That building is gonna have to be close assaulted, but no one is too keen on hopping up to do it. No one wants to be the last one to get zapped, everyone knows the fight is over...
The enemy CO looks left, sees one friendly rifle team, then looks right, sees one friendly rifle team, then calls it off, time to fall back.
Well, that was different. Technically speaking, there was no reason for such an out and out ass-stomping to occur, and even though I'd much rather see a hard-fought battle every time, sometimes the dice just don't care. So, you get what we had here today. I can't complain, another win in the campaign, the CLA goes marching on. I had figured that pretty heavy fighting was going to break out in the capital city, but it's looking like Havana won't be that big a problem. Having said that, the CLA western force still has to fight it's way through the enemy's 2nd Armored Battalion in the Artemisa area, to get to Havana, so we'll see what happens.
Anyway, the regime's 1st Airborne Battalion is pretty beaten up, and A Squadron SOF has linked up and been relieved by B Squadron and 8th Popular Force Battalion, so the Radio Station is firmly in hand. They are on orders to hold until the Western Force pushes through to Havana. Having said that, A Squadron has suffered such casualties as to render it combat ineffective; it is no longer a fighting force, its survivors were absorbed into B Squadron.
Casualties:
CLA: ~ 5 KIA/WIA (wow)
Regime: ~25 KIA/WIA, 1 BMP knocked out
Captain Talamantes was decorated with the Estrella de Bronce for valor shown in rallying his exposed troops under fire, then leading them forward to knock out the enemy armored vehicle.
Three more fights to get written up!
V/R,
Jack


No comments:
Post a Comment