It's 1300 on 2 Feb 1990, and the CLA's 7th Infantry Battalion has been tracking and hunting the regime's 86th Provincial Militia Company, remnants of the 5th Territorial Infantry Battalion. 7th Infantry Battalion has been levied with a similar order to 2nd Airborne Battalion's; in this case, to find, fix, and destroy the enemy's 5th Territorial Infantry Battalion. 7th Infantry Battalion split its three rifle companies and had been tracking th enemy north of Sandino, in the center of the island, when E Company finally came to grips with them. Eliminating this enemy unit would clear the center of the island, thereby definitively isolating the withering Castro-regime forces in the west from the powerful forces in the east.

D-Day
1) B Squadron SOF destroyed a radar site in support of amphibious landings at Playa Colorada (5). B Sqdn then egressed and linked up with CLA rotary wing assets for their follow-on mission in Havana (6).
2) C Squadron SOF destroyed a the Cuban military's communications center.
3) 1st Para Battalion dropped in and seized a bridge to screen the landings at Playa Colorada (5).
4) 2nd Para battalion dropped in and eliminated a Castro-regime garrison to screen the landings at the Bay of Pigs (just west of (4).
5) 1st Marine Company, 3rd Infantry Battalion, made an amphibious assault at Playa Colorada.
6) A Squadron SOF attacked a Castro-regime SAM site near Havana, which failed to clear the way for B Squadron's helo assault into Havana.
7) 2nd Marine Company, 6th Infantry Battalion, landed at the Bay of Pigs then turned east and ran into a strong enemy force, which it handily defeated.
8) B Company of the UWG pursued and destroyed an enemy garrison in the Escambray Mountains.
9) B Squadron SOF conducted an aerial insertion into Havana to seize a radio station and broadcast news of the invasion.
10) 10th Popular Force Battalion seized and destroyed the Pedroso bridge to protect the Bay of Pigs landing site from the Matanzas garrison.
11) 1st Airborne Infantry Battalion successfully fought off a regime counterattack near the bridge at Sandino, protecting the western (Playa Colorada) landing site from the Pinar del Rio garrison.
12) 6th Infantry Battalion fought through an enemy ambush while pushing inland from the Bay of Pigs landing site.
13) 8th Popular Force Battalion ambushed a mechanized column of the enemy 2nd Armored Battalion, just west of Havana.
14) 2nd Airborne Battalion engaged enemy armored forces of the 6th Armored Battalion in the village of El Rincon, en route to the Bay of Pigs landing site.
15) 4th Infantry Battalion's 1st Air Assault Company conducts an air assault southeast of Sandino to counter enemy mechanized forces of 3rd Infantry Battalion (forcing 1st Airborne Battalion's right flank).
16) 9th Popular Force Battalion conducts a spoiling attack on the regime's 7th Infantry Battalion in the Matanzas garrison.
17) 2nd Air Assault Company, 7th Infantry Battalion, inserts east of El Rincon to block the escape of the regime's 6th Armored Battalion.
18) C Company of the UWG fought a running battle in the Escambray Mountains to delay/halt the regime's 12th Mechanized Battalion moving west.
D+1
19) A Squadron SOF holds off the regime's 2nd Airborne Company, 1st Airborne Battalion at the Radio Station in downtown Havana, while B Squadron SOF and 8th Popular Force Battalion move to reinforce.
20) F Company, 2nd Airborne Battalion, attacks north of Sandino to eliminate the regime's 4th Infantry Battalion.
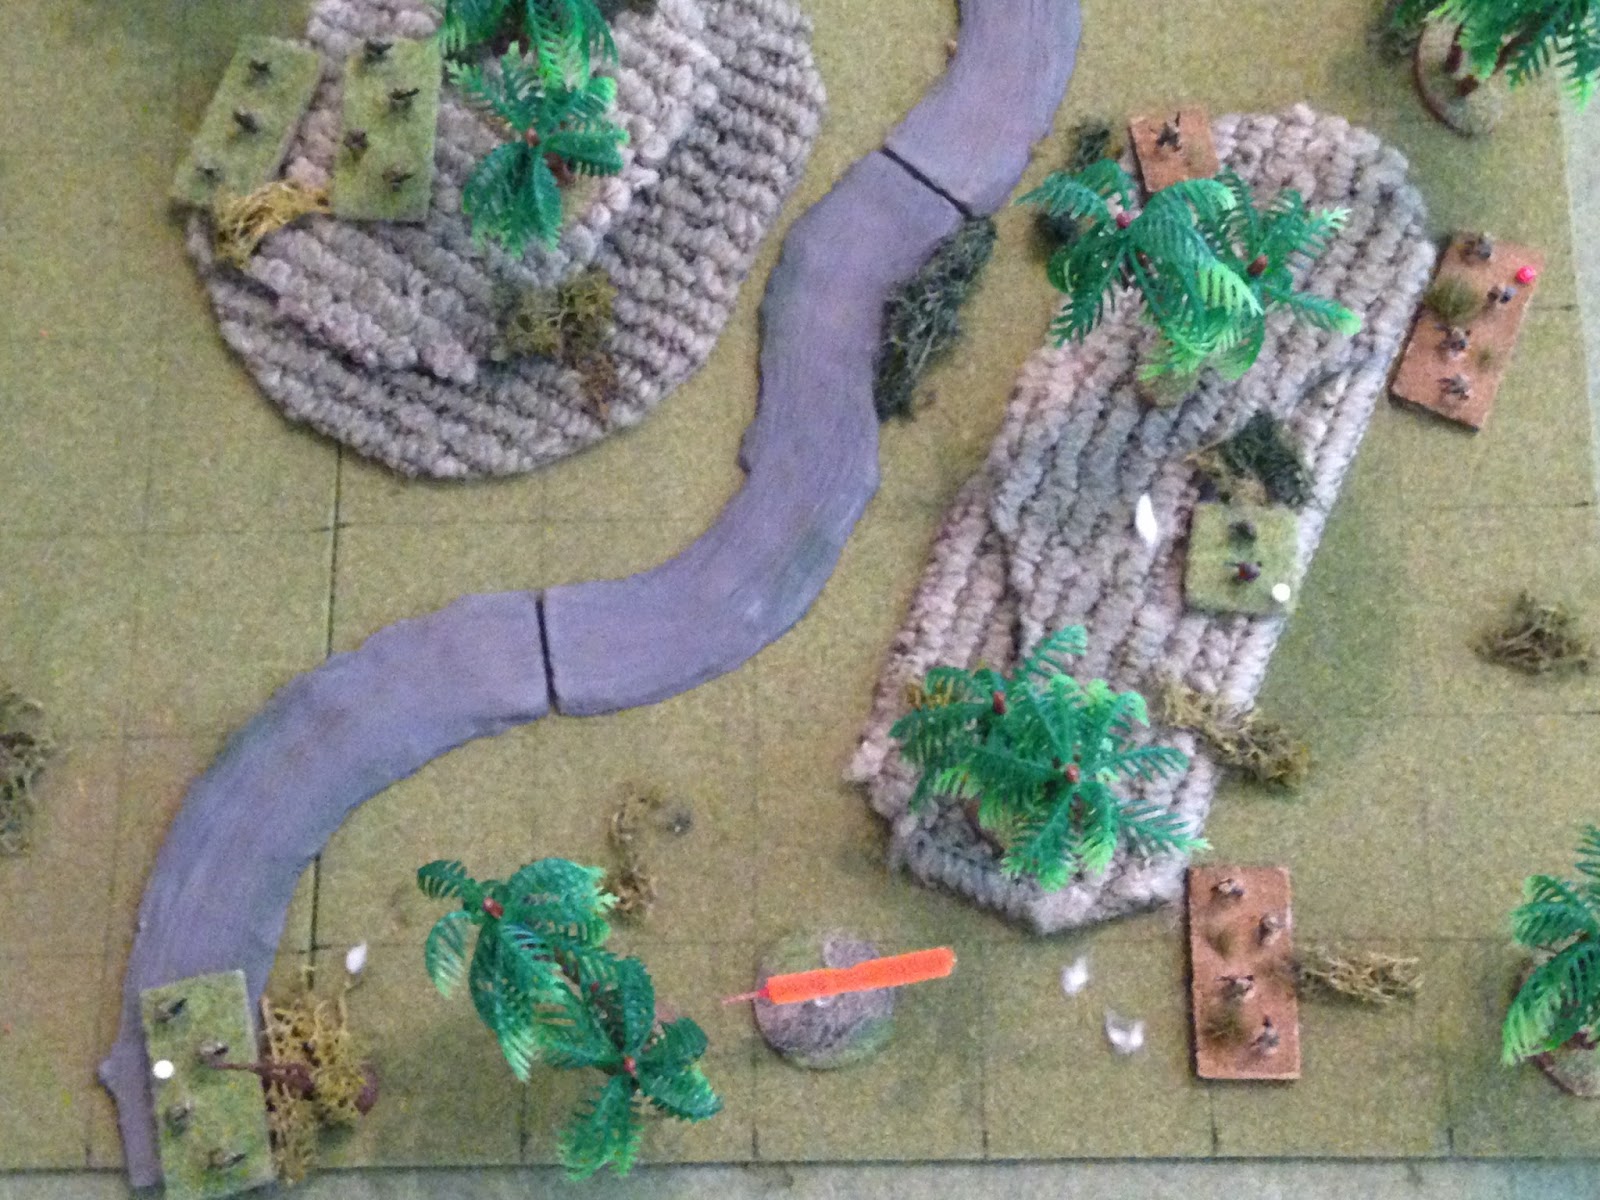
21) E Company, 7th Infantry Battalion, attacks north of Sandino to eliminate the regime's 5th Territorial Infantry Battalion.


Commander, Co E, 7th Inf Bn: Captain Michoacana


7th Infantry Battalion, Commanding Officer: Colonel Tomas Barnejesus


The CLA wins the die roll, and the game is on.


The CLA force is getting dangerously spread out, and still has a lot of teams suffering from the enemy's fire, with the regime RPGs really laying into them.


The knoll in the northeast was a juicier target for the mortar team, but one thing at a time, and the situation was a bit shakier on the left. I can feel things starting to turn; while it's true the enemy RPGs were taking a toll, that's not the whole story: the CLA had rolled three scurries (moving and rallying, but no shooting) in a row; then right after the last scurry, when the enemy could have really taken advantage of things, they rolled a scurry, which was basically a wasted turn. They didn't move a single team, because they'd just consolidated their positions following the last CLA scurry. If you're not familiar, when you roll a scurry you get to move or rally all units, and then any enemy unit that could see an enemy action gets to move.


Casualties:
CLA: ~10 KIA/WIA
Regime: ~15 KIA/WIA, ~15 POW
As a write this, I hope it's not turning anyone off. That is, I feel like the fight was a bit lackluster, certainly not as dashing and heroic as some of the others (and for that matter, the last one was, too). And what I mean is, I feel like it's possibly lackluster from the reader's perspective. They're not for me; the last two fights started off very badly for the CLA, and the situation was really in doubt. But when the 'turn' happened, it happened quick then the fight was over quick. I suppose that's a function of fighting with so few forces on such a small table. It doesn't bother me, I just hope it doesn't turn anyone off. From my perspective, it was tense for a minute, ended the way I wanted it to (a win!), it advances the campaign, and it gives character to the story.
What I mean with that last statement is that, following the War of Liberation, the CLA will go through a massive reorganization. The vast majority of the Cuban military will become a self-defense force, but there will be a modest-sized Cuban Expeditionary Force (CEF) that will serve in every overseas war/contingency operation I can think of. Right now there are many leadership slots in the CLA, but it will get much smaller. So, leaders that distinguish themselves by valor in combat and successfully complete their missions will be promoted and secure spots in the CEF, while those that don't (such as, perhaps Captain Michoacana, who did 'okay,' and Colonel Barnejesus, who did only 'okay' in this fight and got his ass whooped in his previous fight) will be forced to retire or take positions in the less critical Cuban Defense Force (because, who's gonna invade Cuba?).
So I hope you don't mind. If you do, please stick around, the next fight is an ass-kicker ;)
V/R,
Jack
That wasn't bad at all!
ReplyDeleteLooking forward to the ass-kicking installment!
Yeah, Jim, hopefully I'll manage to post it tonight (Friday). Thanks for looking and commenting, I was starting to wonder if the comments thing was broken ;)
ReplyDeleteV/R,
Jack
I am finding all the the Liberation games fascinating to read so far. Small number of units on a 2'x2' table for a quick game that is fun. Because it is fast it is always on the go; and with the small number of forces, luck does seem to play a larger part that in bigger games. I bet you are still bitching on the inside (since the last time you complained many games ago) on the time it takes to setup and take down the terrain (I still do after 5 years!).
ReplyDeleteThese 2'x2' games with small number of units sounds like fun - I should give them a go :-)
I'm glad you're enjoying them Shaun. The small forces/small table is quick and dramatic; I don't mind the 'luck' aspect, it makes for decisive games, then I can just set up another and get back into it.
DeleteI'm starting a new project, and spent about an hour setting up a 5' x 4' table. I'm very excited about this new project, but I couldn't help but feel frustrated, thinking "I coulda played a game and be starting another by now."
These Cuba-Libre games are great for my personal style of play: lots of fights in a campaign which sees the progression of units and characters. The fights are up close and personal, which allows for lots of maneuver and heroics, rather than stand-off that relies on firepower, so they work great for me, and I've got plenty other ideas I can't wait to get back to Cuba Libre for.
V/R,
Jack