AKA, the 10th fight of Operation Payback
It's 0415 on 20 July 1990, and a new fight is afoot. First, a quick primer on Cuba Libre and where we're at:
1. In early February 1990, Cuban exiles staged an invasion of Cuba and overthrew the Castro regime. They immediately formed a constitutional republic; the Cuban military and the bulk of the Liberation Army became the Cuban National Defense Force, but a small portion became the Cuban Liberation Expeditionary Force (CLEF), capable of worldwide deployment to fight in support of freedom and democracy (yes, it sounds cheesy, but it's just a wargaming platform so I can do whatever I want, fight wherever I want).
2. The fledgling democracy soon deployed troops to two different locations: the (fictional) Balkan country of Cronistria and the (fictional) African country of South Leon. Cronistria recently declared independence in the wake of the breakup of Yugoslavia, and was battling hardliners dedicated to remaining Communist. Cuban involvement began with Special Forces dispatched to train and assist; the deployment went really well and Cuban conventional forces were sent to reinforce the success. The war is going swimmingly; Cronistrian Democrats, supported by the Cubans, recently re-took their capital and things are looking up. Cuba sent a larger task force to South Leon, which is surrounded on three sides by enemies devoted to striking South Leon from the map. So far things have been relatively quiet, with only a few skirmishes in the north of the country, but change is in the air and the proverbial stuff is about to hit the proverbial fan.
3. While things are going well back home in Cuba, there have been issues. There has been a string of public bombings, assassinations of public officials, and sabotage of national infrastructure carried out by Cubans loyal to the now deposed Castro regime. The Cuban President sought a diplomatic solution, and thereby an agreement was reached in which Cuba would essentially pay a ransom in order to have the terrorist attacks stopped. El Presidente agreed and a diplomat (with CLEF security personnel) was dispatched to Morocco to make the payment (this was Operation Payoff). The Cuban entourage was ambushed in Morocco; they managed to escape, but suffered heavy casualties.
4. El Presidente stood up Unit 101, a Special Operations force dedicated to solving the problem of terrorist attacks on Cuban soil by going after the entities outside Cuba that are supporting it. El Presidente also authorized Unit 101's first mission set, under the overall moniker of "Operation Payback." First up for Operation Payback was Operation Dragon Forge, which saw Unit 101 travel to Morocco, Italy, Lebanon, and Malaysia in order to acquire information which would identify who ordered and who conducted the ambush of the Cuban diplomatic entourage in Morocco.
5. Operation Dragon Forge resulted in the capture of "The Persian," who provided a treasure trove of information relating to enemy activities against Cuba. The major facts of the case so far are: a Venezuelan paratrooper Captain named Chavez coordinated with an Iranian mid-level bureaucrat with ties to the IRGC named Ahmedinajad for the ambush in Morocco. This made sense as the Castro regime had ties to both of those countries; during the war for Liberation, Chavez led a failed Venezuelan attempt to evacuate Fidel Castro, and Cuban Liberation Army troops defeated Iranian 'advisers' in Havana on two separate occasions. Lastly, The Persian informed Cuban Intelligence that Chavez and Ahmedinajad established a base of operations on the nearby (fictional) Caribbean island of Avalor, where they recruited, formed, trained, and equipped Castro-regime holdovers for strikes against the new Cuban government.
6. El Presidente was astounded that an enemy base could be located so near the home island, right under Cuban noses, and Cuban Intelligence had no inkling it was happening. El Presidente immediately ordered the CLEF to eliminate the enemy base. CLEF leadership began planning, but intelligence sources came across information the enemy forces on Avalor were aware The Persian was captured and, fearful of compromise, they began evacuating the facilities on Avalor. El Presidente ordered them to act audaciously; the CLEF would attack immediately, in what was now known as Operation Rush Delivery, a sub-set of Operation Payback.
7. So far I've played 78 battles in the Cuba Libre saga: 32 in the War of Liberation, 31 in Cronistria, 3 in South Leon, 3 in Operation Payoff, 9 in Operation Dragon Forge (Operation Payback), and now I've begun Operation Rush Delivery (Operation Payback).
The Plan - Major Halabrio, commander of the 6th Parachute Battalion, Callsign "Pro-6," is overall mission commander. His 18th Grenadier Guards are the supported element, his 16th Parachute Infantry are the mission reserve, two teams from 10th Special Forces Group and various aviation assets are supporting elements, and Unit 101 is operating in the battlespace in a coordinating relationship.
1. Reconnaissance and Surveillance Teams from Captain Wallestre's ODA 424, 10th Special Forces Group, will insert at 0330 on D-Day and occupy three OPs to aid in coordination of friendly force actions, acquire and monitor enemy forces, and distribute supporting fires.
2. The 18th Grenadier Guards, 6th Parachute Battalion, will make an airborne assault into three platoon-sized drop zones at 0530 on D-Day. They will form up and assault the enemy training areas and barracks.
3. Direct Action Teams from Lieutenant Estevez' ODA 525, 10th Special Forces Group, will stand by as QRF for the R&S and airborne insertions, and then support 18th Grenadier Guards' assault of the enemy training areas and barracks.
4. Major Villanueva's Unit 101 will insert via Special Operations Aviation to capture or kill "El Commandante," a former Venezuelan Army officer in command of the facilities on Avalor, and "The Adjutant," the senior Iranian official on Avalor.
D-Day
Back to the batrep: it's D-Day, 20 July 1990, and Captain Wallestre's three R&S teams of ODA 424 have inserted via Zodiacs. They came ashore quickly, stowed and concealed the boats, and set off on three different courses to reach their assigned observation posts. Team 1, headed by Captain Wallestre himself, had no issues, but things didn't go so well for Teams 2 and 3. We pick up our story at 0415 with Team 2, ODA 424, as it makes its way towards OP Juliet in the pre-dawn darkness in the Avalorian jungle.


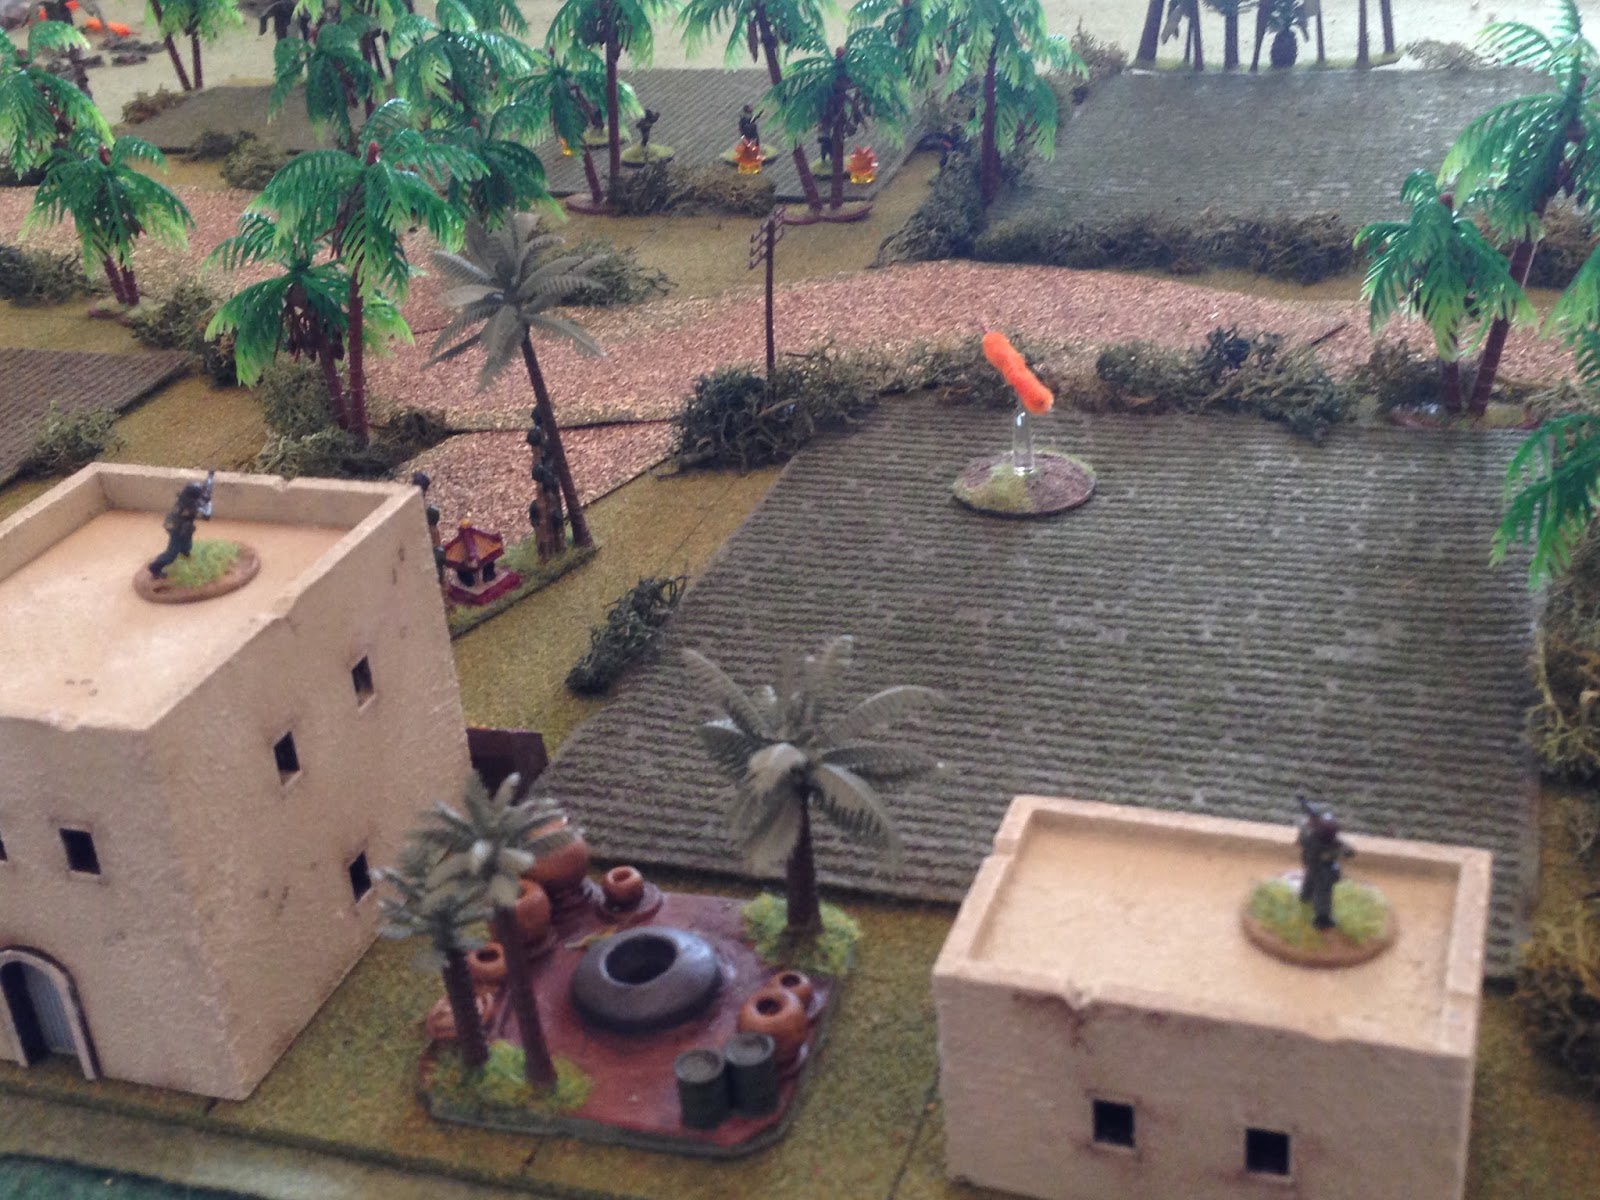
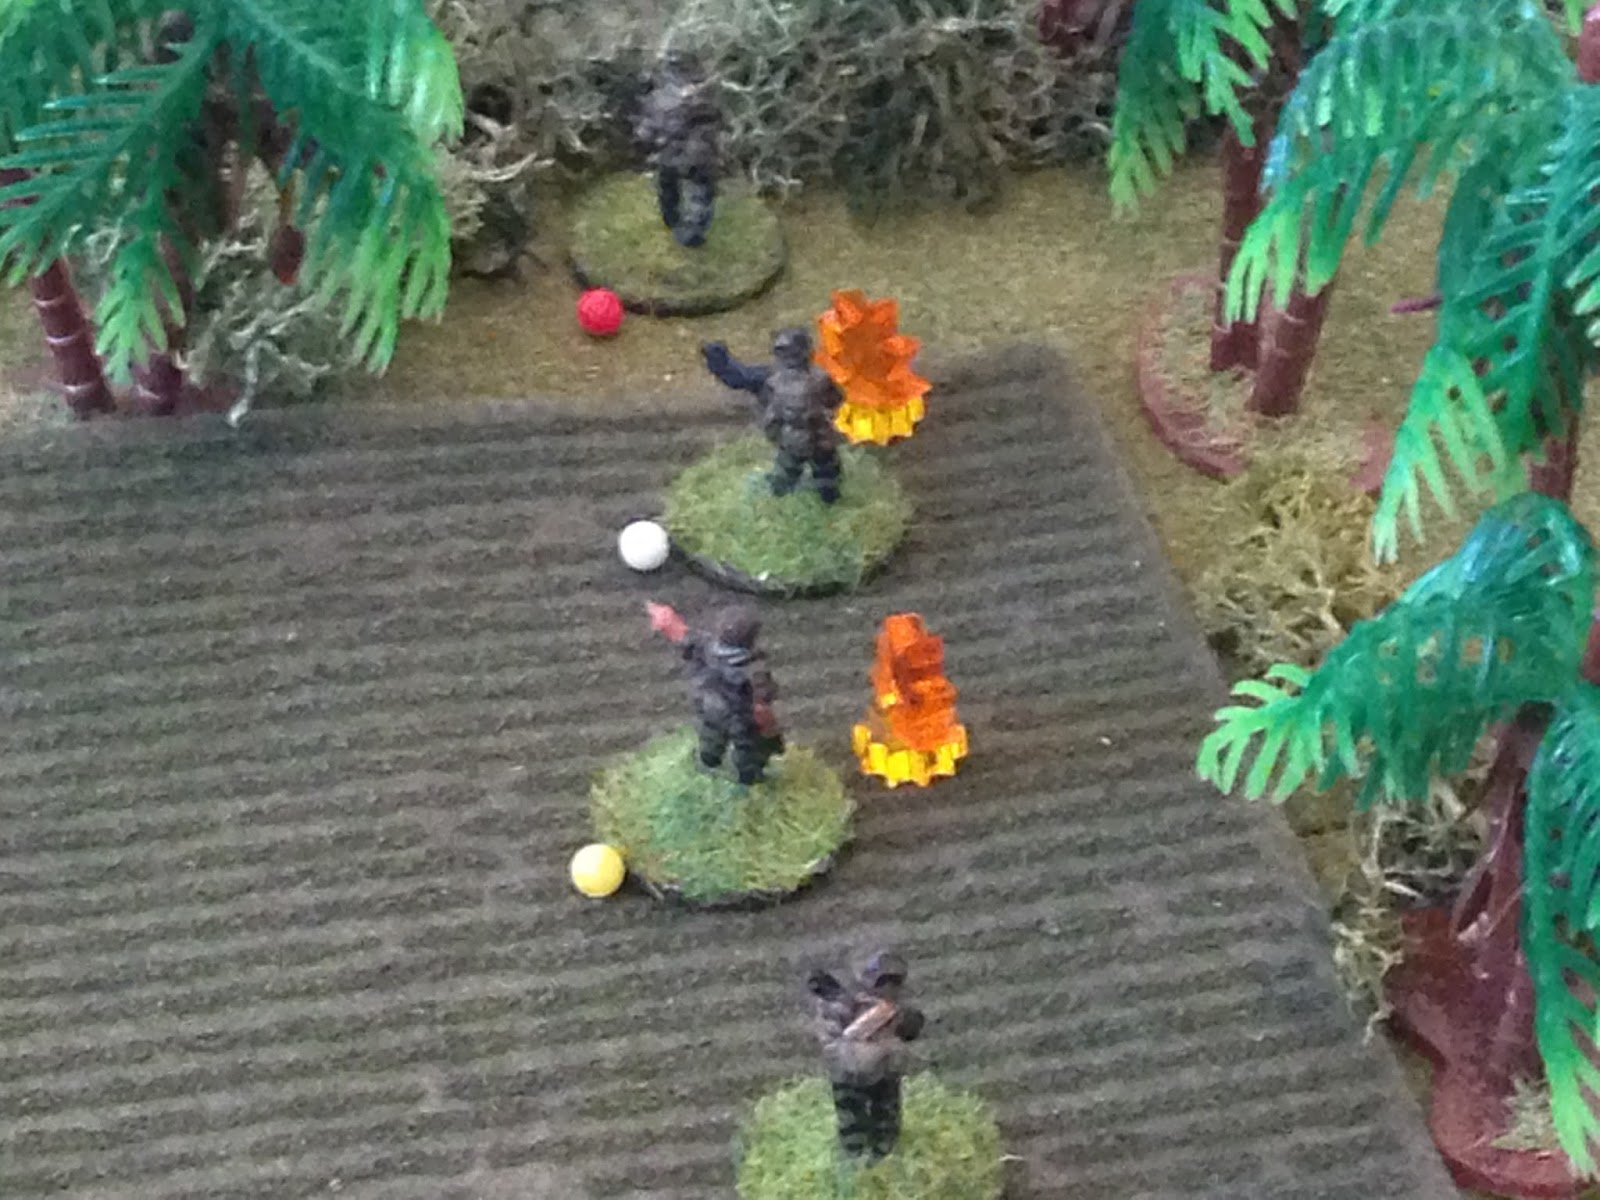


Ev (top right) comes up on the net: "Gunslinger 41, Gunslinger 41, this is Rebel 22, we've got contact, danger close, two Peanuts, 150 meters southwest of OP Juliet, request immediate guns running north to south!"
"Roger Rebel 22, this is Gunslinger 41, hang in there, we're inbound."


"Great run, Gunslinger 41, much appreciated, you really saved our asses! Can you stand by, we need MEDEVAC, have one urgent surgical."
"Roger Rebel 22, stand by for extract."
"Negative, negative, we're good to Charlie Mike (continue the mission)."
"Standby for extract, Rebel 22, your compromised. This is coming from Pro-6 (Major Halabrio, the overall mission commander)."


The bad guy at top right self rallies and is back in the fight.


"Negative, Rebel 22, QRF inbound."
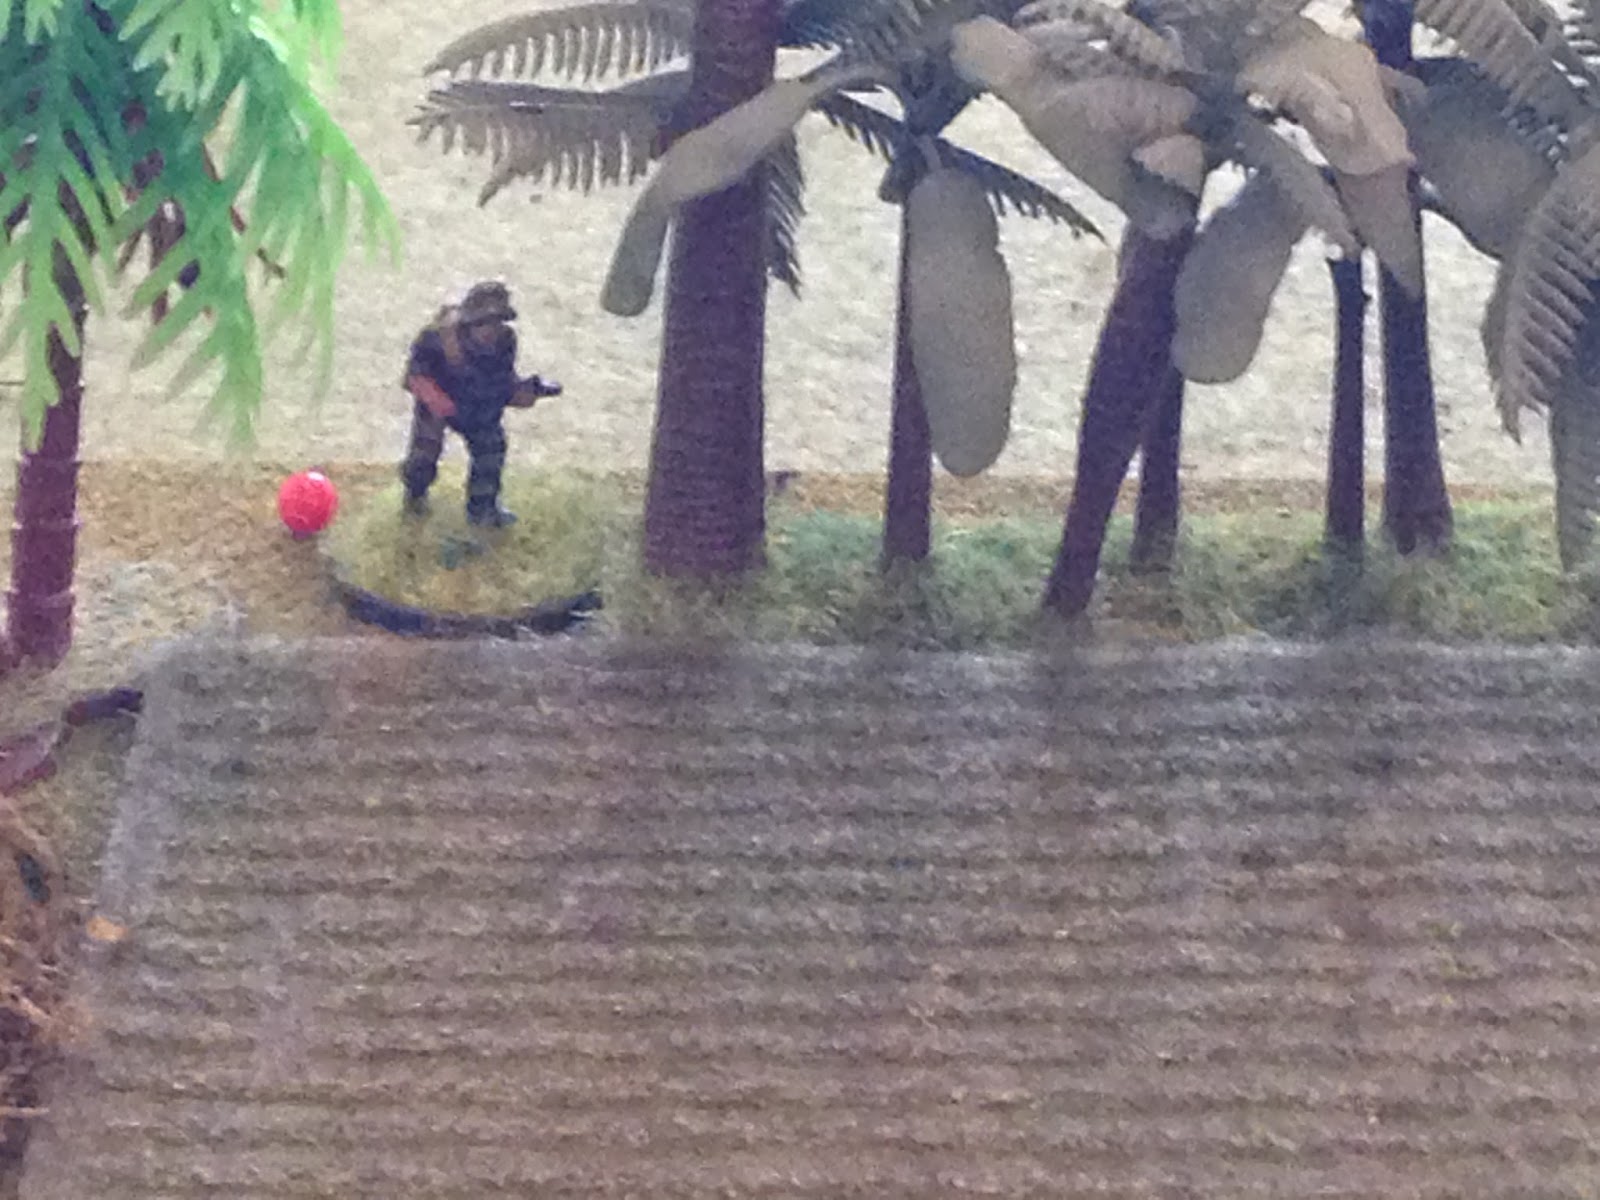
I almost forgot about him...


With Rebel 22 being extracted, that means one of the measly three R&S teams won't be position to keep eyes on the battlespace, coordinate action, spot bad guys, and call in supporting fires, which is going to make the overall plan for Operation Rush Delivery a bit more difficult to pull off. And, to make matters worse, as the QRF gets back aboard the helo and the pilot pulls pitch to lift off, the radio again crackles to life: Rebel 33 is in trouble!
Well, that was interesting. And, if anyone is curious, that was all free-flow, meaning, I had no idea how it would turn out. I set up the team, set their objective as getting off table at bottom right, then set the bad guys up using the blinds and had at it. I didn't really plan on using the helo gunship, but it was in the back of my mind, and when things went to hell right off the bat I figured I'd allow them to roll to see if CAS came up on the net, and a very lucky roll meant it did. Then, just to throw some stuff in the game, I rolled to see if Pro-6 would allow them to carry on to the OP, or pull them out. So, the team one the fight (with help, of course), but is out of the battle.
More fights to come; right now I've got Operation Rush Delivery scheduled for nine fights, more if things go bad and I have to keep fighting to accomplish the objectives of the operation. So keep an eye open for more batreps!
V/R,
Jack
I got to the bit where a few of the "good" guys were down and thought it was going bad...and then the never-mentioned-at-all- previously helo turned up and shot up most of the remaining "bad" guys! And then extracted them at the end. Regardless, good to see you are doing the smaller fights - these are the ones I really like.
ReplyDeleteYou should have had some mortars :-)
And I have thought and thought and even google searched and have no idea where the names of Rebel 22 come from. I am hoping it is US-centric so I will not have to face palm myself!
My Dear Mr Travers,
DeleteI am heartened to hear you are still alive, despite your lack of wargame production ;)
1. It was indeed going bad, which is precisely why close air support was called in. The beauty of playing modern fights is that I can always have helos in my pocket for when my tactics and/or dice let me down.
2. The extraction came down to a die roll, which didn't go my way. I need those teams in their OPs coordinating the fight. So I won using CAS, but it was only a face-saving measure...
3. You guys are killing me with the mortars...
4. Ahh, the names you get the bonus for are the individuals (Grady, Thump, Ben, Woody, and Ev), not the team. It's from a Vietnam War novel on Rangers called "The Last Run," one of the better books I've read.
Thanks man, hope all is well.
V/R,
Jack
Hello Jack,
DeleteMaybe it is that you produce really great battle reports as a such a prolific rate that we just feel there is no point...
And I did think it was the Rebel 22 individuals I was looking for. I have not read the novel, and google search (in a lot of different combinations!) just did not come up with anything at all that had any more than a couple of the names :-( There were a few movies with a Woody and a Grady or a Woody and a Ben but nothing else!
Shaun,
Delete"...we feel there is no point."
Well, if that were the case, it would certainly be a Traver-sty ;)
I greatly enjoy reading others' batreps, it's fun, engaging, and a great source of inspiration.
I've said it before, I'll say it again: I wouldn't be doing any of this if it weren't for Ronan and his solo Force on Force games, a former Leatherneck and his Kingdom of Prussia, and some wild man Down Under playing 2' x 2' games in a chest of drawers.
I absolutely recommend The Last Run, which is a sequel to "Charlie Mike," both by Leonard B Scott. You can tell CM is Scott's first book; a great story, but his writing style gets much better in The Last Run (in my opinion).
V/R,
Jack