All,
1300 on 4 Aug 1990
Mini-Campaign Fight #7
South Leon Army D Company vs FSNL 1st Company
The SLA's D Company was dug-in deep into defensive positions oriented north, prepared to fight off the Commie hordes coming down Route 1, but were suddenly attacked from the west by FSNL3, which was retreating from a beatdown they received at the hands of TF Hammer. It turned out to not be a big deal; the company quickly re-oriented itself to the west and very easily gave the retreating Communists a bloody nose, sending them packing in a northerly direction. Security patrols were quickly sent out in all directions, seeking to find out if any other enemy forces were lurking in directions unexpected, and even hoping to tie in with the incoming Cuban forces, but bad news came back: fresh enemy troops were spotted coming in from the north! It seems a new enemy formation passed through the retreating Communist troops they'd just defeated, and now D Company had to re-orient itself to defend to the north again.
I could have played this straight up, had the Communists attacking north to south against prepared defensive positions, but I figured I owed it to you guys to make it a bit more difficult, to try and make up for screwing it up last time! So in instead of fighting from prepared positions, the Cubans will start with a small patrol out front, with reinforcements coming in from the rear, looking to stave off the steely-eyed Commies of FSNL's 1st Company.
I could have played this straight up, had the Communists attacking north to south against prepared defensive positions, but I figured I owed it to you guys to make it a bit more difficult, to try and make up for screwing it up last time! So in instead of fighting from prepared positions, the Cubans will start with a small patrol out front, with reinforcements coming in from the rear, looking to stave off the steely-eyed Commies of FSNL's 1st Company.
The objectives here are simple: the Communists are seeking to destroy D Company and any other Allied units blocking the Route 1 in order to allow resupply and reinforcement of Pendrakenville. D Company's goal is to hold firm.

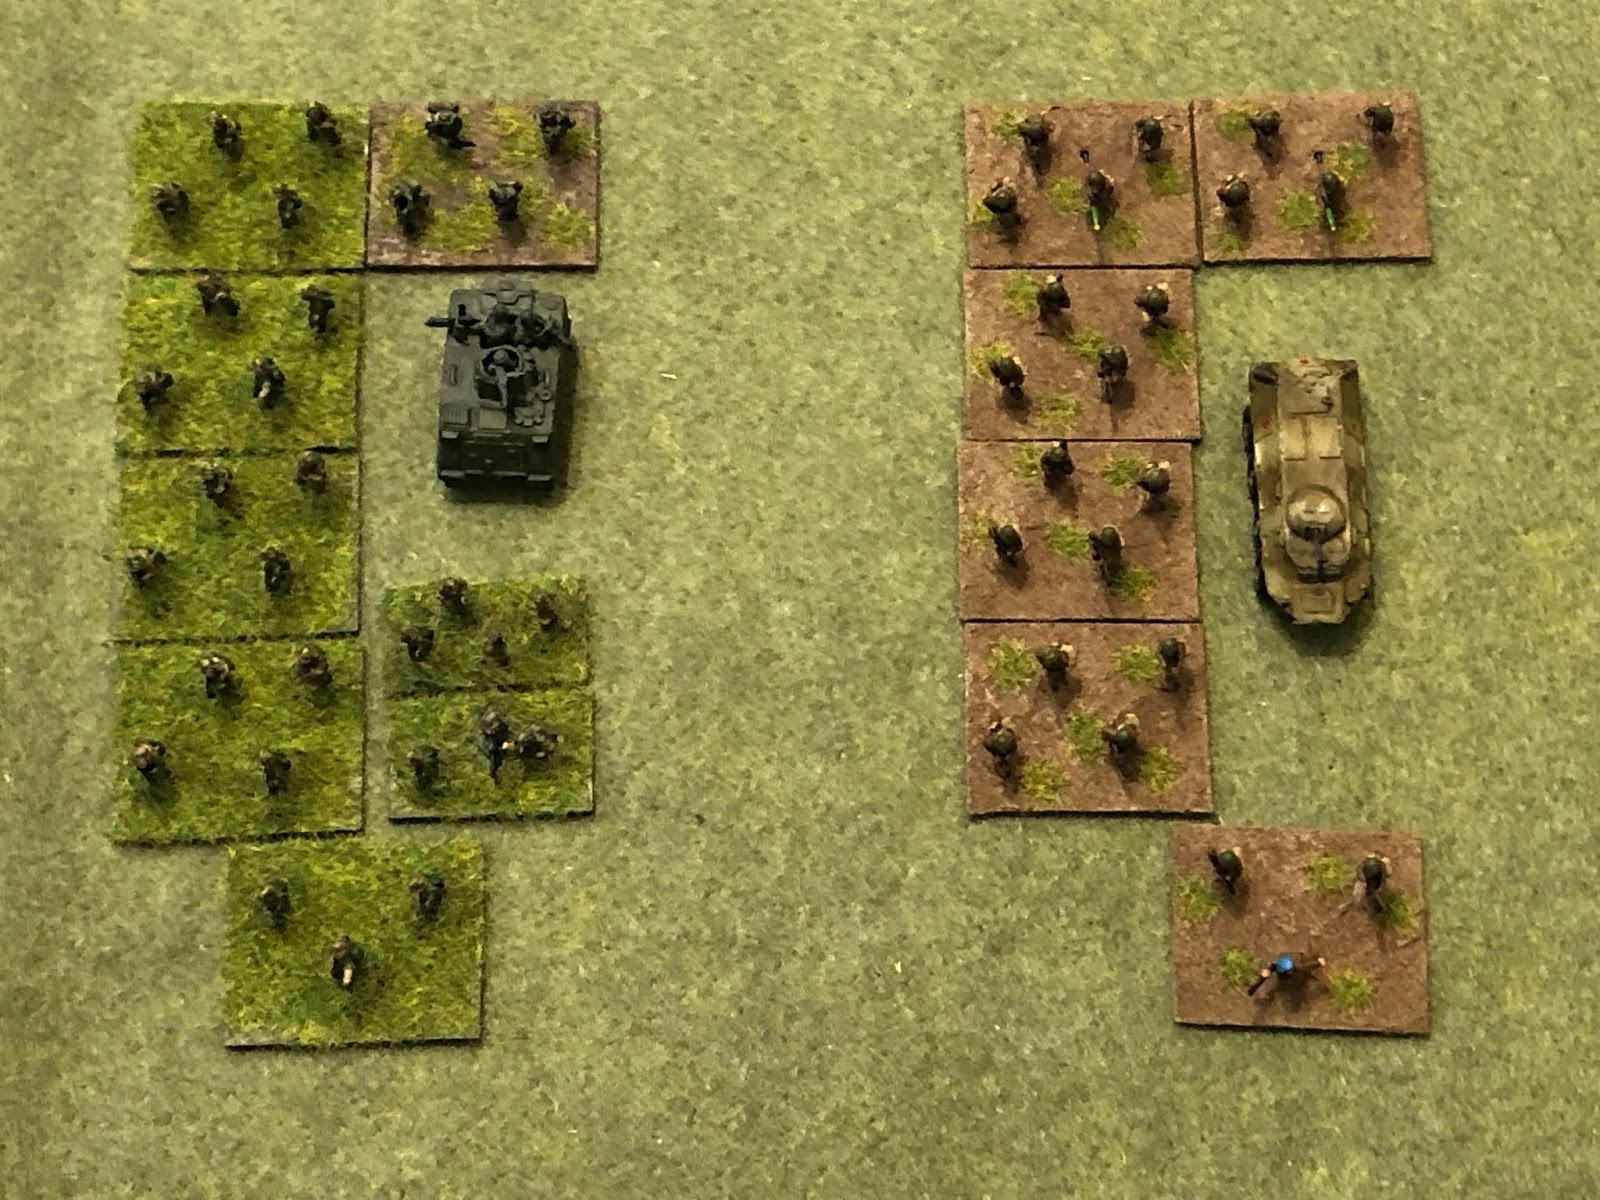
The opposing forces, allies on left and Communists on right.
The figures are all 10mm from Pendraken, Minifigs UK, and Butler's Printed Models. I'm using Ivan's "5Core Company Command," playing on a 3' x 2' surface with simple terrain to speed up the process. The hootches are from Jimmi at Flashpoint Minis, the roads are from Fat Frank, the hills are from Warzone, the fences are from Sarissa, the fields are from Hotzmats, the trees are cake toppers, and when you see the rivers, they're from Wargamers Terrain. I'm playing solo and will randomize enemy deployment using a system of blinds borrowed from Joe Legan's "Platoon Forward."
In terms of caliber of forces, the SLA, FSNL, and FLA troops will all be treated equally, except for the fact the FLA troops will be treated as fanatics, in terms of their willingness to advance into close combat. The Cubans are more tactically and technically proficient, and so they will receive extra firing dice, better rallying capability, bonus in close combat, and sometimes will have a second command stand on the table.

D Company's force consists of: Command stand, four rifle teams, an M-113 armored personnel carrier (actually, an up-gunned "ACAV"), a machine gun team, and a mortar team. They are also accompanied by a team of commandos from TF23. These troops are Pendraken US forces from their Vietnam range, except for the MG team, which is WWII US Marines, and the TF23 stand (far right), which is are Minifigs' Australians from their Vietnam range.
Another thing: the SLA defenders also have some heroes amongst their ranks:
The commander of D Company was awarded the Silver Star following fight #12
The team leader for Delta 04 was awarded the Bronze Star w/V following fight #12


*That excellent bit of shooting may have just saved the day.


Once again the SLA D Company mounts a magnificent defense resulting in a resounding success. D Company will hold their ground (C4), while FSNL1 is forced to fall back to the west (C3). Next turn they will most likely continue to fall back, will likely hold, and will less likely counterattack.
So that was much more interesting (to me, at least), compared to their last fight, which was defending from prepared positions. The fight may have seemed like another blowout, but I would submit that if you believe that you're missing how close that really was, and that's what I love about 5Core Company Command, how dynamic it is, and how unpredictable it is. The fight was pretty evenly matched, but then the Communists gained the upper hand by out-pacing the SLA by getting almost all their troops into the village (at one point Delta 04 was alone and suppressed vs the BTR and three rifle teams), but then the SLA got a firefight and the MG team really saved the day by putting a team 'men down' and suppressing the enemy CO and the BTR. This set the stage for the SLA CO to rally Delta 04 then go on their close assaulting rampage that secured the victory. From my standpoint it's a lot like Crossfire, where there's some back and forth and then something breaks and it's all downhill from there. The only other piece to this is that this was such a crushing victory by SLA D Company that it wouldn't have been off limits to have simply eliminated FSNL1, rather than allow them to fall back, particularly given the fact I had to allow them to 'fall back' laterally as opposed to straight away as, once again, a Communist battle group falling back was 'squeezed' by an Allied unit behind it.
Casualties:
Cuban: ~10 men
Communist: ~20 men, with 5 more captured
Decorations:
D Company Commander was awarded the Distinguished Service Cross for rallying his troops under heavy enemy fire and then leading the close assaults that knocked out two enemy rifle teams, the enemy commander, a BTR-70, and captured another rifle team, breaking the enemy attack and forcing the survivors to flee for their lives.
Delta 04 Team Leader was awarded the Silver Star for patrolling into the village, identifying the Communist infiltration, notifying higher headquarters, and holding alone until reinforcements arrived. Once reinforced, Delta 04's Team Leader participated in the close assaults that knocked out two enemy rifle teams, the enemy commander, a BTR-70, and captured another rifle team, breaking the enemy attack and forcing the survivors to flee for their lives.
Next up we have Major Chavez' Task Force Hammer taking on the FSNL's 3rd Company, for the second time. Poor FSNL3; they got the piss beat out of them by TF Hammer and were forced to retreat into SLA D Company, where they got the piss beat out of them again, and now TF Hammer is jumping on them again.
V/R,
Jack
No comments:
Post a Comment