All,
It's 1530 on 18 April 1990, and Team 6-3 is on patrol, seeking out the enemy. And not just any enemy, their new nemesis: Demjanovic's Tigers, the Serbian 4th Special Forces Battalion. Serbia is very much interested in holding together the splintering Federal Republic of Yugoslavia (FRY). It had been content with backing, to a certain extent, the Cronistrian Communist Party, as well as keeping several FRY Army units active in Cronistria via pre-existing garrisons/barracks. But word soon reached Serbian military HQ that a Western nation had dispatched commandos to Cronistria to back the Cronistrian Democrats; President Milosevic ordered the deployment of Major Demjanovic's 4th Special Forces Battalion to hunt them down.
Earlier in the day the Operations NCO approached Lt "Mikey" Trojas, the commander of the CLEF detachment in Cronistria, Task Force Trojas. "Sir, 626-Forward (a CLEF element across the border in Italy, with a Radio Reconnaissance Team attached) reports new callsigns and locations up on the enemy (radio) net. This has to be Demjanovic's Tigers. Most of the callsigns are co-located with FRY garrisons, but we've identified a few located in rural areas. There's one not two hours' march from here." "Roger, get me 6-3's leader, Turk."
Turk reported to Mikey, who quickly briefed him in on the situation. "I want your team to scout out the location ID'ed by 626-Forward, and if you can whack'em, then I damn well want you to whack'em, savvy?" "Roger, Boss."
Turk assembled his team, briefed and prepped them, and off they went. By 1330 the four-man patrol was nearing the geocoords provided by 626-Forward. Unbeknownst to the team, Demjanovic's Tigers had set a trap: they set up several ambush sites in rural areas centered on fake radio transmissions, which they figured might lure the Western commandos to battle. The only good news for Turk and Team 6-3 was that the enemy had oriented their ambush to the south and west, while Turk had had his men circle around from the north.
The opposing forces, with Turk's Team 6-3 on the left and an eight-man squad of the Serbian 4th Special Forces on the right.
Team 6-3, from left to right: the Designated Marksman, Bolt, the SAW gunner, Rock, Panda with an M-4, and Turk with an HK416.
Yes, I know these weapons and gear are entirely inappropriate for 1990; as I've stated several times, my Cuba Libre campaign is mostly just an excuse to run a connected campaign of ultramodern games without having to deal with the politics. Ergo, I have guys with 2015 gear in Yugoslavia in 1990, fighting Germans proxying as Serbians ;)
Eight commandos of Demjanovic's Tigers, waiting to spring their ambush on TF Trojas, though slightly mis-oriented to meet the threat.
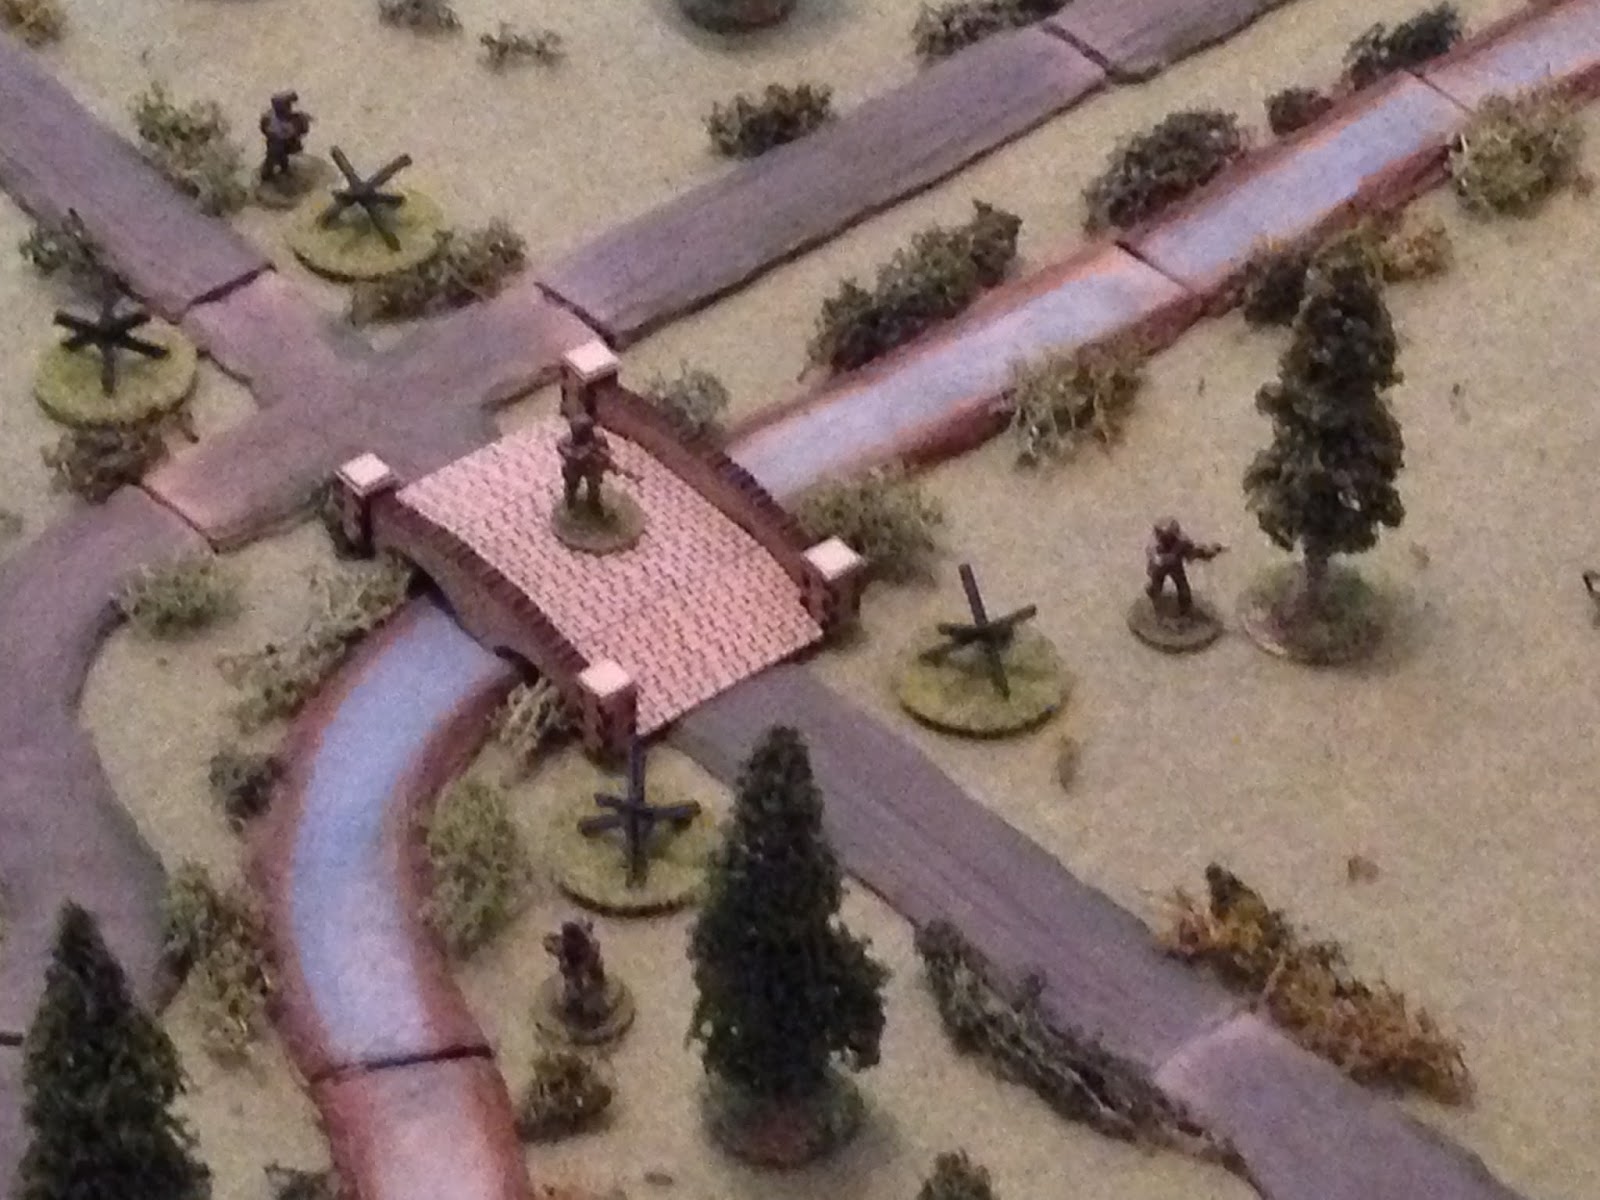
Overview of table, north is up. We've got a very small farm in the southeast, which is where the radio transmissions are emanating from. We've got a hardball road running north to south then branching to southeast and southwest. There's a rocky outcropping in the northwest, and a narrow but deep and fast-moving river running east-west, which is bridged at the hardball road. There are also three patches of rough ground, strewn with boulders. Other than that it's light forest.
Entering on each side of the hardball road in the north is Team 6-3. Panda calls out 'linear danger area ahead,' letting Turk know they're coming up on a chokepoint (the bridge) at the river, an obvious ambush location.
Bolt takes up overwatch at top left while Rock moves to cover from the right, as Turk and Panda move up to the hedgehogs near the bridge. Turk: "Panda, go."
Bolt squeezes in from their right (left of photo) and bumps Panda, who sets off across the bridge at a crouch.
And then Rock squeezes in from their left (right of photo), bumping Turk, who takes off across the bridge after Panda took up a covering position on the opposite bank (bottom center, next to tree).
Turk takes up cover opposite Panda (Panda at bottom center, Turk at right). Rock holds on the opposite bank as Bolt begins moving across the bridge. Turk: "I can't believe they're not watching the bridge."
But they are watching the bridge. The bad guys had their ambush oriented south and west, but their guy pulling rear area security has spotted Team 6-3 crossing the bridge and quietly alerted his comrades.
The Serbian commander, alerted to the threat to his north, quickly reoriented his two teams, one at bottom left and one at bottom right.
The four men in the southwest (bottom left of table).
And the four men in the southeast (bottom right of table).
Panda (top center, with Bolt on bridge, Turk to their right, and Rock on north end of bridge) screams "contact!" Bolt fires to the southwest, but misses the enemy troops there (bottom center).
Panda (far right) looses a burst of his own...
Forcing a bad guy to fall back and hunker (bottom right, from explosion at center left).
Rock, at top center behind hedgehog on north side of the bridge, opens up on the troops to the southeast (bottom right)...
Forcing a bad guy to fall back (bottom right red bead, from explosion).
Turk (top left, behind tree) calls it out: "far ambush front, fall back," while firing to the southeast...
His rounds put one bad guy out of the fight, and pin another.
A bad guy in the southwest (bottom center) takes a shot at Panda (center top), missing.
But the next Serb fires over Panda's head at Bolt, who's caught on the bridge. The rounds put Bolt 'man down.'
One last bad guy in the southeast (bottom left) fires in the same general direction (top right), missing Rock, who's on the north side of the bridge.
Panda is caught in a crossfire as bad guys in the southeast fire on him, but they also miss.
In the southeast, a Serb commando moves up (far left); Panda (top right) spots this and opens fire.
Panda's rounds miss, so the bad guy (bottom center) makes it to the cover of a boulder and returns fire...
Putting Panda (bottom left) out of the fight...
Another Serb in the southwest (bottom left) moves forward, and Turk (top right) cuts loose on him, missing.
The bad guy runs through Turk's fire and makes it to his hunkered buddy (bottom center, red bead). The Serb opens fire on Turk while rallying his buddy.
The rally succeeds, and Turk is forced to fall back (bottom right, from explosion at center left, with Panda down at top left, Bolt man down on the bridge, and Rock at top right).
Things are really going to @#$%...
In the southeast (bottom left), a bad guy moves up, and Rock (top right, Turk hunkering at far right) opens fire...
Forcing the bad guy to fall back (from explosion at center, now two bad guys hunkering on the south side of the house, with a pinned guy on the west side).
Turk (behind tree at far right) starts to get himself back together, getting up from hunkered to pinned, while Bolt (on the bridge) shakes off the effects of the rounds (thank God for SAPIs!) and gets back to his feet, while Rock (top center, above bridge) fires on the enemy troops in the southwest (bottom left). Rock's squeezes off a long burst of 5.56mm rounds, but doesn't hit a damn thing, doesn't even scare anybody!
The bad guys return fire.
They start in the southwest, firing through the trees at Bolt on the bridge, but missing. But another bad guy fires and forces Bolt to fall back across the bridge, ending up near Rock on the north side. The enemy chased him with fire but missed both he and Rock.
In the southeast, the pinned Serb tries to rally and fails, falling back to hunker next to his buddies (from yellow bead).
Back in the southwest (bottom right), two bad guys sprint forward, looking to get to Panda (out of the fight, center-left), but Rock (top left) spots them and cuts loose with his SAW again, trying to keep them off his buddy.
Again Rock doesn't hit anyone, but this time his fire at least halts the enemy, pinning them.
From the opposite perspective, we've got Turk pinned at bottom left, Bolt hunkering at the left end of the bridge, Rock at the right end of the bridge, and Panda is down at center right (you can see the damn penny he's based on). Rock opens fire on the southwest (top right) again...
**Quick game note: If you recall, upon seeing the ambush, Turk (the team leader) called out for his men lay down cover fire and fall back (north) across the bridge. If you're wondering why this hasn't happened, the CLEF team has rolled three straight firefights, so no one has been able to move. This is coupled with the fact that every time my guys fire they miss, and any bad guys not hit or pinned are able to return fire, and then move and shoot in their own turn! So things are not going well, the team is having a hell of time fighting their way out of the ambush; to me,this simply means the weight of fire from the enemy is such that the good guys are having a really rough time moving, barely able to return (effective) fire.
But in this case, Rock's fire puts one bad guy out of the fight (top left), and force another to fall back and hunker (far right, red bead).
Instead of firing, Turk (bottom left, this pic is looking east to west) again self rallies, and this time shakes off the pin. But Bolt also tries to self rally, and he fails, falling back to bottom right (red bead, from bead at bridge).
In the southwest, a pinned Serb tries to self rally but fails and falls back (red bead at far left, from yellow bead at center right).
Damn that's a lot of ones and sixes.
A Serb in the southwest (bottom left) moves right, looking to get to his hunkering buddy. Rock sees this and opens fire.
Rock misses again, so the bad guy gets to his buddy. He successfully rallies him and fires on Turk (behind tree at top center), missing.
The freshly rallied bad guy moves up (center) and fires on Rock (top center), missing.
In the southeast, one of the hunkered bad guys successfully self rallies (green bead).
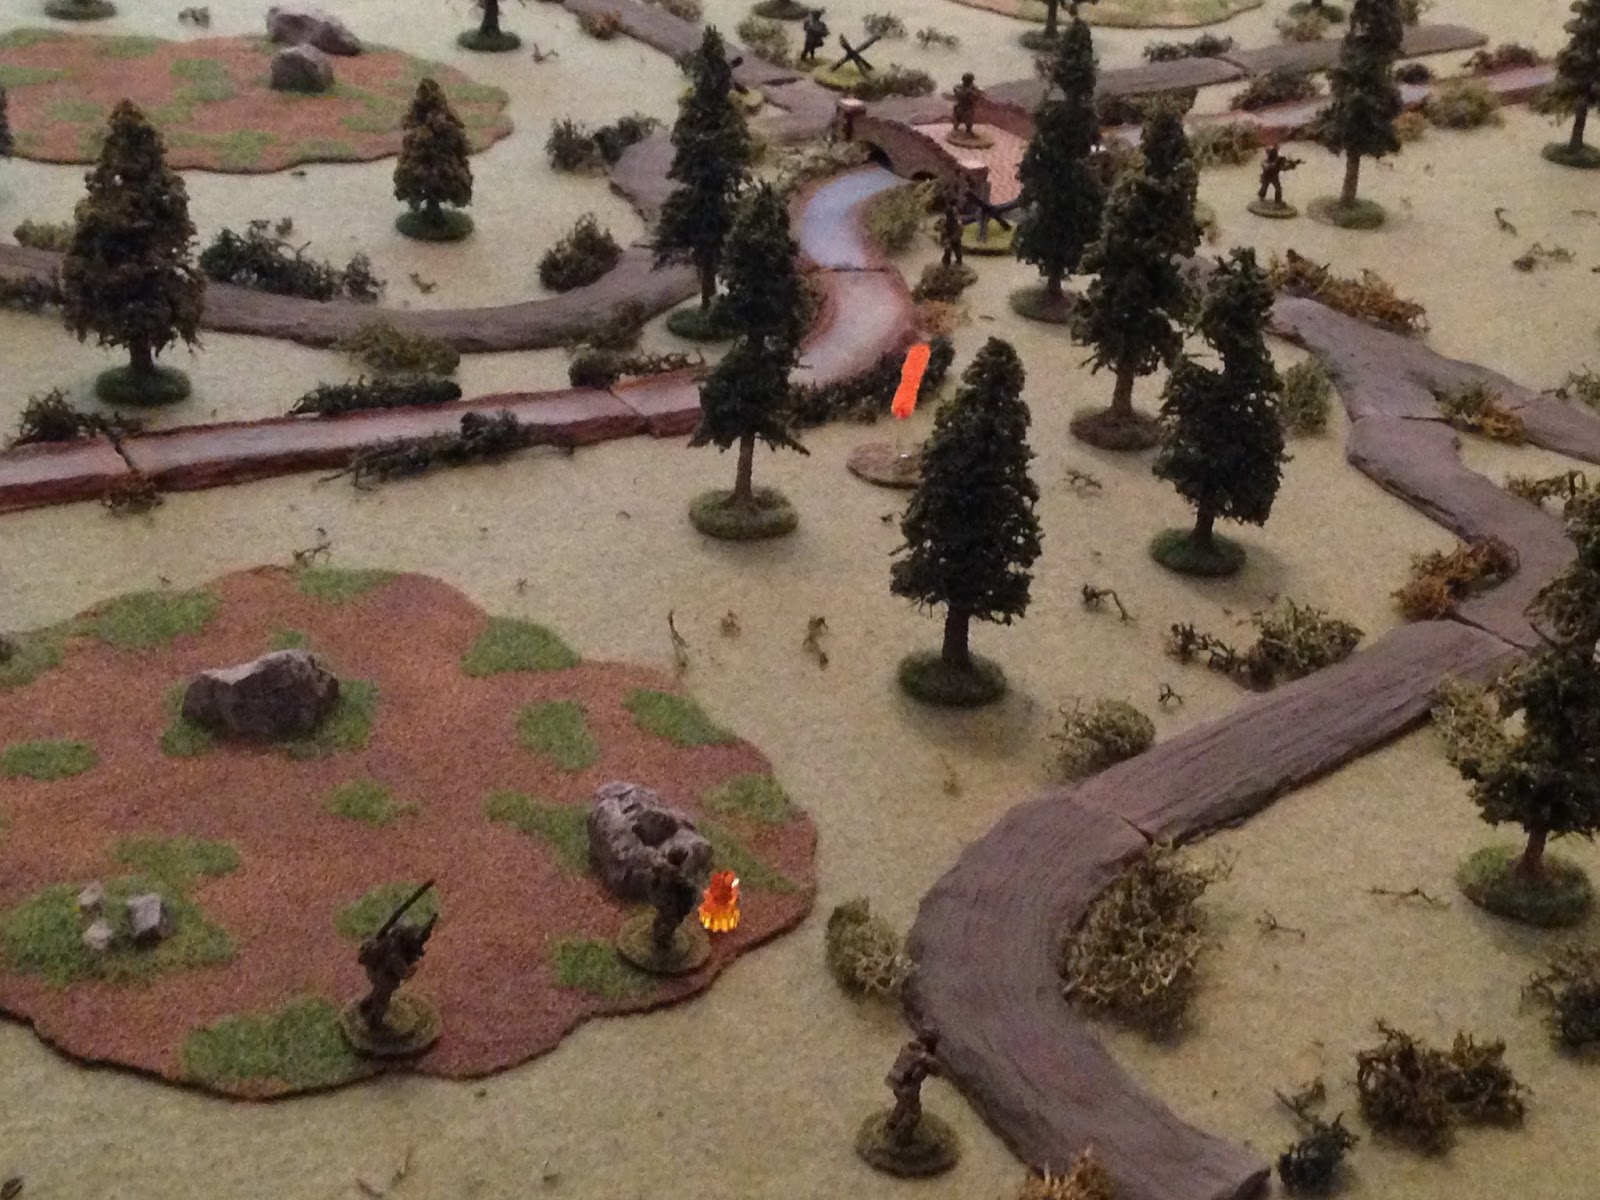
Finally the CLEF is able to move! But they rolled a scurry, so no shooting! Ain't that some !@#$!!!??? Shoot with no move three times in a row, then a move with no shoot. So my guys will move, but then the bad guys will counter move, and then get their turn, where they'll probably move and shoot...
Turk sprints ahead, following the river from bottom left up towards the bridge and Panda, while Rock falls back to Bolt to rally him (bottom right).
Rock (bottom center) successfully rallies Bolt, who sprints right to get into an overwatch position (bottom right). He and Rock have great positions to cover Turk while he retrieves Panda (just above the bridge) and hauls him across.
In the southwest (this is looking southeast to northwest), to bad guys (center left) sprint towards Panda and the bridge (far right).
And then disaster strikes: the bad guys that just sprinted up fire on Turk (center right, with Panda at left and Bolt and Rock at top center/top left)...
And the CLEF leader, only yards from his partner Panda, goes down...
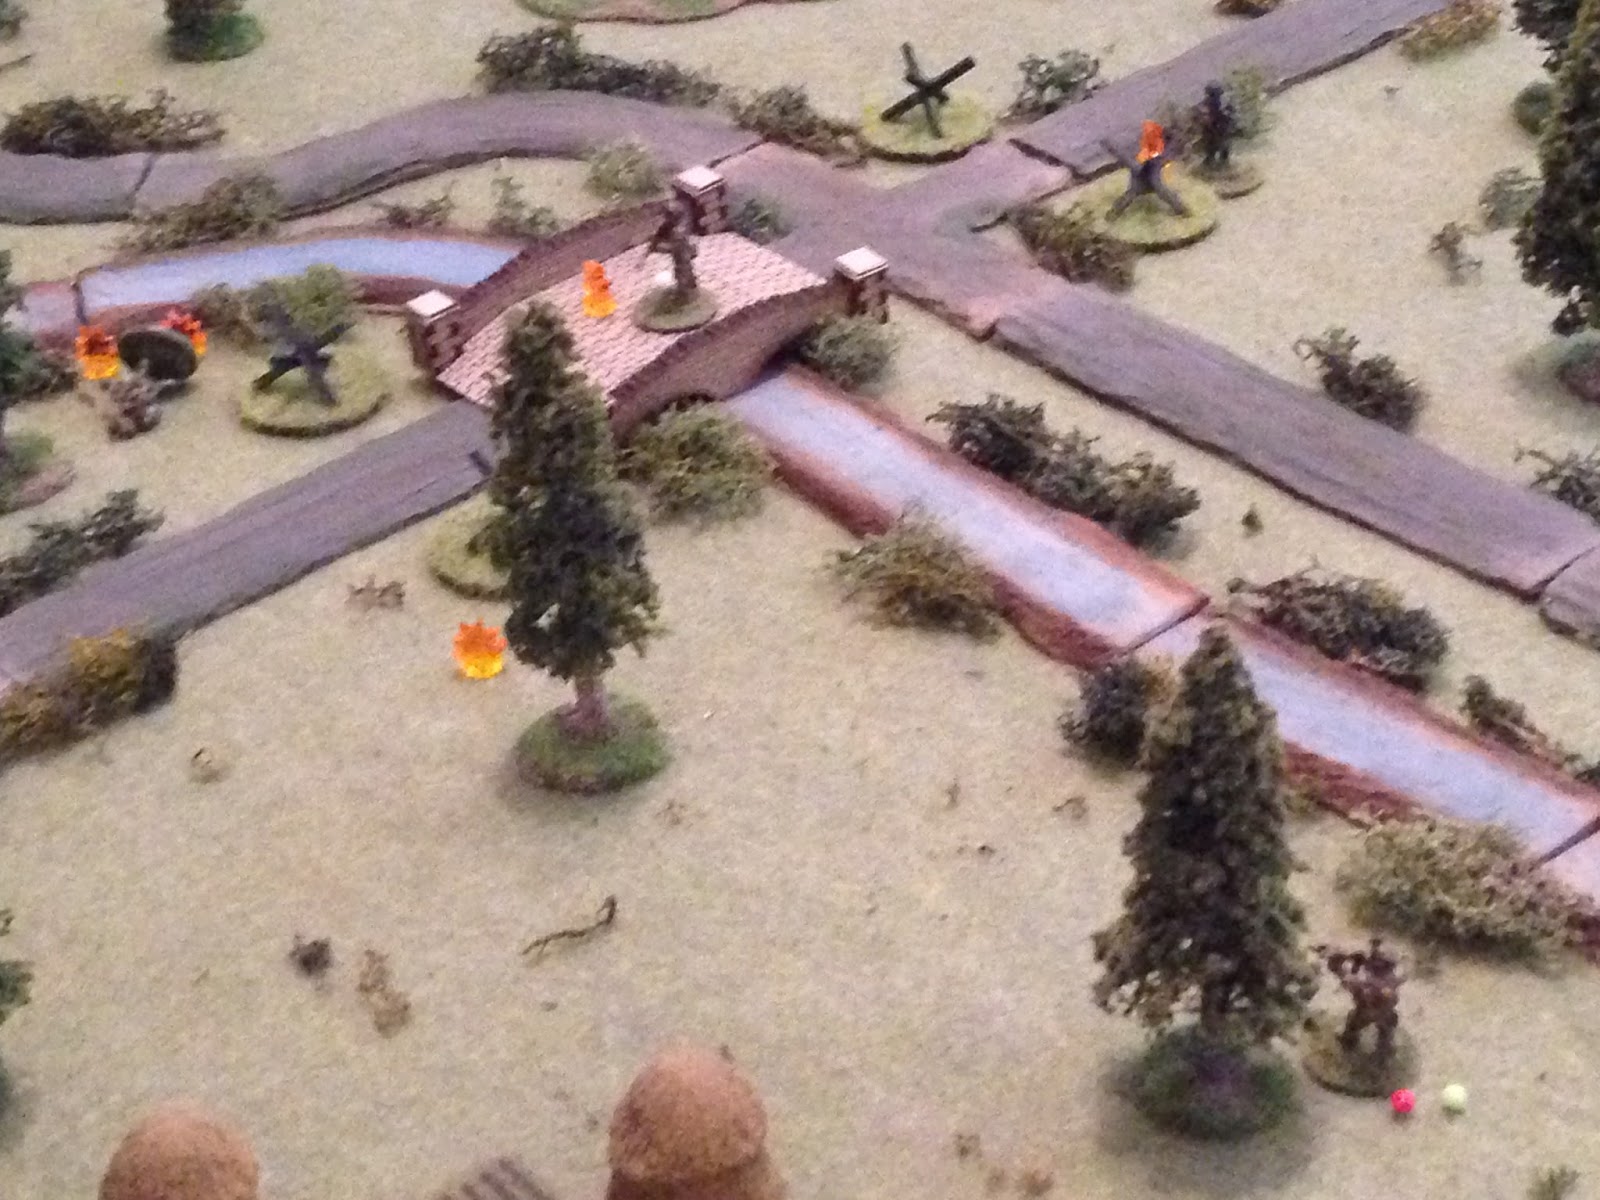
Rock (top right, with Turk at far right and Panda at center left) returns fire and pins the bad guy that shot Turk (bottom left).
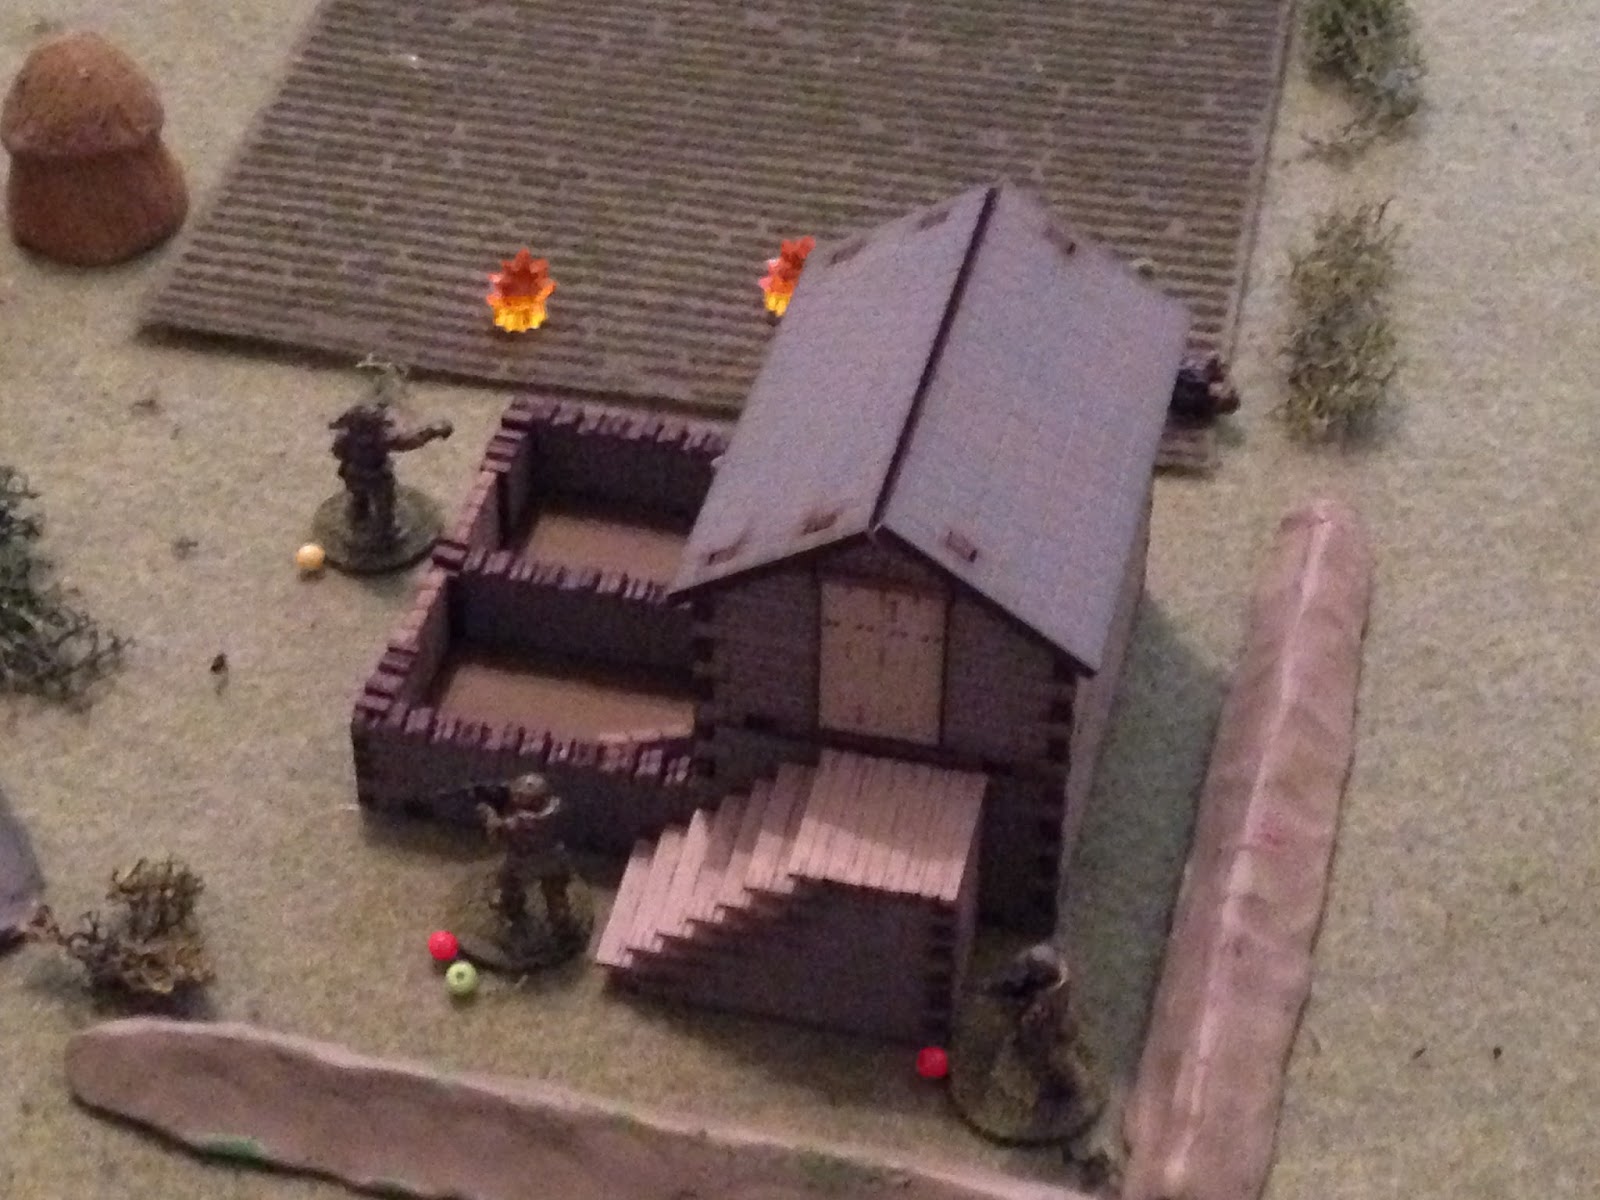
In the southeast, the Serb in good shape moves over and rallies both his buddies hunkering behind the house.
One of the recently rallied bad guys sprints up the right side (far right, from bottom center).
**Another game note: I rolled another damn Scurry!!! That would be great, but I really need to be moving AND shooting as I'm 1) vastly outnumbered and 2) need to get across the bridge, pick up my wounded, and haul ass back over the bridge without getting caught/shot. I also roll a random event, "Straggler."
I'm not sure how to treat this; I mean, it would be easy to play it as rolled, but I wanted it to make sense in the overall scheme of things, and the team wasn't missing anyone, and it wouldn't make a lot of sense for a guy from another team to show up by himself, so...
Suddenly Bolt (center right) notices a blur behind him; he swings left, bringing his weapon to bear, but the individual calls out the CLEF's running password. What the hell? It was the Cronistrian Democrat President's nephew (the Cronistrian Democratic Militia Lieutenant that TF Trojas saved in battles 4 and 5): "Rock, Bolt, we must go now!"
"Negative, Turk and Panda are laid up, just on the other side of the bridge!"
"My friend, you cannot save them! There are too many enemy on the south side, and there are more approaching from the east and west, right now! They will be here any minute. Mikey sent me to warn you!"
**I've made the decision to fought to the bitter end, but to have Rock and Bolt fall back off the map. So I let them fire on the way out, just for fun.
Bolt (top left) fires his accurized M-16 at the Serbs in the southwest (bottom right)...
He misses and falls back (center right), with the CDM Lieutenant covering him.
Rock (bottom right, with Turk at center left and Panda at top center) opens fire to the southwest (top left) as well...
Just like Bolt, his rounds fail to find their target and he sprints to the rear, hopefully in time to escape the quickly tightening noose.
Meanwhile, Demjanovic's Tigers move forward and pounce upon Panda (left) and Turk (right). The enemy soldiers quickly hauled the two CLEF troopers to the rear, where their wounds were treated and a Serbian interrogation team was brought up. It turns out Panda was only lightly wounded (return 29 April 1990) and Turk had only been knocked out.
Bolt and Rock followed the CDM Lieutenant, E&Eing out of the area. Once they felt secure they immediately moved to high ground to raise comms with the Command Post and provide a SITREP. At the end of the transmission, Bolt's voice nearly cracked: "I'm sorry Mikey, we just couldn't get to them..."
"It's alright man, get your ass back here as soon as you can, but make sure you don't drag any of them with you. And keep your @#$% together, we're going to need you. We're dropping everything and nothing else goes on until we get our men back."
Wow, what a suck ass fight! And to clarify, I mean suck as in 'I lost,' not suck as in I got screwed over by the rules. If I got screwed by anything, it was my inferior die-rolling skills, not the rules, and in any case, that's BS. You want friction, there it was. I was quite frustrated, but it felt pretty reasonable to me: my team was caught in an ambush, outnumbered, and just couldn't seem to get things going.. Sometimes you just have a crappy day, and this was it. I still had plenty of decisions to make, and I'm definitely second guessing several times when I decided to self-rally guys that were pinned instead of simply holding fast and laying down fire, which may have done better at keeping the bad guys at bay until I got the opportunity to get my guys moving. But even then it's simply a 'may have kept the enemy at bay;' it may very well have meant my guys weren't ready to move when I finally got the chance, and the enemy wasn't affected in any case.
But now I've got a totally unexpected event, the campaign has taken a turn. We're about to experience a flurry of activity as the CLEF task force goes all out to get its men back. I've already played the next two fights and need to get them written up for you guys. They're on the way, so stay tuned.
V/R,
Jack


Great report, and interesting turn of events. I really like the Germano-Serb figs, hope my paint looks half as good, when I get to mine.
ReplyDeleteIrish,
DeleteThanks man, can't wait to see how your guys turn out.
V/R,
Jack
Very enjoyable game narrative complimented by fine looking figures and playing surface. Keep it up!
ReplyDeleteGuillaume,
DeleteThanks a lot. It's easy to get figs and terrain together for these small games, highly recommended! I'm working on the next two batreps.
V/R,
Jack
Great narrative Jack real exciting stuff all round! Including lots of new terrain pieces I haven't seen before and those modern Serb minis look great.
ReplyDeleteBTW just to be clearthat wasn't a light wound Panda suffered. Just because he may have treated it like it was light but you try taking a bullet up your jeffers and see how "light" it is....Respect the M4 Panda man
Thanks John, I've recently worked on and purchased some new terrain, trying to get better lookin'. My table will never compare to yours, but I'm putting effort into it.
DeleteThe game was quite a surprise, and Panda will be just fine so long as we can get to him before the bad guys have gotten what they wanted.
V/R,
Jack
This comment has been removed by a blog administrator.
ReplyDeleteAnother great game in the campaign. Shame about the turn of events but, as you point out, at least it gives you something unexpected to play around with for a little while.
ReplyDeleteHey Shaun,
DeleteI don't know how you take a break from going to the beach to comment on my blog, but thanks! Or maybe you're on tablet at the beach ;)
Yeah, stuff just got real interesting. Have you gotten any gaming in lately? You'd mentioned a possibility of 20mm Operation Jupiter, and you know I like it!
V/R,
Jack
I am of the beach and back at work :-(
DeleteI have not got any gaming in for the last few weeks but do have a couple of games to finish writing up. And yes, I did mention 29mm Operation Jupiter... I am hoping to do a few of those scenarios tonight.