All,
It's 1500 on 29 June 1990 and Battlegroup Aguilera is pushing ahead towards the Cronistrian town of Pisa, at the northern edge of TF Galban's operational area. Once Pisa is secured the Task Force will swing west to complete the encirclement of the Cronistrian capital city, Miran. Battlegroup Aguilera was the first element off the starting line for Operation Chokehold, kicking off the operation with an enemy assault on the town of Kacak. Lt Aguilera is a bit anxious; his men are ready, but will this be the meatgrinder the battlegroup ran into in the first attack, or will they be victorious, as in the second?
Let's find out ;)
North is up, the village of Brezno is at bottom right, the capital of Miran is off map to the right, directly east of #5 on the map. Each number is a village/town; you can see buildings (black boxes), roads (tan lines), rivers (blue lines), lakes (blue circles), hills (green humps), bridges (gray pairs of lines), and forests (green shaded areas). TF Galban will enter the tactical area of operations in the southwest (bottom left) corner.
1: Brezno
2: Kacak
3: Premja
4: Abrvo
5: Dubrovna
6: Pisa
7: Stanje
Overview, north is up. The Cubans will enter from the southwest (bottom left), behind Hill 176, attacking the city, Pisa (top center) and seize its vital road junction. Doing this will:
1) cement TF Galban's left flank;
2) remove the Dubrovna garrison; and
3) allow TF Galban to move on to its next objective, the town of Stanje.
Hill 150 is at top right, beyond Pisa.
The opposing force, Cubans on the right and Communists on the left.
Lt Aguilera shall ride into battle in an LAV Command Vehicle, which he can dismount as necessary and appropriate. The Cubans have seven rifle squads, a HMMWV with .50 cal HMG, and an AH-1 Cobra attack helicopter.
As I've said previously, don't sweat Da Choppa, it's not nearly as powerful as you'd expect. It's basically the equivalent of an AMX-10RC that ignores terrain and can only be fired at by non-AA assets in react, though when it suffers negative 'morale'-type effects it leaves the table for a set number of turns, and it it's damaged or destroyed it's gone for the game. The helo also doesn't get to take part in 'scurries' and 'firefights.'
The bad guys have a CO that cruises around in an MTLB, five rifle squads, and an 82mm mortar.
Oddly, this is the first game where either side has had a mortar available. Since the Cubans have an attack helo, I rolled to see if the bad guys wanted to trade out their mortar for an SA-14 team, but apparently they were quite taken with the mortar. Which sucked for me...
The Cuban starting positions. Lt Aguilera's vehicle is at far left, with the HMMWV just to his right. In the woods at top left you see 1st Platoon, minus 3rd Squad, or 1st Plt(-). To their right you see 3rd Platoon, just above Hill 176, which is where two squads of 2nd Platoon, or 2nd Plt(-), are located. The Cobra begins the game off table.
Looking at the top left (northwest) corner of the board. You can see 1st Squad, 1st Platoon (1/1) at bottom left, while there is but a single bad guy squad present, on the outskirts of Pisa (bottom right).
Looking at the top right (northeast) corner of the table. The bad guys from the last photo are at bottom left; their CO is at center bottom right, and then on Hill 150 they have a rifle squad (top center) and the mortar team (top right).
And then we get to the bottom right (southeast) corner of the table, where the enemy has placed quite a bit of its meager resources. The rifle squad from the first and second pictures is at top left. New to the show are rifle squads at bottom center, center top, and top right. It looks like the enemy is looking to give the Cubans a clear passage into Pisa, but harass them from the flanks.
As usual, the bad guys were placed using blinds and dummy blinds, so I wouldn't know their deployment.
I believe that means it's time to fight!
With 1/3 providing overwatch (bottom center), 1st Plt(-) creeps out of the woods and up towards Pisa (left).
With 1st Plt(-) moving across the fields at top left, 3rd Plt begins moving up towards Pisa on the east side of the highway, doing their best to use the trees as cover. Lt Aguilera follows in trace.
1st Plt(-) is just visible at top left, with 3rd Plt just below them. On the Cuban right, 2nd Plt(-) (bottom left) begins moving up. No one sees any bad guys yet.
The HMMWV moves up (center) between 3rd Plt (top) and 2nd Plt(-) (off camera to bottom right).
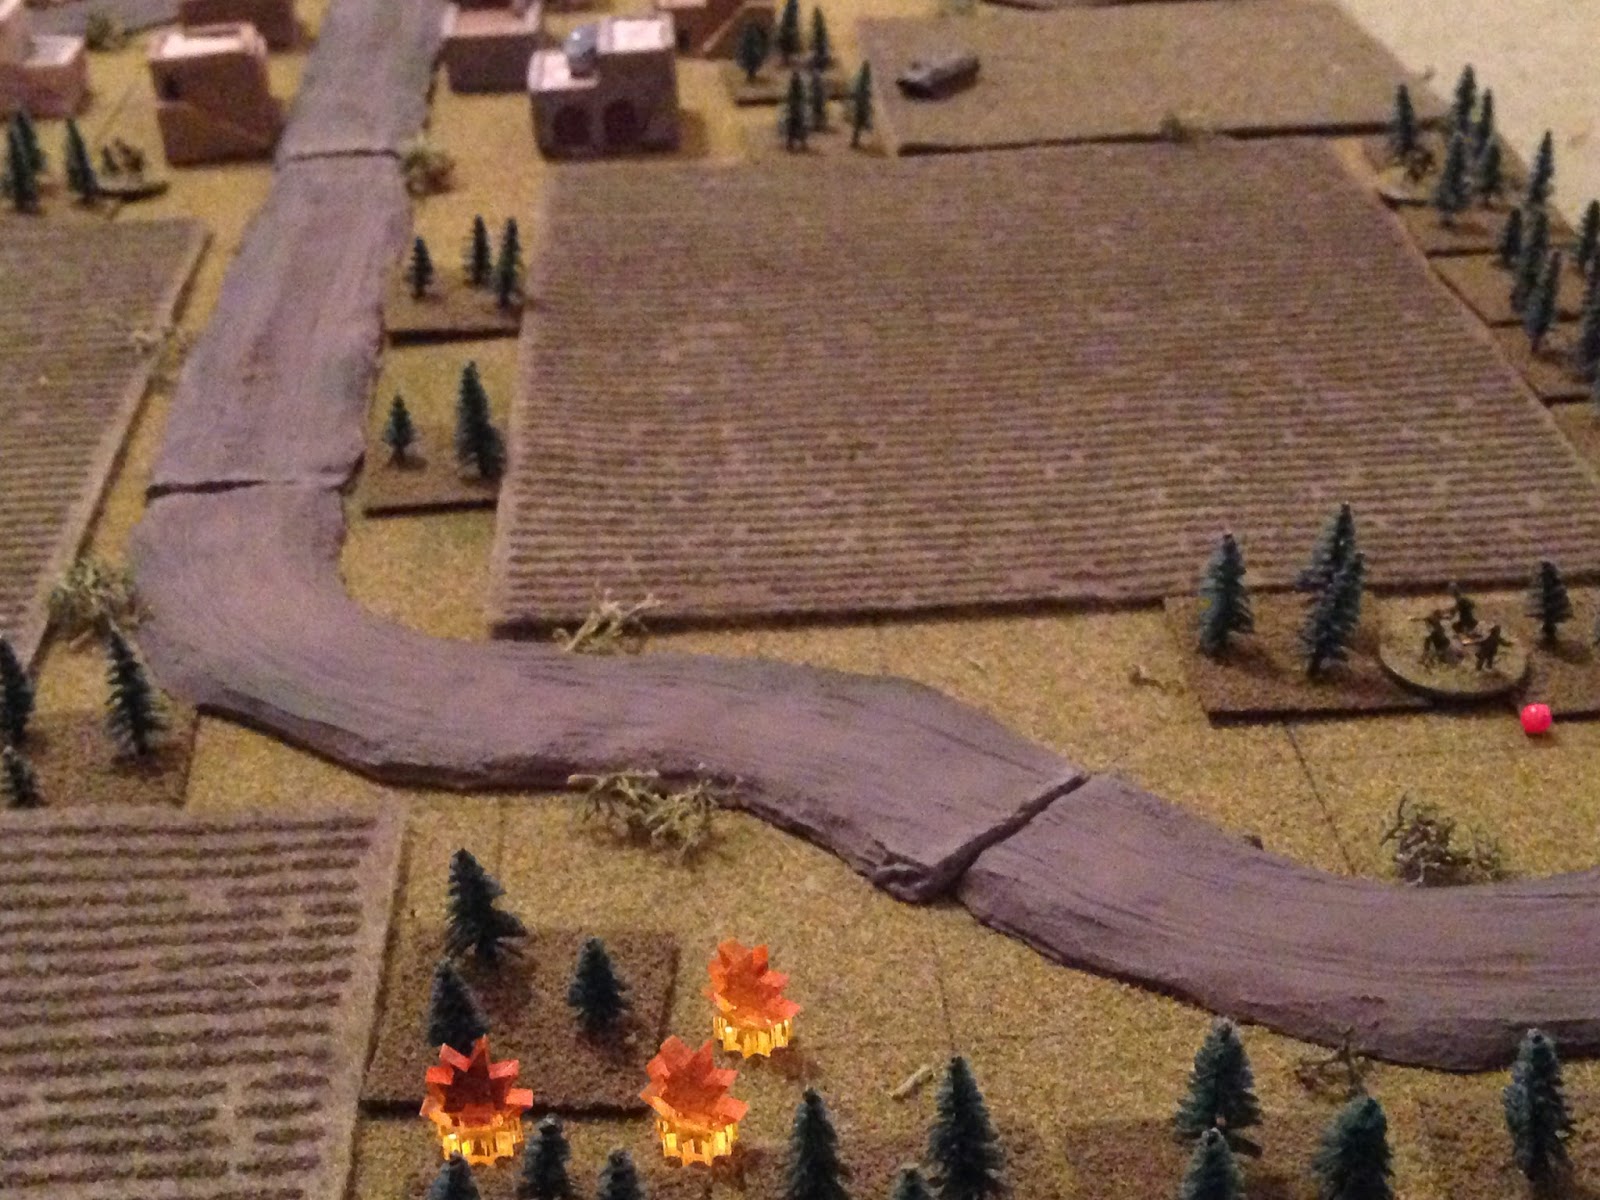
"Incoming!!!" The enemy mortar team (top right) begins dropping rounds on 3rd Platoon (bottom left).
For goodness' sake.
1/3 is immediately knocked out of the fight, while 2/3, 3/3, and the CO all fall back, suppressed.
In the south, an enemy rifle squad (far right) fires an RPG at the HMMWV...
The rocket falls harmlessly short, but the HMMWV's .50 cal gunner returns fire, knocking out the enemy squad!
Another enemy squad in the south (bottom right) opens fire on 2nd Plt(-), but the fire is ineffective.
But so is 2nd Plt(-)'s return fire.
And then the Cubans roll a damn firefight! It wouldn't be so bad, but I really need to get the remains of 3rd Platoon rallied and back in the fight, only one Communist unit is visible to my guys, and the Cobra won't be able to come on table and get in the fight.
So the Cubans do the only thing they can: the HMMWV (bottom left) and 2nd Plt(-) (bottom center) cut loose on the enemy squad they traded with in the south (top right).
All that shooting and they only manage to force the bad guys to fall back (red bead at far right, from explosions at bottom center).
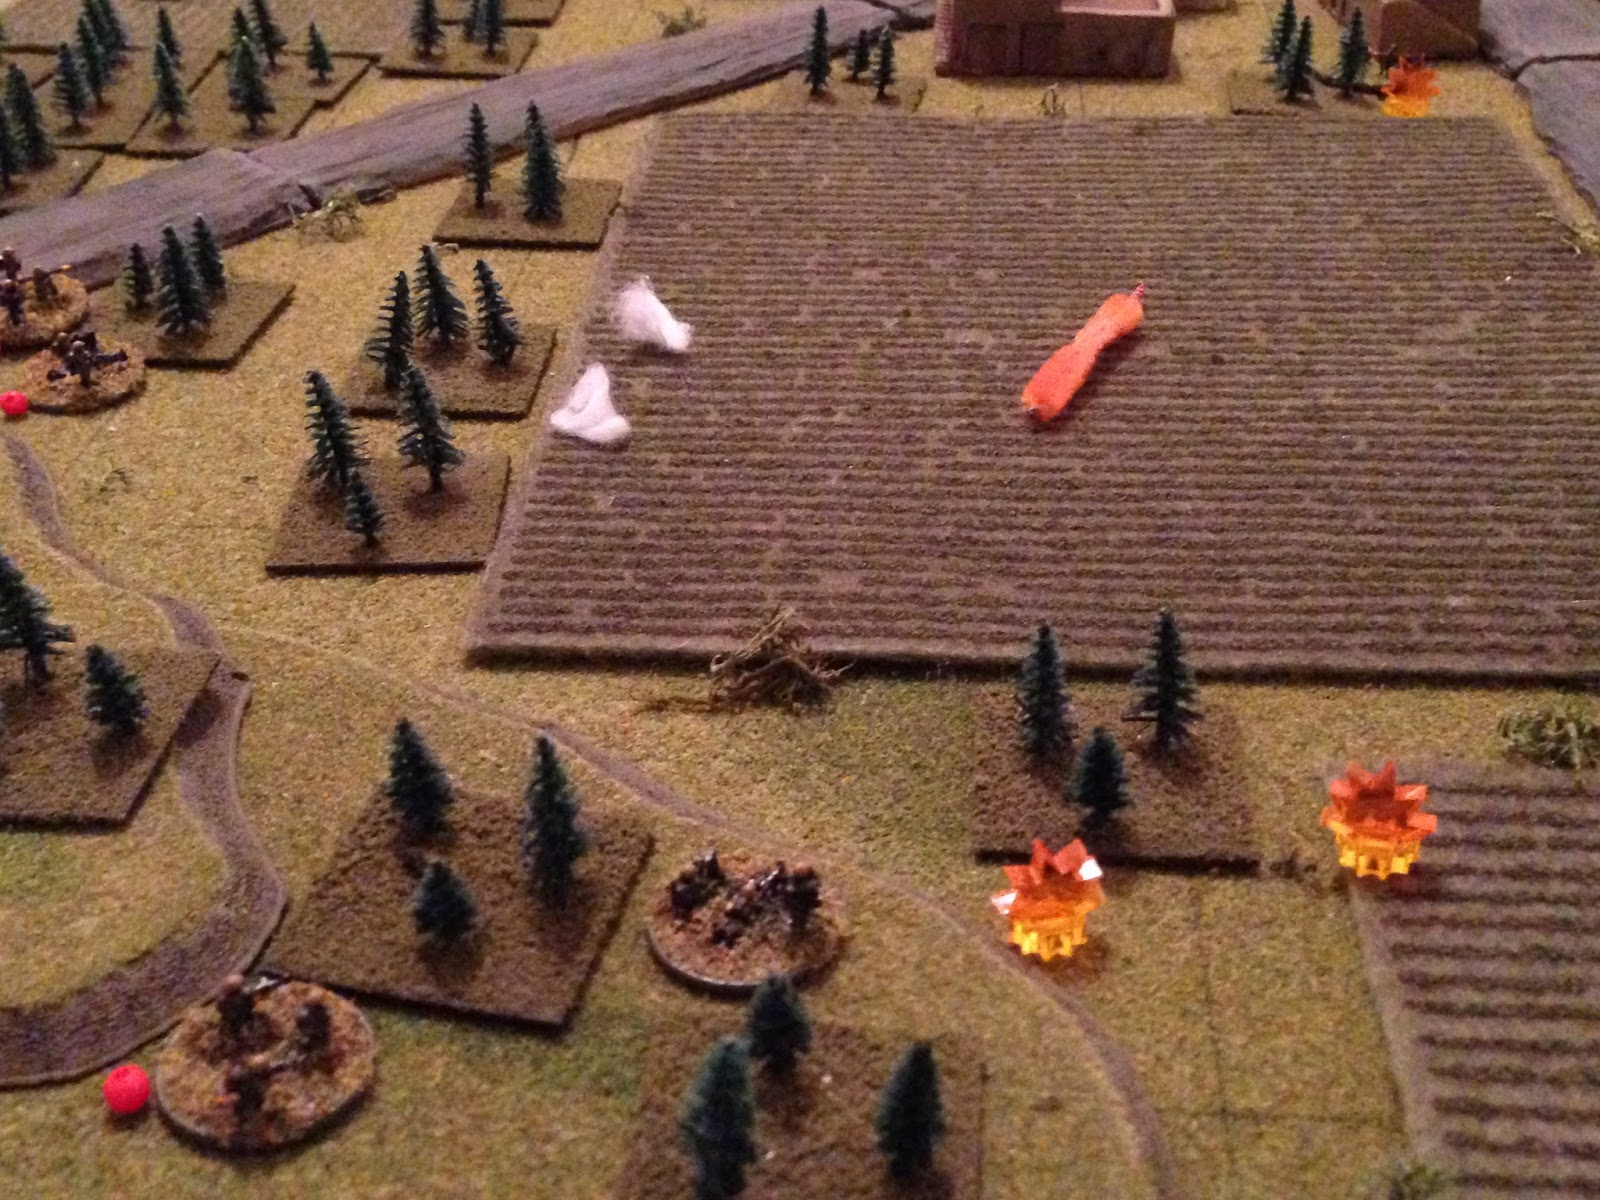
Another enemy squad (top right) reveals itself, firing another RPG at the HMMWV...
Which reverses back behind Hill 176, out of the line of fire (bottom left, from white-puff explosions at far right).
Perfect!
And then 82mm mortars begin dropping on 2nd Plt(-) (bottom left), but the rounds are off and no one is hit.
The bad guys that just forced the HMMWV to fall back (top right) then open up on 2nd Plt(-) (bottom left)...
1/2 is forced to fall back (red bead at bottom left), and 2/2 (bottom center) returns fire but misses.
The enemy CO dashes south to rally his hunkering squad, but doesn't quite make it.
Despite heavy casualties, Cuban spirits are lifted as they hear the 'whup-whup-whup' of their attack helicopter coming on station.
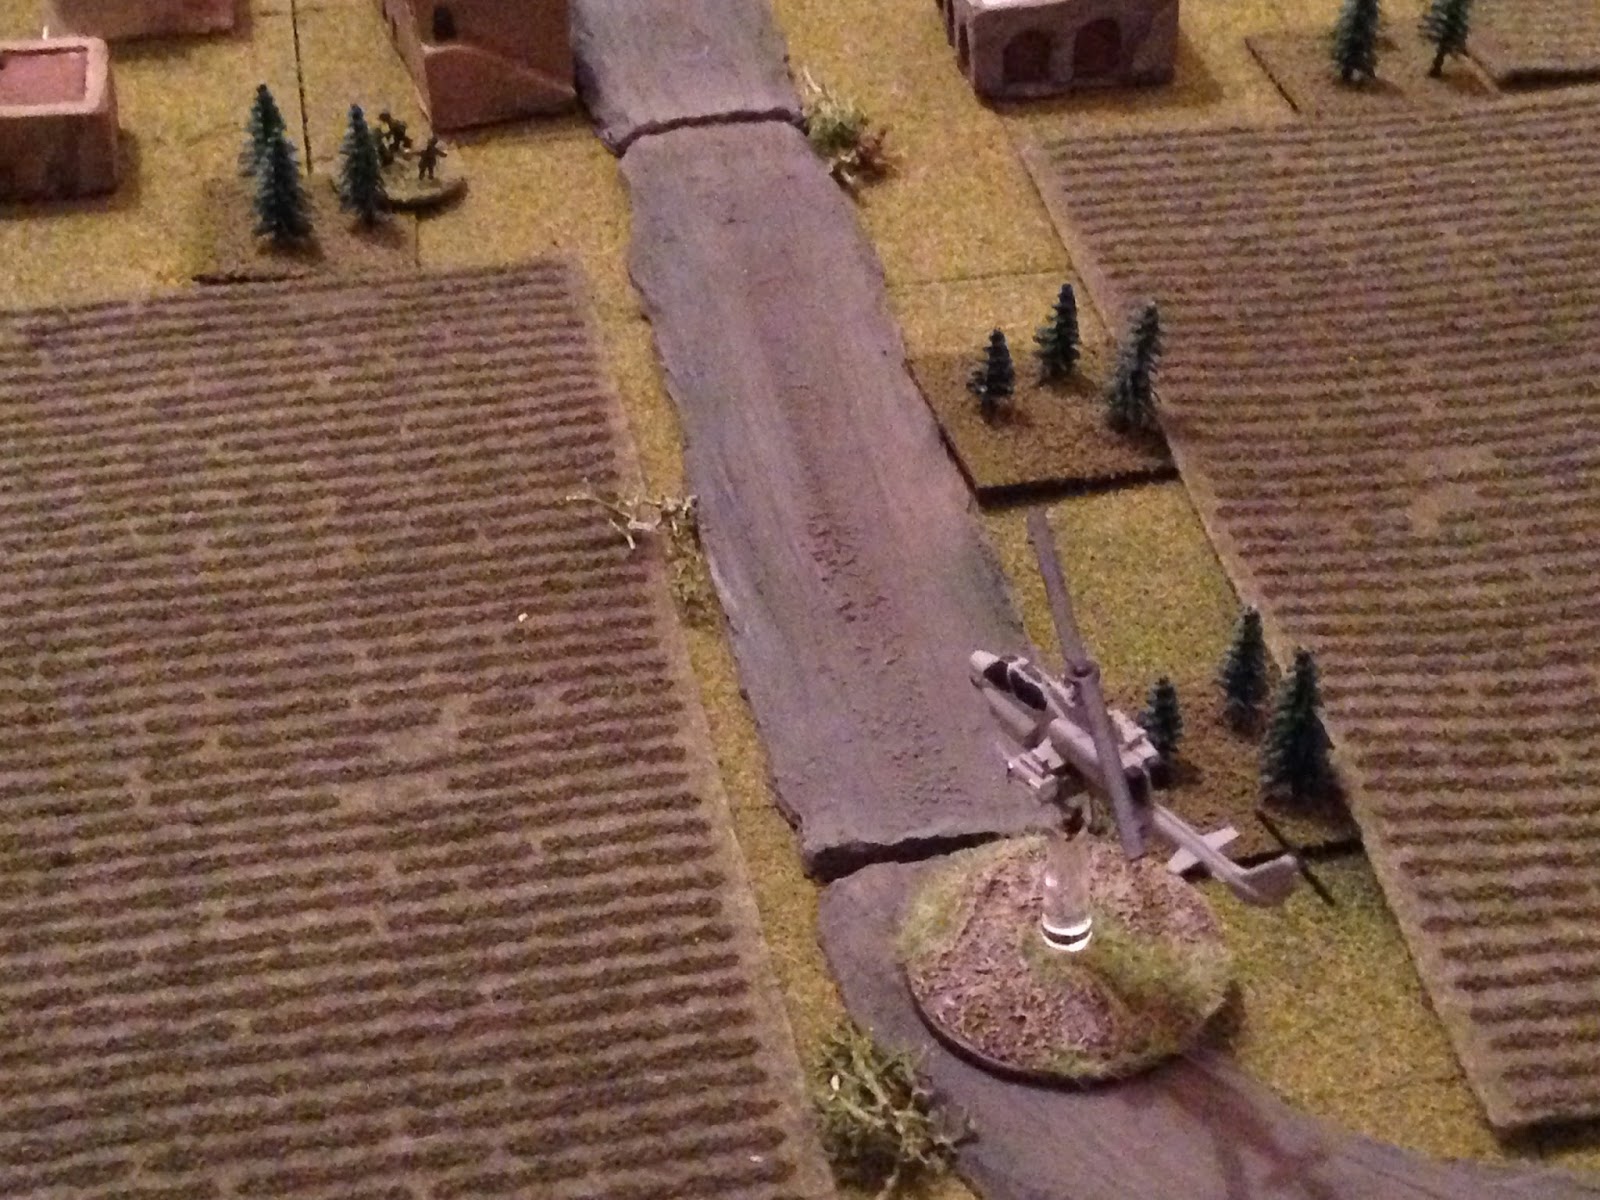
The Cobra swings around to make a south to north run on Pisa...
Apparently Lt Aguilera failed to mention there was enemy infantry in the east. Ground fire rises up to meet the helicopter...
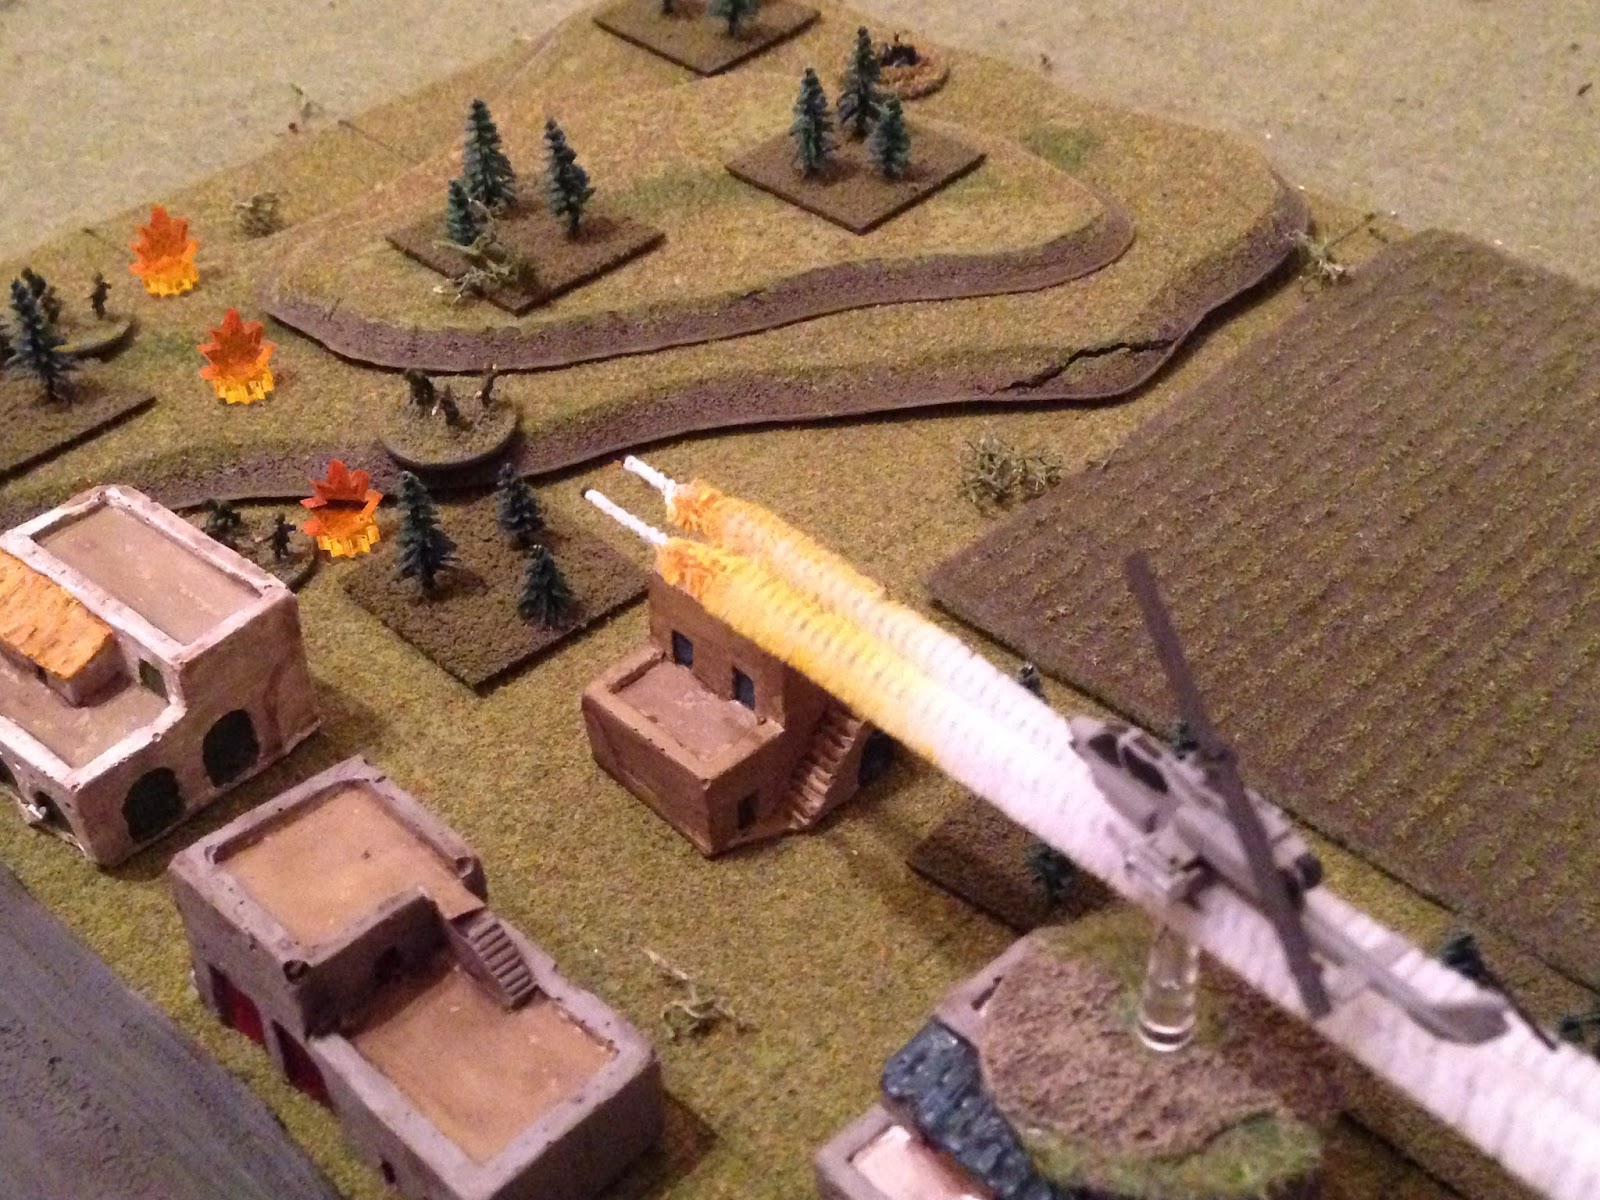
The Cobra pushes through it, as 2/2 (bottom left) lays down fire on the perpetrators, pinning the enemy squad (top right).
The Cobra launches a flurry of 2.75" Folding Fin Aerial Rockets, and the enemy squad is no more.
Meanwhile, Lt Aguilera moves back to rally the HMMWV crew back into action, but they must be experiencing some sort of mechanical problems and they decide to leave town.
Inconceivable!!!
But on the Cuban left, 1st Plt(-) gets moving again, occupying two buildings in northern Pisa (top right, from bottom left).
But this encroachment (left) is noticed by an enemy rifle squad on Hill 150 (top right), and they take measures to rectify the situation, though they only manage to pin 1/1.
Interesting; Lt Aguilera is very excited to learn the battlegroup has a foothold in Pisa, and not just a foothold, but they've come in on an exposed flank.
But Lt Aguilera has no sooner completed his happy thoughts than two more enemy rifle squads show up on Hill 150.
@#$%!!!!! The enemy rolled up a random event and received reinforcements...
In the southeast, the enemy CO manages to rally his ailing rifle squad opposite the Cuban 2nd Plt(-) (off camera to far left).
And the enemy mortar team (on Hill 150 at top right), has adjusted its fire, and begins pounding 2nd Plt(-) (bottom left) again.
Shell-shocked casualties of 3rd Platoon (top left) look on as 2/2 is knocked out (at the explosion), and 1/2 is forced to fall back (bottom left, from red bead).
Battlegroup Aguilera is crumbling, better do something cool, like quick.
In the northeast, the two new bad guy squads sprint west (center), looking to get into some houses, but they don't quite make it, ending up next to the enemy squad that was already occupying Hill 150 (center top). 1st Plt(-) is at top left, the enemy mortar at bottom right.
Back in the southwest, Lt Aguilera moves up and rallies the remains of 3rd Platoon. 3/3 only gets up to 'pinned,' 2/3 is good to go.
The Cobra sticks his nose in again (left), swinging to the northeast, as an enemy squad in the southeast (bottom right) fires on the Cuban attack helicopter...
The enemy misses (the enemy squad is at top right, the Cobra's base is just visible at top left); 2/3, just rallied by Lt Aguilera (bottom left) opens fire, pinning the bad guys.
Just as the Cobra makes another rocket run. He's caught three enemy squads in the open, just between Pisa and Hill 150, and it ain't pretty.
Unless you're me, then it's beautiful! One enemy squad is put out of the white, one takes heavy casualties (white bead at bottom left), one is forced to fall back and hunker (red bead at center), and the mortar team is pinned (yellow bead at top right)!!!
Though the squad is still a bit shaken up, Lt Colvines, the leader of Battlegroup Aguilera's 1st Platoon, leads them forward (yellow bead at center top, with 2/2 covering from bottom left).
Lt Colvines won the Estrella de Plata for heroism in the second fight for Kacak (battle #2 of Operation Chokehold). And I wouldn't have used a pinned squad for this, but 2/2 was too far away to make it into close combat.
And close combat is where we're going. 1/1, with Lt Covlines at the head, crashes into an enemy squad in disarray.
The enemy squad is knocked out (at bottom left), and Lt Colvines leads 1/1 forward, cresting Hill 150 and crashing into a second enemy rifle squad.
After eating their lunch, the good Lieutenant leads the men forward, where they easily dispatch the dreaded enemy mortar team.
Lt Colvines calls out 'boxcars' on the battalion net to let everyone know they've seized Hill 150, then fires a green-star cluster just to be sure everyone knows it's Cubans up there. Wouldn't be too cool to get lit up by the Cobra...
The enemy has been reduced to its CO and two rifle squads (bottom right and top left), all in the southeast.
The enemy commander calls for smoke, then leads his two remaining squads to the southeast, off the field of battle and towards the town of Stanje, which just happens to be TF Galban's next objective. Damn, a very near run thing. We took pretty heavy casualties, a lot of back and forth, the whole attack teetering, and while Lt Colvines cleaned up, that rocket run by the Cobra on Hill 150 is what broke their back. And just for Vicki I made up mechanical problems on the HMMWV, so Lt Aguilera wouldn't have to go shoot the vehicle commander for cowardice ;)
So, what's the tally then?
Cuban
20 casualties
Communists
30 casualties
And Lt Colvines, commander of 1st Platoon, was awarded the Estrella de Bronce for valor in leading the 1st Platoon (minus) on the left-hook that got Cuban forces into Pisa and wrong-footed the Communist forces, forcing them to overreact and thus expose themselves to supporting fires. Lt Colvines then led 1st Squad, 1st Platoon, into close combat that eliminated two enemy rifle squads and one heavy weapons team, seizing the Battlegroup's objective. Lt Colvines also received the Corazon Purpura as he was lightly wounded during the battle, though he's not expected to miss any action.
One more fight to post, this one being Battlegroup Caballero's completion of the operation, the assault on Stanje to complete the encirclement of the capital city. But don't worry, that's not the last fight ;)
V/R,
Jack


No comments:
Post a Comment