All,
It's 1100 on 13 April 1990, and Team 6-1 is on the run. Thirty minutes ago the team, led by Lt "Mikey" Trojas (who is also the commander of the Cuban Liberation Expeditionary Force's contingent in Cronistria), assaulted a building held by the Cronistrian National Guard (the military arm of the Cronistrian Communist Party). The CNG had ambushed a Cronistrian Democratic Militia (CDM) patrol and captured a key lieutenant. So key, in fact, that the leader of the Cronstrian Democrats, Andraz Gregor, personally asked for Lt Trojas' assistance in recovering the man.
So Mikey led his team to the target building and rescued the CDM Lieutenant. One of the men, Badger, had been hit, but Slate patched him up and he was quickly back in action. Which was a good thing: Team 6-1 began to exfiltrate to the southwest, and had only been moving (on foot) for approximately ten minutes when the sound of vehicles was heard to the northeast. It quickly became apparent the team was being pursued.
The opposing forces: on the right is the five-man CLEF team and the CDM Lieutenant. On the left is the pursuing force, comprised of nine commandos and an armored personnel carrier.
Team 6-1: top left is Chick, bottom left is Badger, center left is Slate, top right is Mikey, bottom right is Rolly, and far right is the CDM Lieutenant, who has picked up an AK.
The bad guys: nine commandos, a quick reaction force dispatched to hunt down and eliminate Team 6-1. The troops are Modern German Infantry/KSK from Elhiem, while the vehicle is actually a 1/72 scale Fuchs from Revell.
Overview, north is up. At top right is a gas station, bottom left is a farm, center right is a garage, center left is a chicken coop, rocky outcroppings at top left, patches of rough ground at far left and far right, concertina wire running north/south at center left, and a hardball road running northeast to southwest, with a wooden bridge crossing a narrow but deep and fast running stream.
Looking southeast to northwest.
Looking southwest to northeast.
The table, now with troops present. Team 6-1 is at bottom/center right, in and around the garage, while the bad guys have split into two forces: the APC and four men are at top right, while five man are at top left.
Closeup of Team 6-1, moving east (right) to west (left). At far left is Rolly, followed by the Lieutenant and Badger (center, just above river), then Chick and Mikey (in the garage), with Slate as Tail-End Charlie (bottom right).
Mikey: "Badger, priority is getting The Lieutenant back to President Gregor. Whatever happens, you make sure the Lieutenant gets home."
"Roger Mikey."
Looking west to east at the northwest (top left) corner of the table, five bad guys are on foot, moving between the two outcroppings to get at Team 6-1 (off camera to top right).
Looking east to west at the northeast (top right) corner of the table, the APC and four men moving south (left) towards Team 6-1.
Fight's on!
Slate (bottom right): "Mikey, contact, crunchies at 4 o'clock, 75 meters, got some sort of vehicle with them, can't make it out, looks wheeled. We've been spotted, going loud." Slate fires on an enemy rifleman (top right).
The rounds miss, and Slate moves left (center left behind tree, with Badger at far left).
Badger moves forward (bottom center, next to Lieutenant), drawing fire.
But the enemy misses, so Badger gets behind the tree at center left and returns fire, putting the bad guy 'man down' (top center).
Rolly dashes onto the bridge (bottom left), drawing fire.
But Rolly makes it across (bottom left) and returns fire, but he misses too.
In the northeast, the bad guys press ahead along the road.
While Mikey moves next to the house in the garage compound (center right, next to Chick), while Slate moves up next to Badger and the Lieutenant (far left).
In the northwest, two of the bad guys push forward, with one of them stopping to check on their 'man down' comrade (top center, the right-hand guy just visible between the tree and outcropping).
But the 'man down' is out of the fight, having succumbed to his wounds (top center). With that, the other two guys dash right (bottom center), looking to cut the Cubans off.
Rolly moves left (bottom left, from left end of bridge).
Braving light fire from the north, Badger and the Lieutenant move towards the bridge (bottom center, with Slate at bottom right).
Preparing to deal with the APC, Chick rushes through the garage gate and flops prone behind a tree (bottom left, with Mikey at bottom center).
The two sides continue to trade light fire while Rolly (bottom left) moves towards the exit, and Badger and the Lieutenant dash across the bridge.
Slate moves left (bottom left), but Chick and Mikey (center and far right) sit tight to deal with the enemy patrol in the northeast (top right).
I still wonder if Mikey, Chick, and Slate shouldn't have just run for it...
In the northeast (looking south-south west), two riflemen split off to move through the rough ground, while the APC and the two remaining riflemen push ahead on the road (Chick and Mikey visible at top left).
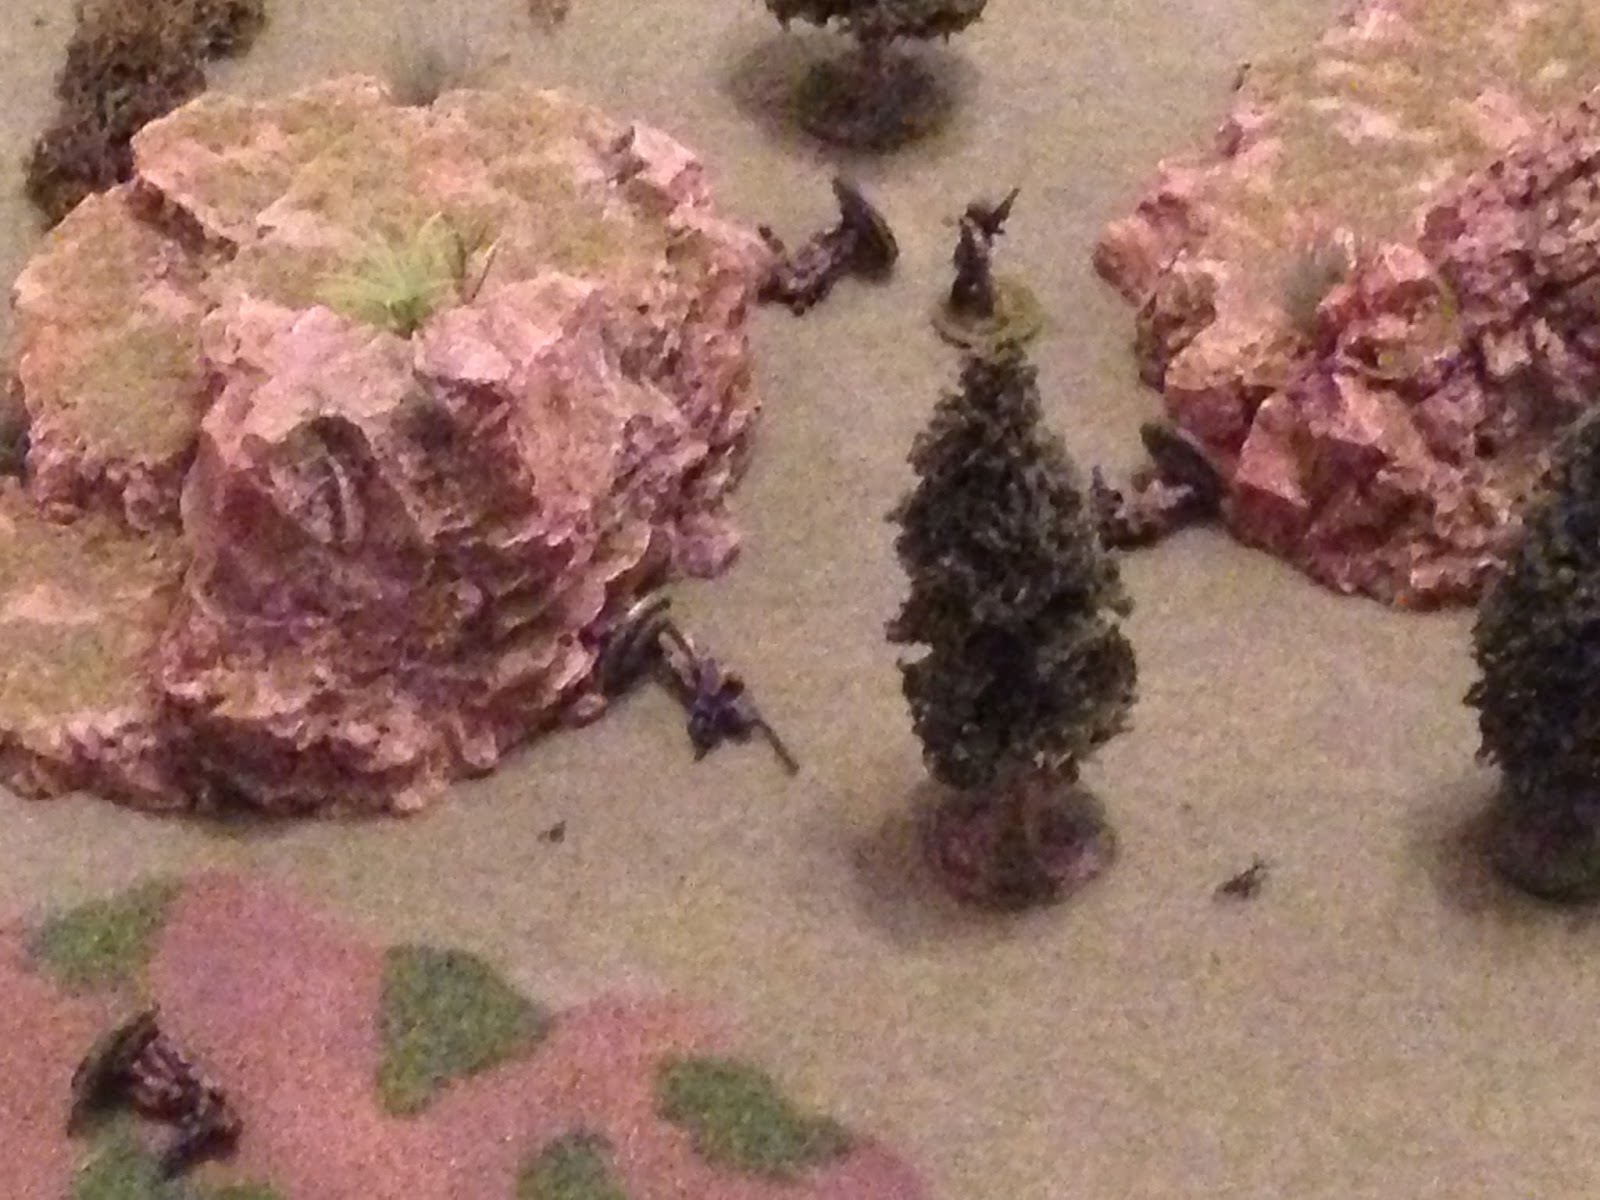
In the northwest (looking southeast), one rifleman takes up a firing position atop the outcropping (bottom left) while two more push ahead into the broken ground and one more rifleman lags behind the tree at far left. You can see Rolly at far right, then Badger and the Lieutenant at top right next to the bridge.
The enemy APC's machine gun opens up on Badger and the Lieutenant, raking the bridge with fire but only pinning the Lieutenant.
An enemy rifleman (top right) cuts loose on Badger (bottom left), but misses.
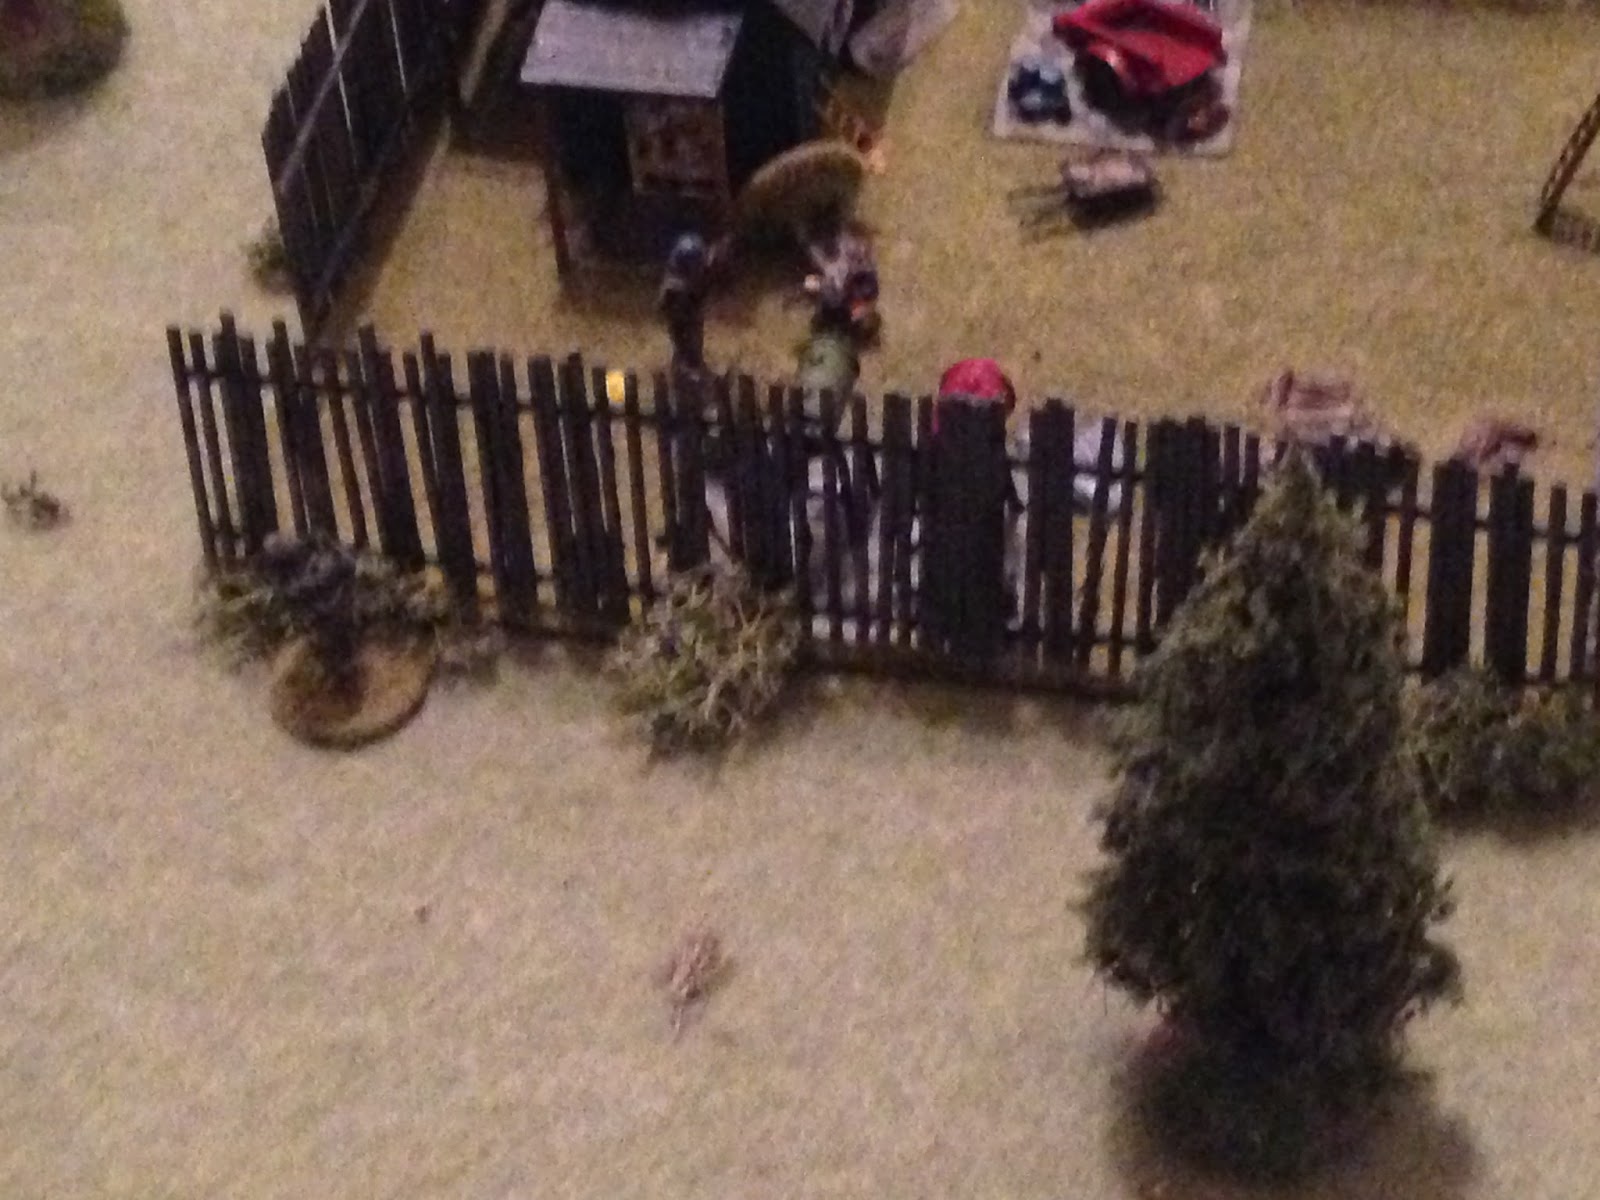
But back on the right, two enemy soldiers in the broken ground open fire through the flimsy wooden fence...
Putting Mikey out of the fight!
The enemy atop the outcropping (bottom left) fires on Rolly (top right), pinning him.
Rolly (top right) gets fired on again, but the rounds have no effect.
Badger (top right) also weathers a hail of small arms fire without effect.
As does Chick (top right).
Badger (bottom right, next to the Lieutenant, with Rolly at bottom left) returns fire to the northwest.
Forcing a bad guy to fall back and hunker (bottom left red bead, from explosion at top right).
Slate (bottom center, with Badger/Lieutenant at bottom left and Chick at center right) cuts loose, to no effect.
While Chick (bottom right) returns fire, pinning a rifleman.
Badger (bottom center) moves slightly right to rally the Lieutenant, and opens fire to the northwest. The rally attempt is successful.
While Badger's rounds put one enemy out of the fight (center right) and pin another (top left, the guy at bottom center was pinned by Chick).
That's two for Badger so far...
As Badger (bottom left) begins to move and enemy rifleman (top right) opens fire...
But the enemy rounds miss, so Badger gets to cover (behind tree at left), while the Lieutenant moves off the bridge (bottom center) and opens fire, missing.
Back on the right, Slate darts into the garage, dodging rifle fire to get to Mikey (Chick at far left).
Slate fires but misses too.
An enemy rifleman pushes ahead and fires on Slate, missing again.
While another moves up and fires on Chick (bottom left), pinning him.
With Chick pinned, the enemy APC pushes forward spewing 7.62mm rounds...
Forcing Chick to fall back (red bead at bottom center-right, from explosions at center left).
In the northwest, the bad guy hunkering at center right (red bead) self rallies.
The CLEF rolls a normal activation with random event, "Bravery," so I give it to Chick, whom I need to get back in the fight to deal with the enemy APC. In narrative terms, Chick mentally checked the situation: we're risking our lives to save some dork I don't even know, Mikey is down, the enemy is pushing up on us from two different directions, and they've got a damn armored vehicle. I need to get my shit together and get back in the fight...
Badger (bottom center left behind tree, with Rolly pinned at bottom left and the Lieutenant on the south end of the bridge) opens fire on the northwest once again...
And Badger drops a third bad guy! Nice shootin', Tex!
Badger begins moving left (bottom center left, between the trees) and draws fire, but this time it pins him.
Back in the fight, Chick creeps forward and peeks around the corner (bottom right), drawing fire from the APC's machine gun...
But Chick calmly sights in his LAW and fires...
The enemy APC is immobilized! The crew bails (two red beads at tail end of vehicle), while another enemy troop is pinned (yellow bead at top right).
In the garage, Slate (bottom left) opens fire...
Putting one man 'man down,' but his partner returns fire and pins Slate (bottom left).
An enemy rifleman darts forward between haystacks and fires on Chick (bottom center)...
Forcing him to fall back again (red bead at bottom right, from explosions at far left).
The Lieutenant (bottom left) returns fire but misses.
In the northwest, two enemy troops are pinned and try to self rally: the guy at far right is good, but the guy atop the outcropping (yellow bead at center) falls back down the hill (bottom left red bead).
On the right, Slate (left) and Chick (bottom right) try to self rally: Slate is good, Chick gets up to pinned.
On the left, Rolly (top left) and Badger (bottom center) try to self rally. Rolly is good, but Badger has to fall back and hunker (from yellow bead at center).
Then the Lieutenant (bottom right, with Badger and Rolly at far left) opens fire to the northwest...
And puts a bad guy out of the fight.
Finally making himself useful!
An enemy rifleman in the northeast (top right) returns fire on the Lieutenant (bottom left), missing.
The bad guys roll up a random event ("Let'em Have it!"), so one guy gets to fire twice.
An enemy rifleman fires on Slate (bottom left), pinning him, while his 'man down' buddy (white bead at far right) self recovers.
The Lieutenant (bottom left) is fired on again, but hangs tough.
Same deal with Rolly (bottom left).
Three hunkering bad guys (red beads at bottom center and top center) try to self rally. The bad guy at bottom center and one of the top center guys is good...
But the third has to fall back (red bead at center right, from far left). The two with Uzis are the vehicle's crew, and are just looking to get the hell out of dodge.
Badger (bottom center left) self-rallies successfully while Rolly (far left) fires and puts an enemy rifleman 'man down' (top right).
On the right, the Lieutenant (bottom left) lays down harmless covering fire while Chick (bottom right) successfully self-rallies.
Still pinned down in the garage next to Mikey, Slate leans out and opens fire...
And punches a ticket.
Chick moves up to the fence (center left, from tree at bottom right), while Slate tries to self rally...
He fails, and with nowhere else to go, he simply melts into the shadows of the house (red bead at center) and hunkers...
The CLEF left is looking solid, with Rolly, Badger, and the Lieutenant all in fighting shape and forming a skirmish line to help cover Slate and Chick moving Mikey across the river.
The 'man down' enemy soldier at top center left (white bead) self recovers, while two more enemy riflemen move up on the garage (far left next to tree, center right next to tree), looking to envelop Chick, Slate, and Mikey.
Then the enemy rolls a random event, "Fall Back," which means the enemy can fall back if they want to. I use this a little differently, use it as a force morale issue. The way I see it, the bad guys started with nine guys and an APC (with two-man crew). They are now down to four guys (not counting the two APC crewmen didi-mauing off the map); so I make the enemy troops fall back, and from here on out they are unable to move towards the Cubans. In narrative terms, the enemy has been seriously beaten up and is none too keen on pushing forward to take more casualties; you're lucky they haven't given up the ghost altogether.
So, this should be easy, right?
The two guys that just pushed forward fall back, as do the guys at top right.
But one of them fires through the fence at Chick (bottom left), pinning him...
While another guy (top right, behind tree) fires on the CLEF left...
Putting Rolly (white bead) 'man down' and pinning Badger (yellow bead).
Badger (bottom left) returns fire, but misses, while Slate (red bead at far right in garage) tries to self rally...
But he fails! He's intent on falling back, and so he runs out the gate (far left, red bead), where he draws fire from a nearby enemy rifleman, which puts him 'man down.'
Good grief...
Looking north at the northwest (top left) corner, the sole remaining bad guy on the left tries to sprint from the left outcropping to the right, but he doesn't quite make it and is left sitting in the open between them.
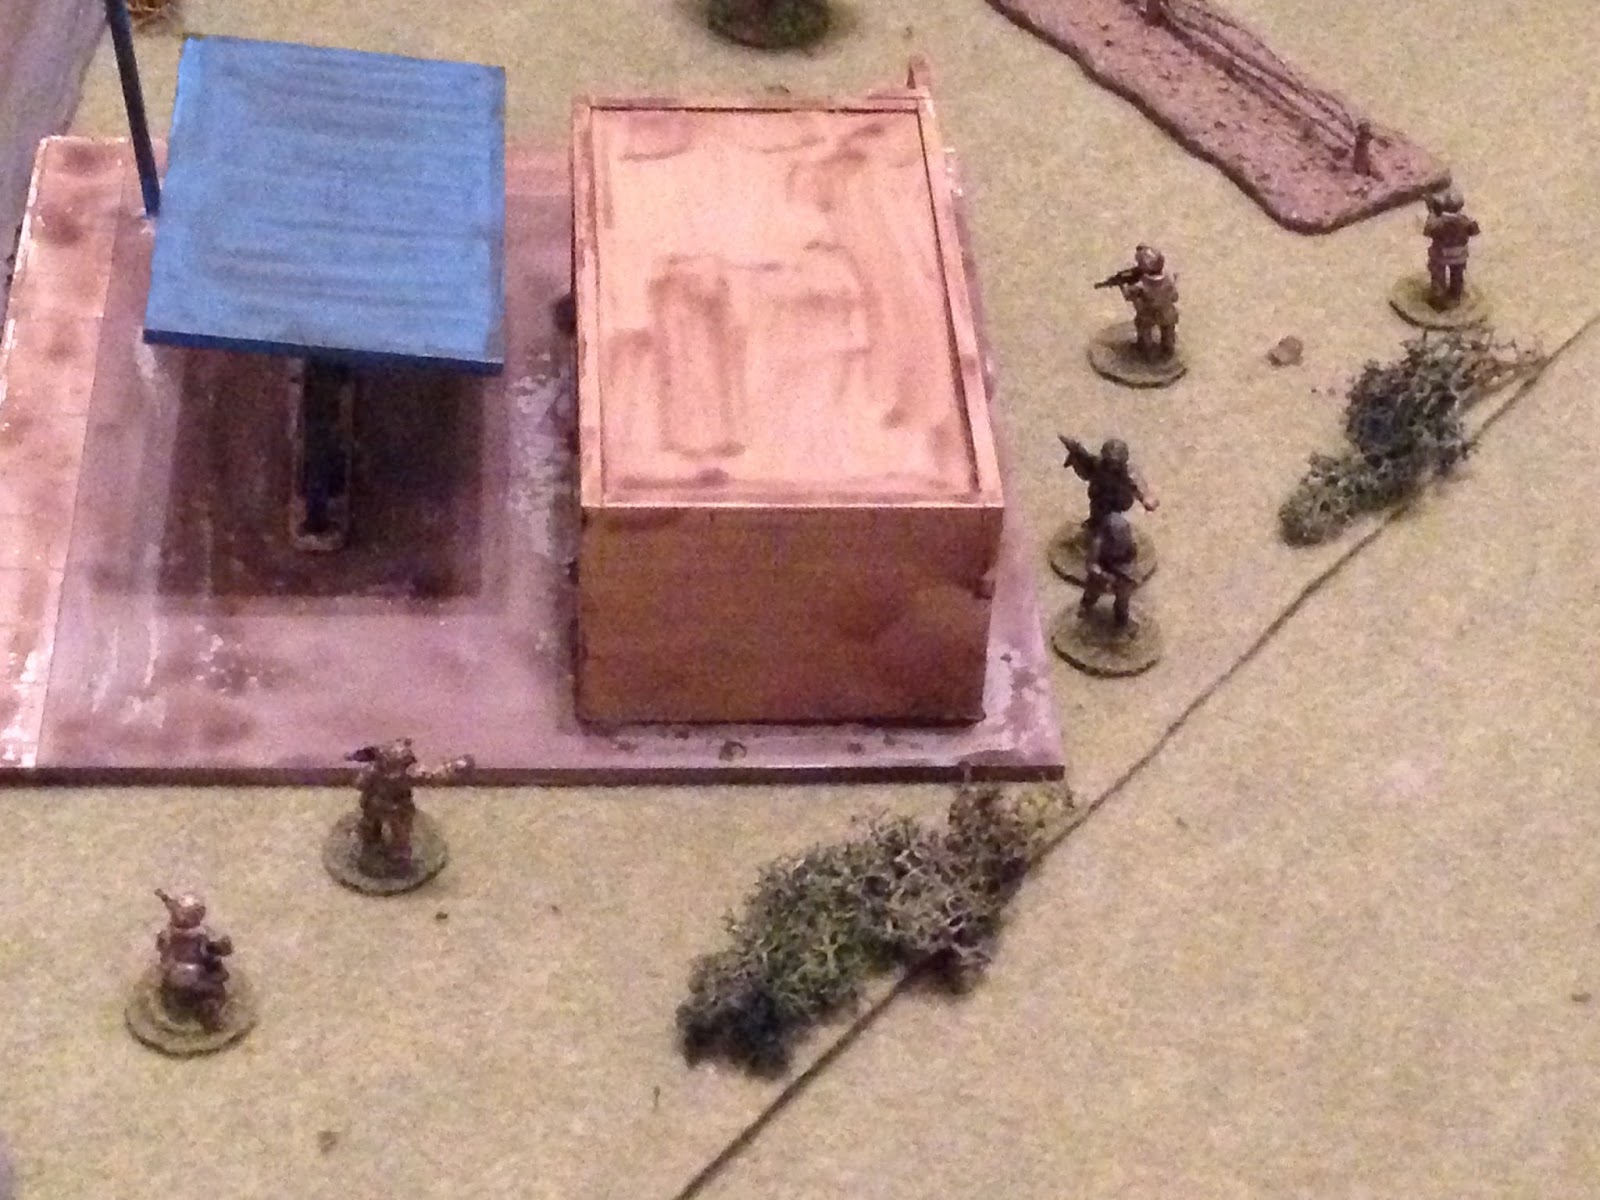
In the northeast (top right corner), looking southwest, an enemy rifleman falls back to the gas station (barely visible under the blue awning), while the vehicle crewmen creep towards the table edge (far right, behind gas station).
On the CLEF left, Rolly self recovers, but Badger stays pinned...
The Lieutenant moves over to help him rally, and still he stays pinned! @#$%!!!
Chick successfully self rallies (yellow bead), but Slate stays man down (white bead)...
And then Chick dashes up to Slate (bottom left) and opens fire...
Forcing the target to fall back (top left red bad, from explosion).
Chick (far left) check on Slate, but he's out of the fight.
Incredible...
On the left, Rolly (bottom left) opens fire while the Lieutenant rallies Badger (bottom center).
The last enemy troop in the northwest is forced to fall back (top left, from explosion at center right).
Finally rallied, Badger moves right (bottom center left behind tree, with the Lieutenant at bottom left and Chick at far right) and opens fire, but misses.
An enemy rifleman in the northeast moves over and fires on Chick (bottom left)...
Forcing him to fall back once again...
The bad guy at the gas station (top right) and the Lieutenant (bottom left) exchange fire ineffectually.
The Lieutenant (bottom left) continues laying down covering fire while Badge sprints across the bridge (bottom right). The Lieutenant doesn't hit anything, but return fire comes in relatively accurately...
Forcing the Lieutenant to fall back and hunker.
I'm just glad he didn't get killed. Now that you mention it, he's kind of the point of the mission, and I've been a bit cavalier with him, haven't I?
Seeing Badger (bottom left) helps remind Chick (center right) to once again get his shit together.
I've got a 'good' guy and a hunkering guy on the left side of the river, two good guys and two out guys on the right (who need to get off table to the left). The bad guys have one hunkering guy in the northwest and one hunkering and two good guys in the northeast.
An enemy rifleman fires on Chick (bottom left), missing, while his buddy self rallies successfully (red bead at top right).
The CLEF rolls another random event, "Opening," which will come in handy.
Chick (bottom left) dashes into the garage, rifle blazing, so astounding the enemy with his violence of action they don't even react fire. Chick's fire is so ferocious it pins both enemy riflemen on this side.
Rolly (bottom center) moves over and exchanges fire with the bad guy in the gas station (top center).
Badger moves up to Slate (far left) and fires...
Forcing a bad guy to fall back (red bead at top right, from explosion at far left next to vehicle).
Chick (far left) moves to Mikey, once again drawing fire, but he's okay.
While the last bad guy in the northwest tries to rally, but only gets up to pinned.
Rolly moves over (center left) and lays down covering fire as Chick scoops up Mikey and Badger scoops up Slate and they both move towards the bridge (top right). The Lieutenant (bottom left) successfully self rallies.
The enemy has had enough and falls back to the gas station, awaiting reinforcements.
But Team 6-1 has policed itself up and moves out with the Lieutenant leading the way and Rolly covering the rear. It's been costly, but the mission was a success. President Gregor was overjoyed to have "The Lieutenant," his nephew, returned to him. And Team 6-1's casualties weren't as bad as they could have been: regretfully the Task Force has suffered another KIA, Sgt "Slate" Delacruz.
But the good news is that Mikey is okay. He'll have a helluva headache and a scar for the ladies to dig, but he had only been knocked unconscious. Meanwhile, the enemy suffered 5 KIA and lost an armored personnel carrier.
Mikey soon thereafter went to meet with President Gregor and the head of the Cronistrian Democratic Militia, General Miroslav Denis. "Gentlemen, the soldiers we faced off against, the ones that pursued us after the hit, they were different. Different uniforms, different weapons, different gear, even sounded like they spoke a different dialect than you guys. They were very aggressive, and much better than anything we've seen so far from the Cronistrian National Guard, the Cronistrian People's Army, or the Yugoslavian Army. So who are these guys?" The Lieytenant backed up Mikey's assertions, but the only thing could add was that they sounded like Serbs; neither Gregor nor Denis had any idea whom the newcomers to the fight in Cronistria might be.
That evening Mikey went secure comms to ODA 626-Forward, just over the border in Italy with a radio reconnaissance team attached. What they were able to supply was quite interesting: it seems the new bad guys were from Serbia's 4th Special Forces Battalion, AKA "Damjanovich's Tigers," under the command of Major Mirko Damjanovich. The SIGINTers informed Mikey the Serbs were very concerned with keeping Cronistria in the fold and under the flag of communism. Furthermore, it has been noticed that a group of commandos from a Western country were in Cronistria (there were rumors of speaking English and Spanish, so no one was sure what country the commandos were from), and so Serbia sent its 4th Special Forces Battalion to Cronistria to deal with these Western interlopers.
So, a helluva fight! It drug a little bit there at the end where neither side could seem to finish off the other (the bad guys having lost five of nine and the good guys two of six), but finally the CLEF was able to get off the table. I didn't play any games this past weekend, but I played two games on Monday, and my plan is to play two games each day until I go back to work on 4 January. We'll see how this shakes out, and be patient as I'm playing my butt off and will have to catch up the batreps later. Also, I've decided to keep playing through on Cronistria and push back the launch of my South Leon campaign as I'm waiting on more troops.
I've almost finished up some good guys from Flashpoint Miniatures, then I've got a bunch more good guys on order from Geoff at QRF. I've also got a BTR and some helos on order from The Warstore, and I need to order some more Peter Pig bad guys. It's kind of depressing really, to realize how much more stuff I need and how much more painting I've got to do yet. And this doesn't even mention the two massive Napoleonic projects I've got going on, the modern aircraft (for Cuba Libre), my Battle of Britain stuff, a bunch of new 10mm modern Brits, a bunch of various WWII stuff in 10mm, and all my crap in modern 6mm... But I'll keep plugging away.
V/R,
Jack


No comments:
Post a Comment